Rocky Linux uses DNF/YUM repositories as the primary source for installing and updating software. Proper repository configuration is essential for system stability, security, and access to up-to-date packages. In this guide, we’ll show how to add, verify, disable, and manage repositories on Rocky Linux step by step.
For Windows, the process of downloading OS updates is done through repositories, and software is often downloaded through Web resources as binary files. Linux interaction is often oriented towards the use of repositories for all the processes described above. It is therefore important to consider the configuration and secure operation of these solutions.

What is a repository and how do I work with it?
A repository is a collection of objects stored on a server, which is often used to store software and other dependencies necessary for its operation. It can be implemented as an SFTP server, Web server, or it can be a database on a version control platform. It is often used as a distribution point for software, as well as a convenient form of data storage for the work of teams.
Linux often uses repositories as open download points and it is important enough to divide them into two types: trusted and untrusted repositories. The former have been approved by developers or the community, which is less likely to have software that doesn't work or to have software tabs. The second must be verified, or trusted by the developer of a given collection of objects.
To work with a Linux repository, it is often necessary to provide a URL link from where the software packages will be downloaded and a corresponding public key for digital signature.
Configure repository on Rocky Linux
We will use two main directories: /etc/yum.repos.d and /etc/pki/rpm-gpg, as these are the directories where the references to repositories and EDS keys are stored respectively. This method is a manual repository configuration and allows you to monitor existing repositories. To add a new collection, let's go to the /etc/yum.repos.d folder and create a new configuration file for Docker:
cd /etc/yum.repos.d && nano docker-ce.repo[docker-ce]
name=Docker CE Stable - $basearch
baseurl=https://download.docker.com/linux/rhel/$releasever/$basearch/stable
enabled=1
gpgcheck=1
gpgkey=https://download.docker.com/linux/rhel/gpg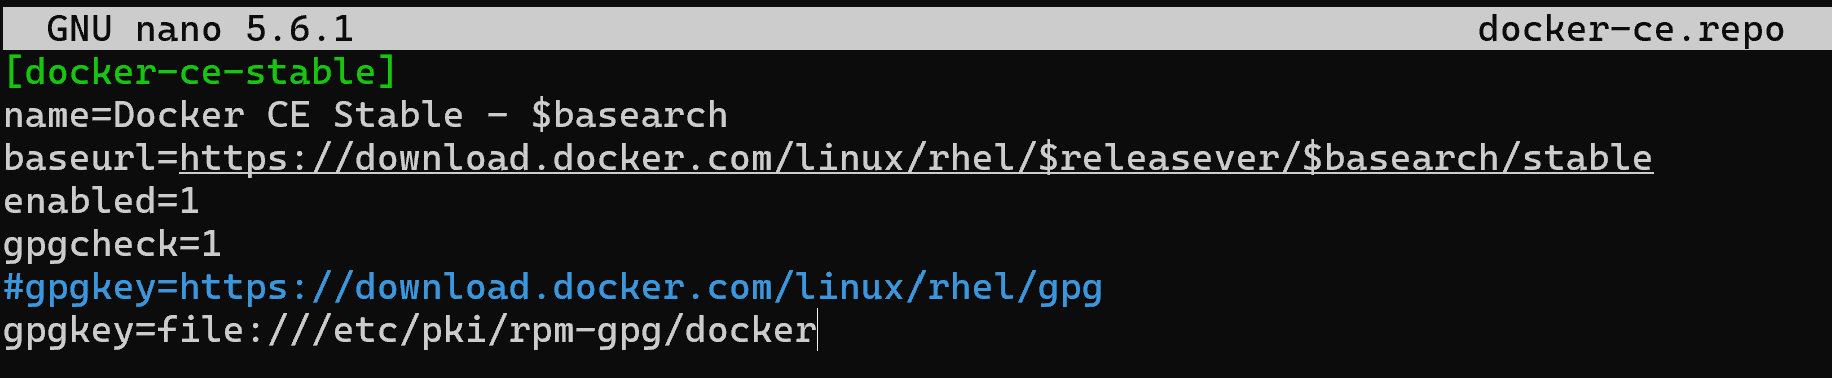
In this example, the first line is the name of the repository, as is the second and can take any value. The baseurl line should be correctly composed with the version of your RHEL distribution, and the processor architecture usually used is x86_64. If you don't know the exact data leave it as given in the example above - variables.
Enabled is responsible for using the repository when searching for packages, and gpgcheck is responsible for checking signatures. It is advisable to leave it enabled to avoid man-in-the-middle attacks.
And the second important component in the whole file is the path to the key, which is specified in URL format - a link to a local file, or a link to an existing repository object. In the variant presented above, just a link to an online resource. Let's try to update the repository and see if the software reads packages from there:
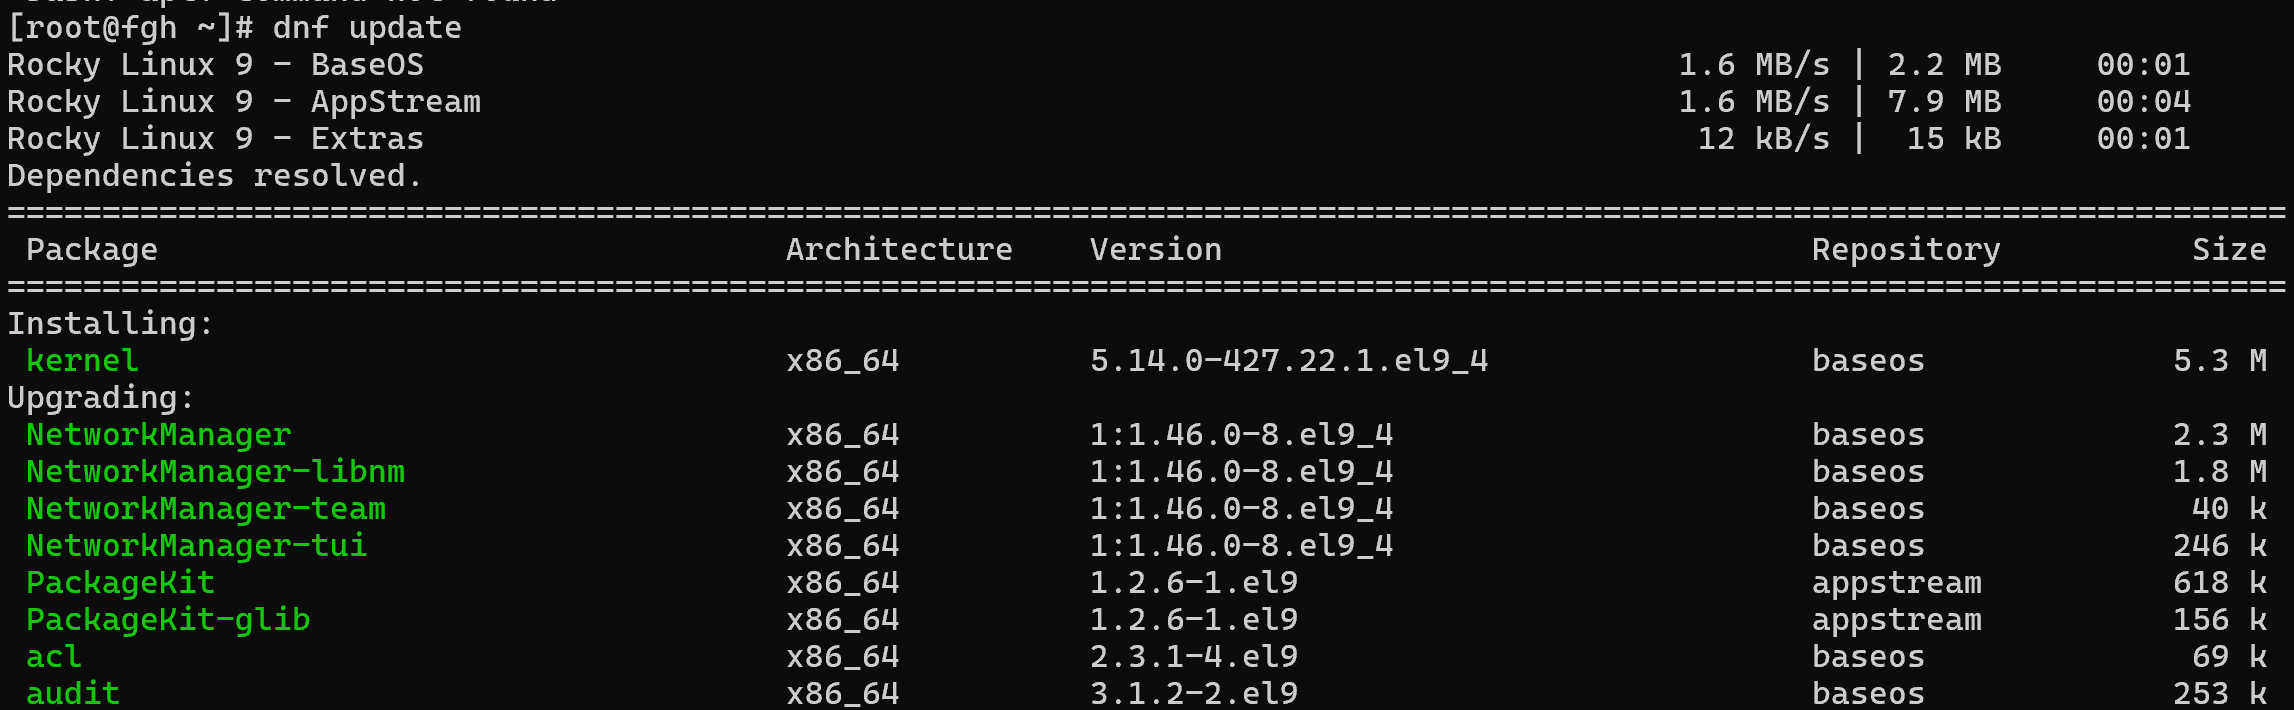
dnf upgrade
The update is happening, so the paths are set correctly and the repository is configured correctly.
All steps in the tutorial can be performed on powerful cloud servers. Serverspace provides isolated VPS / VDS servers for common and virtualize usage.
It will take some time to deploy server capacity. After that you can connect in any of the convenient ways!
How do I download the repository key?
But what if you don't trust the resource on a permanent basis and want to check the keys yourself and update them via Ansible every time? To do this, you can download the key via the command link and immediately write it to a directory with limited permissions:
curl https://download.docker.com/linux/rhel/gpg > /etc/pki/rpm-gpg/docker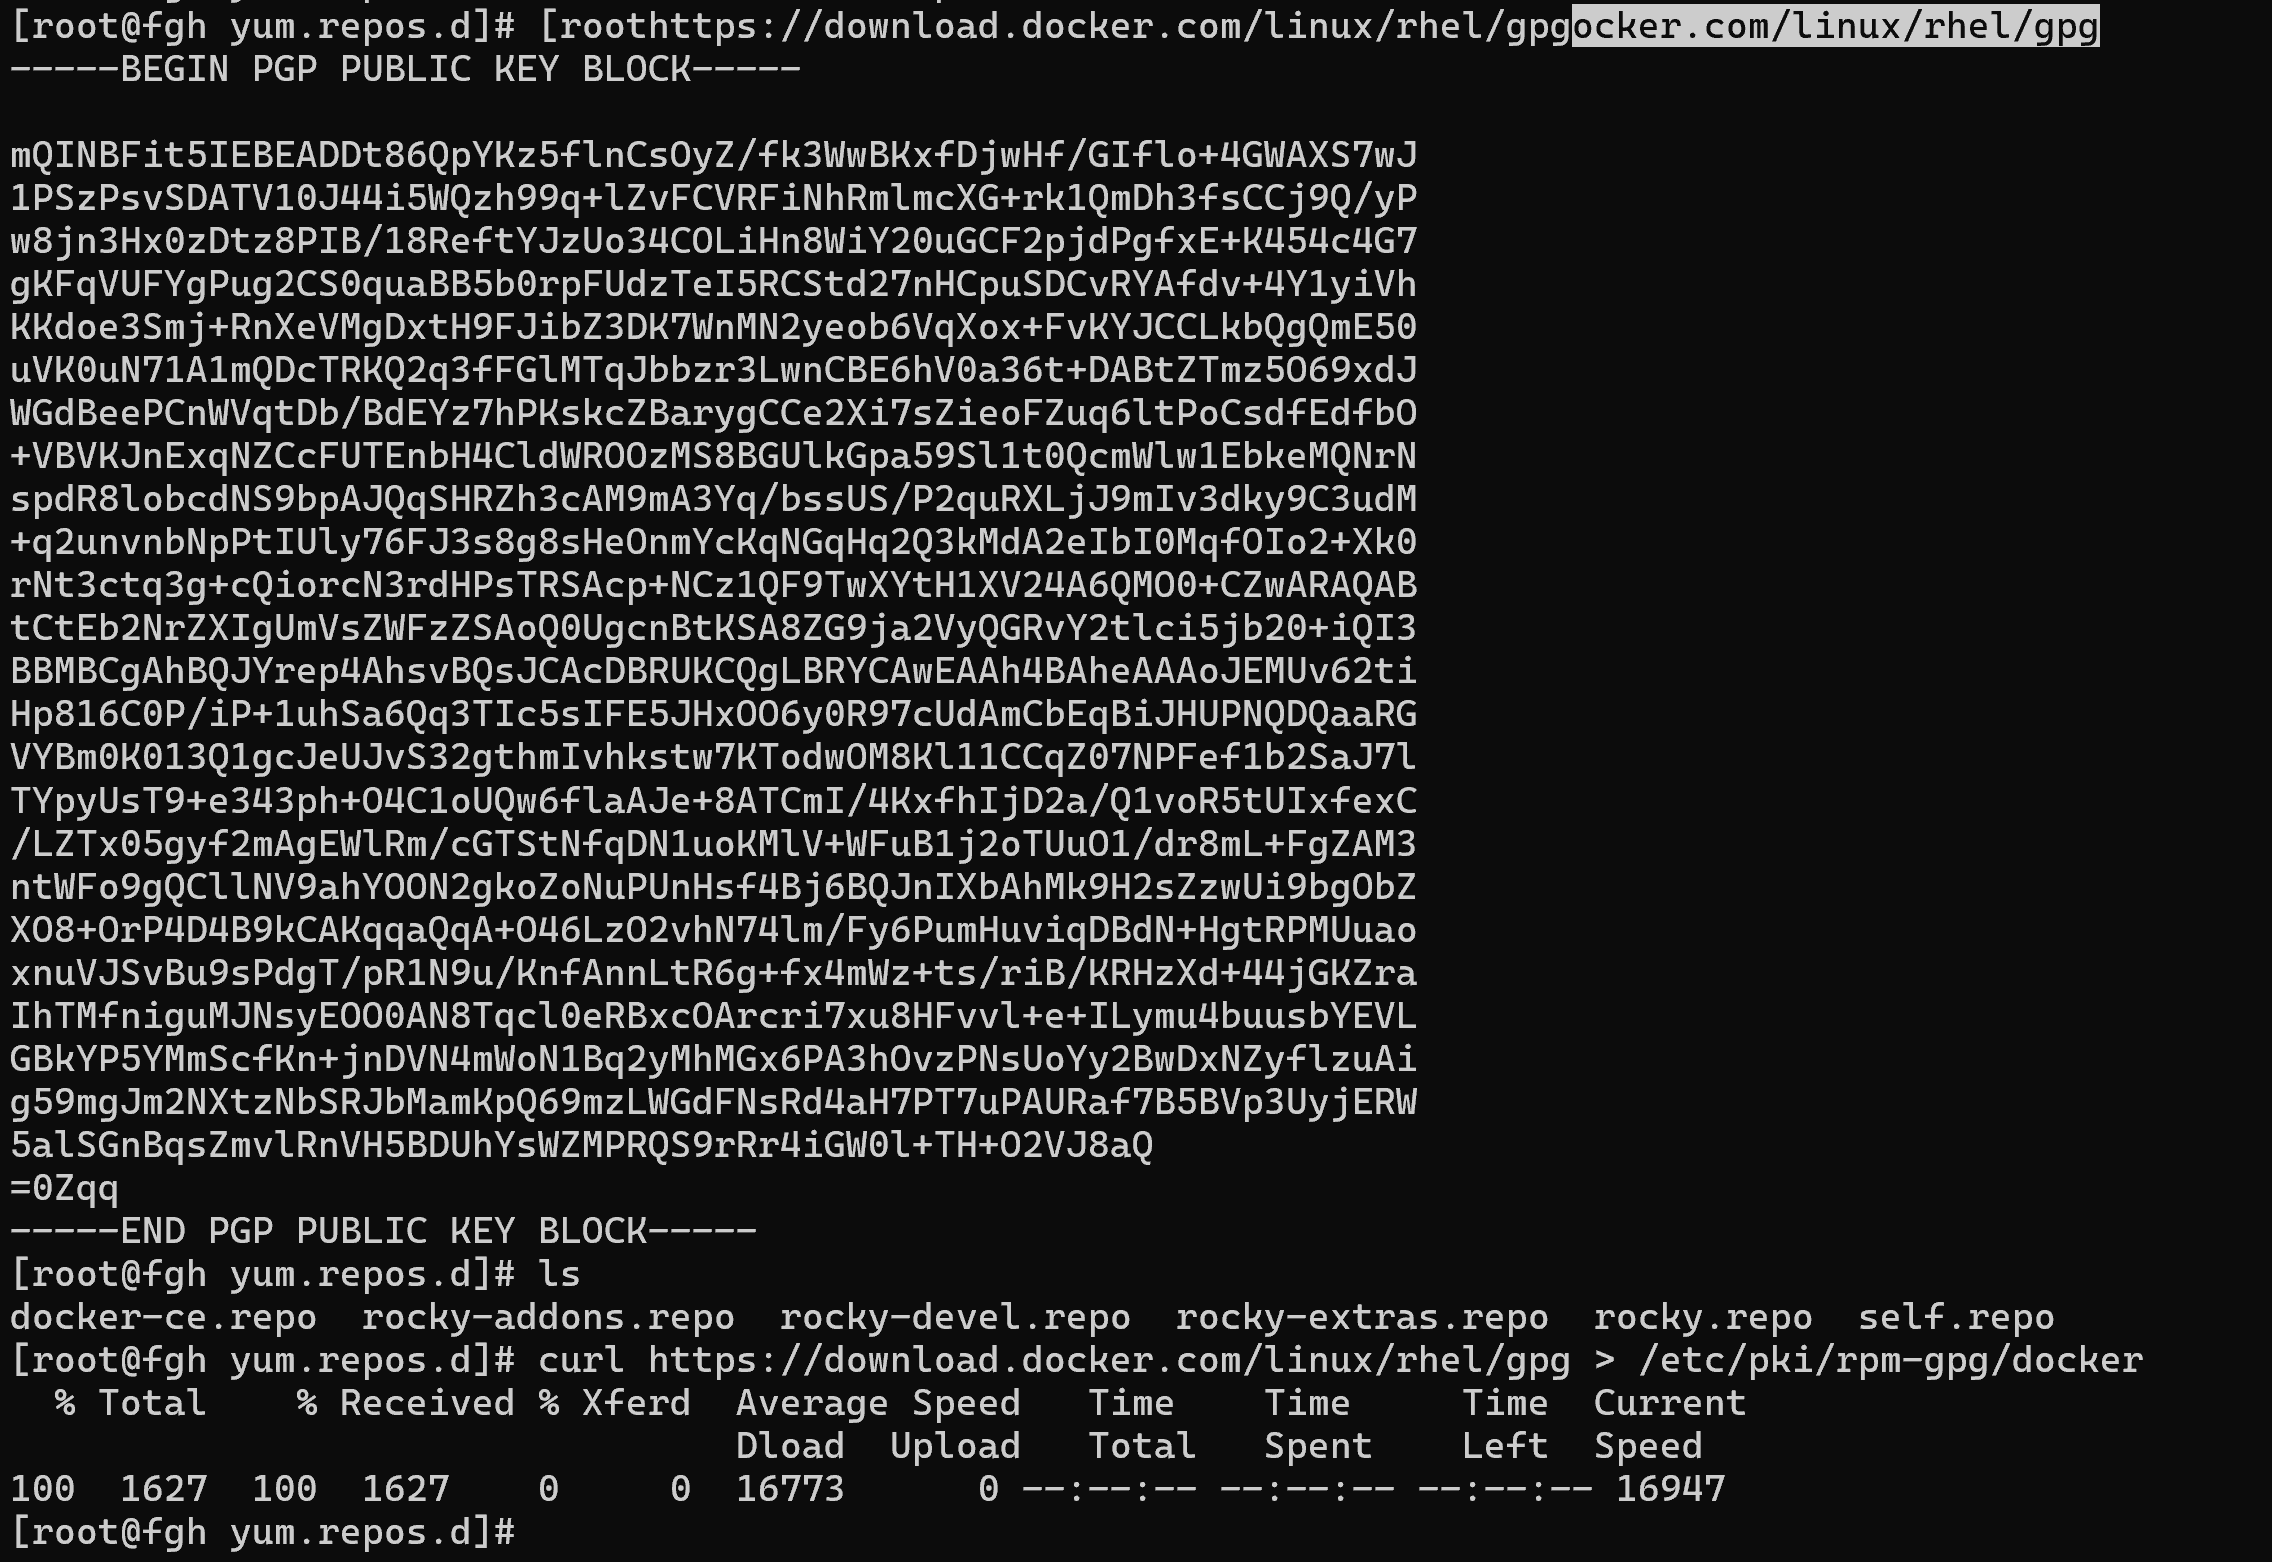
This command will redirect the output from the server to the key storage file. And in order for the repository to check the provided key we will specify it in the repository configuration with the line gpgkey=file:///etc/pki/rpm-gpg/docker, having previously commented out the previous one. Now let's test the repository by installing the docker-ce package:
dnf install docker-ce
In the Repository field we can see the list of repositories used to find the utility, as well as its dependencies that will be used for installation.
How do I delete a repository or disable it?
If we need to disable some repositories we can either delete the configuration file with them or switch them off with the enable clause. What is done is also in the configuration file. For example, we don't need the current online collection of Docker files, so let's update its value:
sed ‘s/enabled=1/enabled=0’ ./docker-ce.repo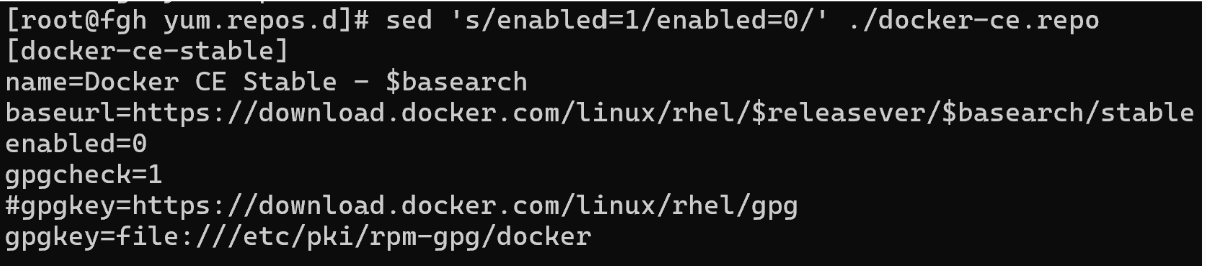
This command replaced all items from =1 to =0 in the parameter that was responsible for using repositories when searching. Now let's check how it works:
dnf update
As demonstrated, the repository has been successfully removed from the package manager's active search scope. This means it will no longer be considered during software installation or update operations, ensuring that no packages are inadvertently pulled from this source. This approach is useful when you want to avoid using outdated, unsupported, or unnecessary repositories in your system environment.
Proper repository management on Rocky Linux ensures system security, stability, and access to reliable software updates. By using trusted repositories, verifying GPG keys, and disabling unused sources, administrators can maintain a clean and predictable system environment.
Common Mistakes and Troubleshooting
When configuring repositories on Rocky Linux, administrators may encounter several common issues. Below are the most frequent mistakes and practical ways to troubleshoot them.
Repository returns a 404 or connection error
This usually means that the baseurl is incorrect or does not match your system version.
What to check:
- Make sure $releasever corresponds to your Rocky Linux version.
- Verify that $basearch matches your system architecture (usually x86_64).
- Test the URL manually using curl or wget.
dnf repolistIf the repository does not appear or shows errors, the URL is most likely invalid.
GPG key verification failed
This error occurs when the repository signing key is missing, outdated, or incorrectly specified.
How to fix:
- Ensure gpgcheck=1 is enabled.
- Verify that the gpgkey path or URL is accessible.
- If using a local key file, make sure the path starts with file:///.
rpm -qa gpg-pubkey* - Re-import the key if necessary and run dnf clean all before retrying.
Repository is not used during package installation
Sometimes a repository exists but is not considered by DNF.
Possible reasons:
- enabled=0 is set in the repository configuration.
- The repository is disabled globally or overridden by DNF configuration.
- Package priority or module streams prevent its usage.
Check repository status:
dnf repolist allConflicts between multiple repositories
Using several repositories that provide the same packages may lead to version conflicts or unexpected updates.
Recommendations:
- Avoid mixing repositories from different distributions.
- Disable unused or overlapping repositories.
Use repository priorities if necessary.
dnf repoquery --info docker-ceCached metadata causes unexpected behavior
DNF may use outdated repository metadata, leading to installation failures or missing packages.
Solution:
dnf clean alldnf makecacheThis forces DNF to refresh all repository information.
Permission issues with repository files or GPG keys
Incorrect file permissions may prevent DNF from reading repository definitions or GPG keys.
What to check:
- Repository files should be readable by root.
- GPG key files must have appropriate permissions.
ls -l /etc/yum.repos.d/ls -l /etc/pki/rpm-gpg/SELinux blocks repository access
In rare cases, SELinux policies may interfere with repository access or key usage.
Troubleshooting steps:
- Check audit logs for denials.
- Temporarily set SELinux to permissive mode to confirm the issue.
setenforce 0If the issue disappears, create a proper SELinux rule instead of disabling enforcement permanently.


