How to Install and Configure a DHCP Server on Windows Server 2016 for a Single Subnet
DHCP (Dynamic Host Configuration Protocol) is a network management protocol that automates the assignment of essential IP configuration parameters to client devices. These parameters include the IP address, subnet mask, default gateway, and DNS server settings, allowing devices to join and communicate on the network seamlessly without manual configuration.
A DHCP server centrally manages this process by dynamically allocating IP addresses from a defined pool, ensuring efficient use of network resources. It prevents IP address conflicts by avoiding duplication and automatically reclaims unused addresses for redistribution, which helps maintain a stable and organized network environment.
In this guide, we will walk you through the steps to install and configure a DHCP server on Windows Server 2016 specifically for managing IP address assignment within a single subnet, providing a practical solution for small to medium-sized networks.

Installation process
- Launch Server Manager and select “Add roles and features”. Choose the first item "Role-based or feature-based installation":

- Specify the server on which we will install the DHCP role:

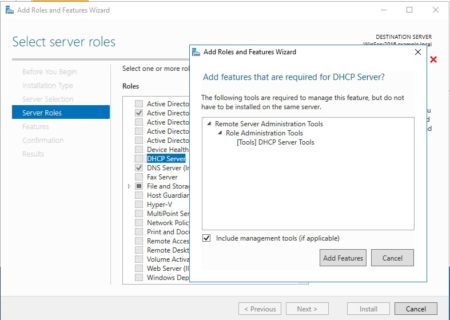
- Next, you need to find and select the DHCP role in the list. We agree to add the components required for the DHCP service to work properly. Since the components were added at the “Server Roles” step, we skip the “Features” step:
- The wizard reminds you to plan your subnets, areas, and exceptions:

- We check the installed components and click "Install":

- After the installation is complete, you can begin the initial configuration of DHCP. We follow the link "Complete DHCP configuration":

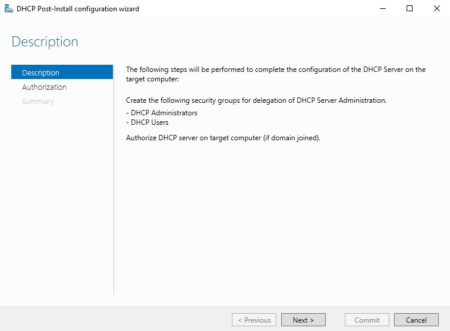
The initial setup process takes place in two stages:
1. Create a “Security Group” to manage this DHCP server. There are two of them:
- DHCP Administrators - group members have full rights to manage the DHCP server;
- DHCP Users - members of the group can view server settings and a list of connected devices.
2. Authorization of a DHCP server in Active Directory (if it is joined to a domain). This setting is necessary to avoid the appearance of extraneous DHCP servers on the network. The server must be authorized for the DHCP service to start:
- Enter the administrator credentials and click on the “Commit” button. If the server is not joined to the domain, then select the last item:

- If everything is done correctly, the wizard notifies that the configuration was successful:

Setup process
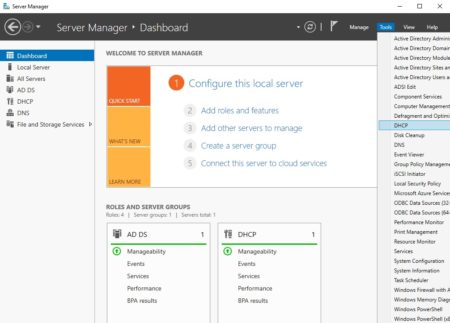
Launch the "Server Manager". We find the DHCP item in the "Tools" drop-down list:
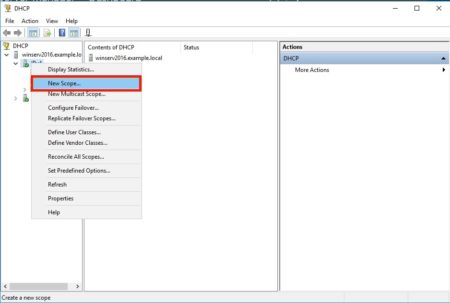
In our version, we are considering issuing IPv4 addresses, so we need to create a new area (Scope) - a pool of IP addresses issued to clients. Right-click on IPv4 and select “New Scope ...”:
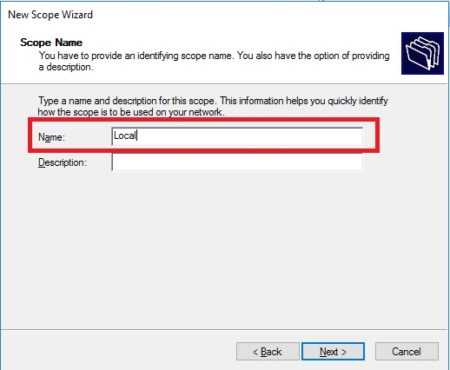
The Create Area Wizard opens, where we enter the name of the pool. If necessary, you can enter a description:
We determine the boundaries of our pool by setting the start and end IP addresses. Also, enter the subnet mask:

If necessary, you can add one or more IP addresses from the created pool to the exceptions. This range may include network devices that are already assigned a static IP. There is also a parameter for delaying the response of the server before sending data to the request from the host:

Next, you can specify the lease time of the IP address. The default is 8 days:

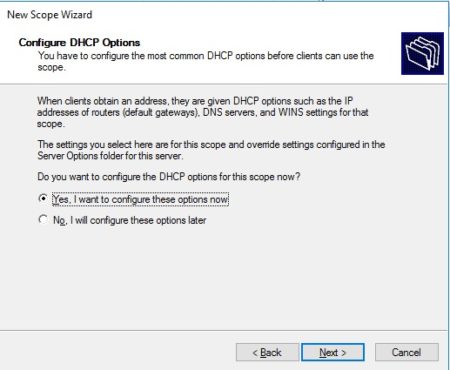
Now the Wizard will offer to specify the network parameters (Gateway, DNS, WINS) issued to clients on the network:
Specify the address of the network gateway:

Next, enter the domain name and DNS server. DNS can be found either by server name or by specifying an IP address:

The next step allows to add a WINS server:

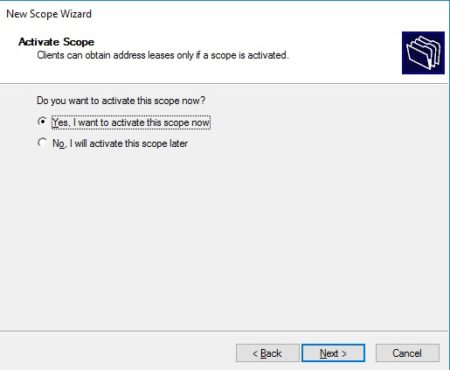
Select "Activate" the area we specified now:
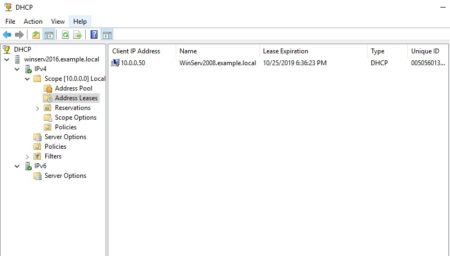
After setting up the pool, you can check if the server is working. You can see connected clients by going to the Address Leases section. In our case, we see that one device is connected:
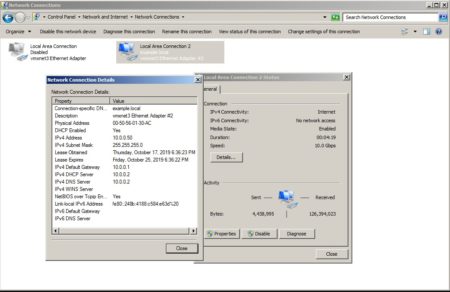
If we go to the client machine, we can check the correctness of the received settings:
Although we considered the configuration on Windows Server 2016, this instruction is also suitable for Windows Server 2008-2012, since the process is not much different.
Conclusion
Configuring a DHCP server on Windows Server 2016 is a crucial step to automate and simplify network management by efficiently assigning IP addresses and related settings to client devices. By following the installation and setup process outlined in this guide, you can ensure reliable IP address allocation, prevent conflicts, and optimize your network performance within a single subnet. This setup not only saves time but also reduces errors associated with manual IP configuration. Whether you are managing a small office or a growing enterprise network, mastering DHCP configuration on Windows Server 2016 will provide a solid foundation for scalable and efficient network administration.
FAQ: Frequently Asked Questions About Setting Up a DHCP Server on Windows Server 2016
- What is DHCP and why is it needed?
DHCP (Dynamic Host Configuration Protocol) is a protocol that automatically assigns IP addresses and network settings to client devices, simplifying network management and preventing IP conflicts. - What are the main functions of a DHCP server?
A DHCP server manages the allocation of IP addresses, prevents duplication, releases unused addresses, and distributes network parameters such as the gateway, subnet mask, and DNS. - How do I install the DHCP role on Windows Server 2016?
Use Server Manager to select “Add roles and features,” choose the DHCP role, confirm the installation, and then complete the initial setup by creating security groups and authorizing the server in Active Directory. - What is a DHCP scope?
A scope is a range (pool) of IP addresses that the DHCP server can assign to clients. During setup, you define the address range, subnet mask, lease time, and other settings. - Can I exclude certain IP addresses from being assigned?
Yes. You can specify exceptions in the scope settings—IP addresses that will not be assigned to DHCP clients (for example, devices with static IPs). - How do I verify that the DHCP server is working correctly?
In Server Manager, go to the DHCP section and check the list of active address leases to ensure clients are receiving correct network settings. - Is this guide applicable to other versions of Windows Server?
Yes. The DHCP setup process is very similar in Windows Server 2008, 2012, and 2016, so this guide applies to those versions as well.


