Introduction
In today's fast-paced business environment, organizations are frequently confronted with new challenges and tasks that require innovative solutions. However, these difficulties often arise due to a lack of specialized resources, time constraints, or inadequate management from decision-makers. When faced with such problems, companies may end up implementing unsuitable solutions or systems that fail to meet their needs. This can lead to further complications and hinder the success of plans.
To address these challenges, automation and outsourcing cloud platforms are gaining popularity as they provide fault tolerance, horizontal scalability, and ease of control for system solutions. One such service is Serverspace: Object Storage — SWIFT, which offers a highly structured system that can store data within containers using its method or metadata. In contrast to traditional file servers or cloud storage, SWIFT provides several advantages, including the ability to handle large amounts of unstructured data and easily search for it later on.
Setup CLI
Before proceeding further, we must ensure that our indexes and packages are up-to-date. To accomplish this task, we will employ the yum package manager on an Debian system:
apt update && apt upgrade -y
After updating our indexes and packages, we will proceed by installing the Python package manager. This tool will enable us to locate and retrieve the client software required for managing our storage:
apt install python3-pip
Warning! In the Book Worm version of Debian, python can't process installation client automatically due to external managed virtualenv! Therefore, we will create and activate environment manually, but there is once limitations - installed application work only from virtualenv. Let's install packet for manipulate virtualenv:
apt install python3-virtualenv
Now, we can create new env for our cli-utility, by the command below:
virtualenv swift
Then activate them, by following the directory where that environment was created, in our case that /root/swift. Look for your value in the command:
source /root/swift/bin/activate And then we finally can install packages from the pip3 manager, by the command:
pip3 install python-swiftclient python-keystoneclient 
In most Linux distributions, the necessary packages may already be pre-installed. However, it is essential to keep them up to date regularly. In case Python and pip3 are already present but pip3 cannot be located, you can use the following command to enable the package manager for Python:
python -m ensurepip --default-pipIf the initial approach fails to address the problem, it might be necessary to uninstall any earlier versions of Python and pip3 prior to re-installing them. An alternative option would be to update the current package installations before attempting a fresh installation:
yum reinstall python3-pipBy following these instructions, we aim to address any problems that may arise and equip ourselves with the required software to efficiently manage our storage.
Configuration and Usage
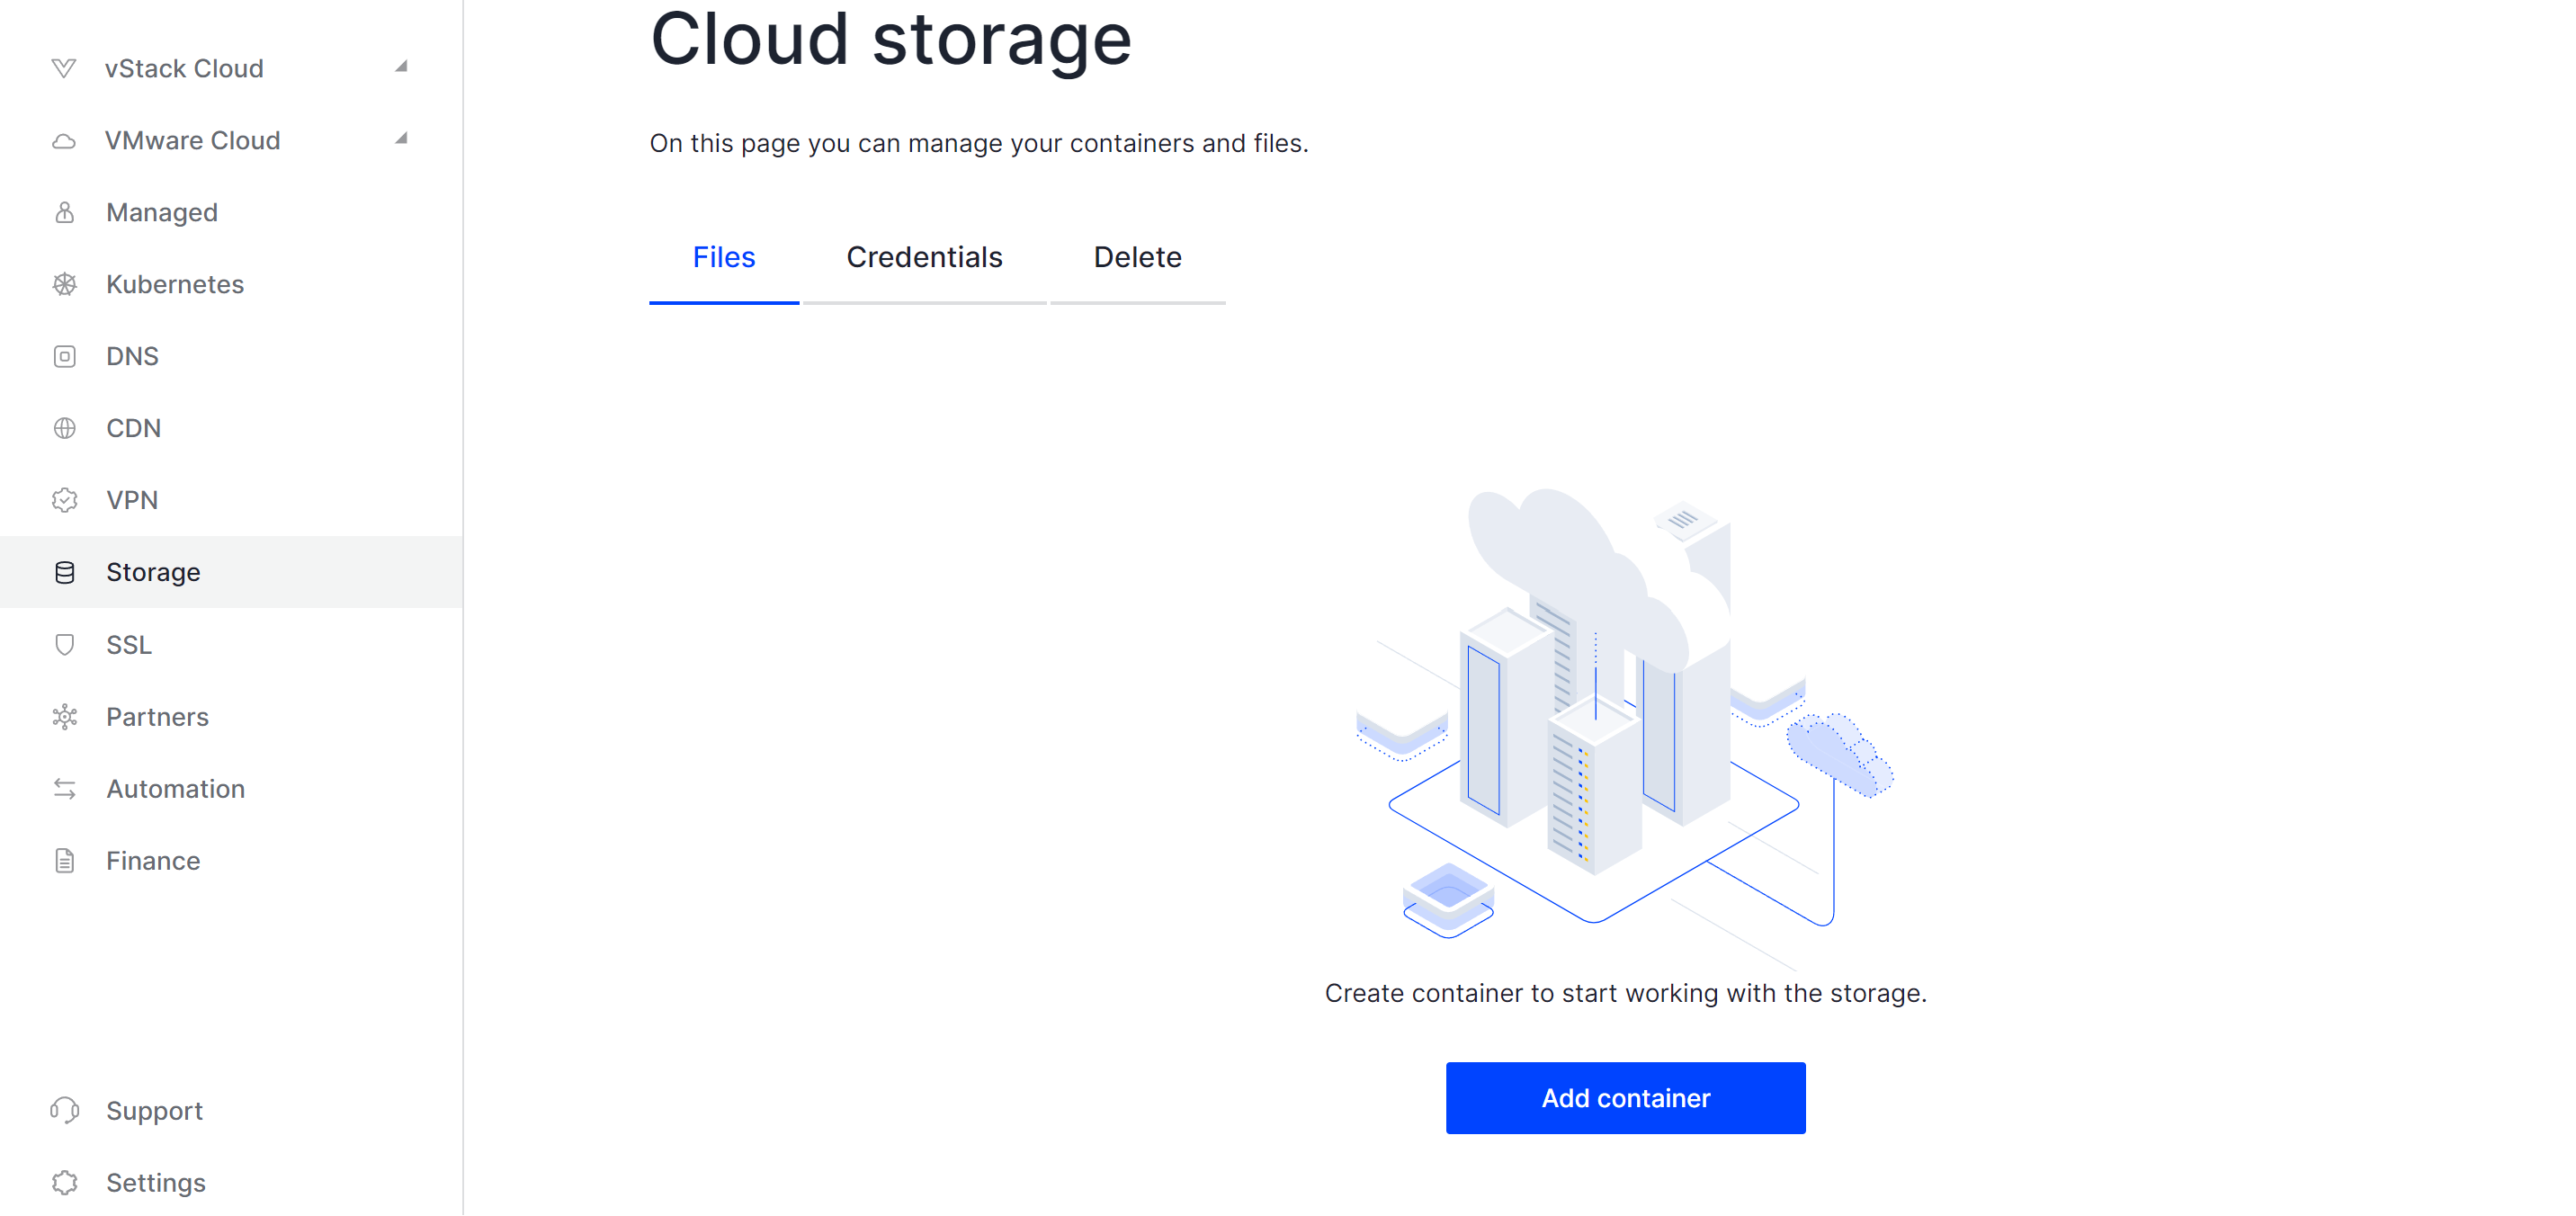
Before placing an order for Swift Storage through Serverspace, please sign in to your account and access the Storage section located on the left-hand menu. You can bypass this stage if you have previously purchased Swift Storage from Serverspace:

After locating the Activate button on the page, press it. Give the deployment procedure some time to execute. Once completed, you will gain access to the primary management console for your Swift Storage:

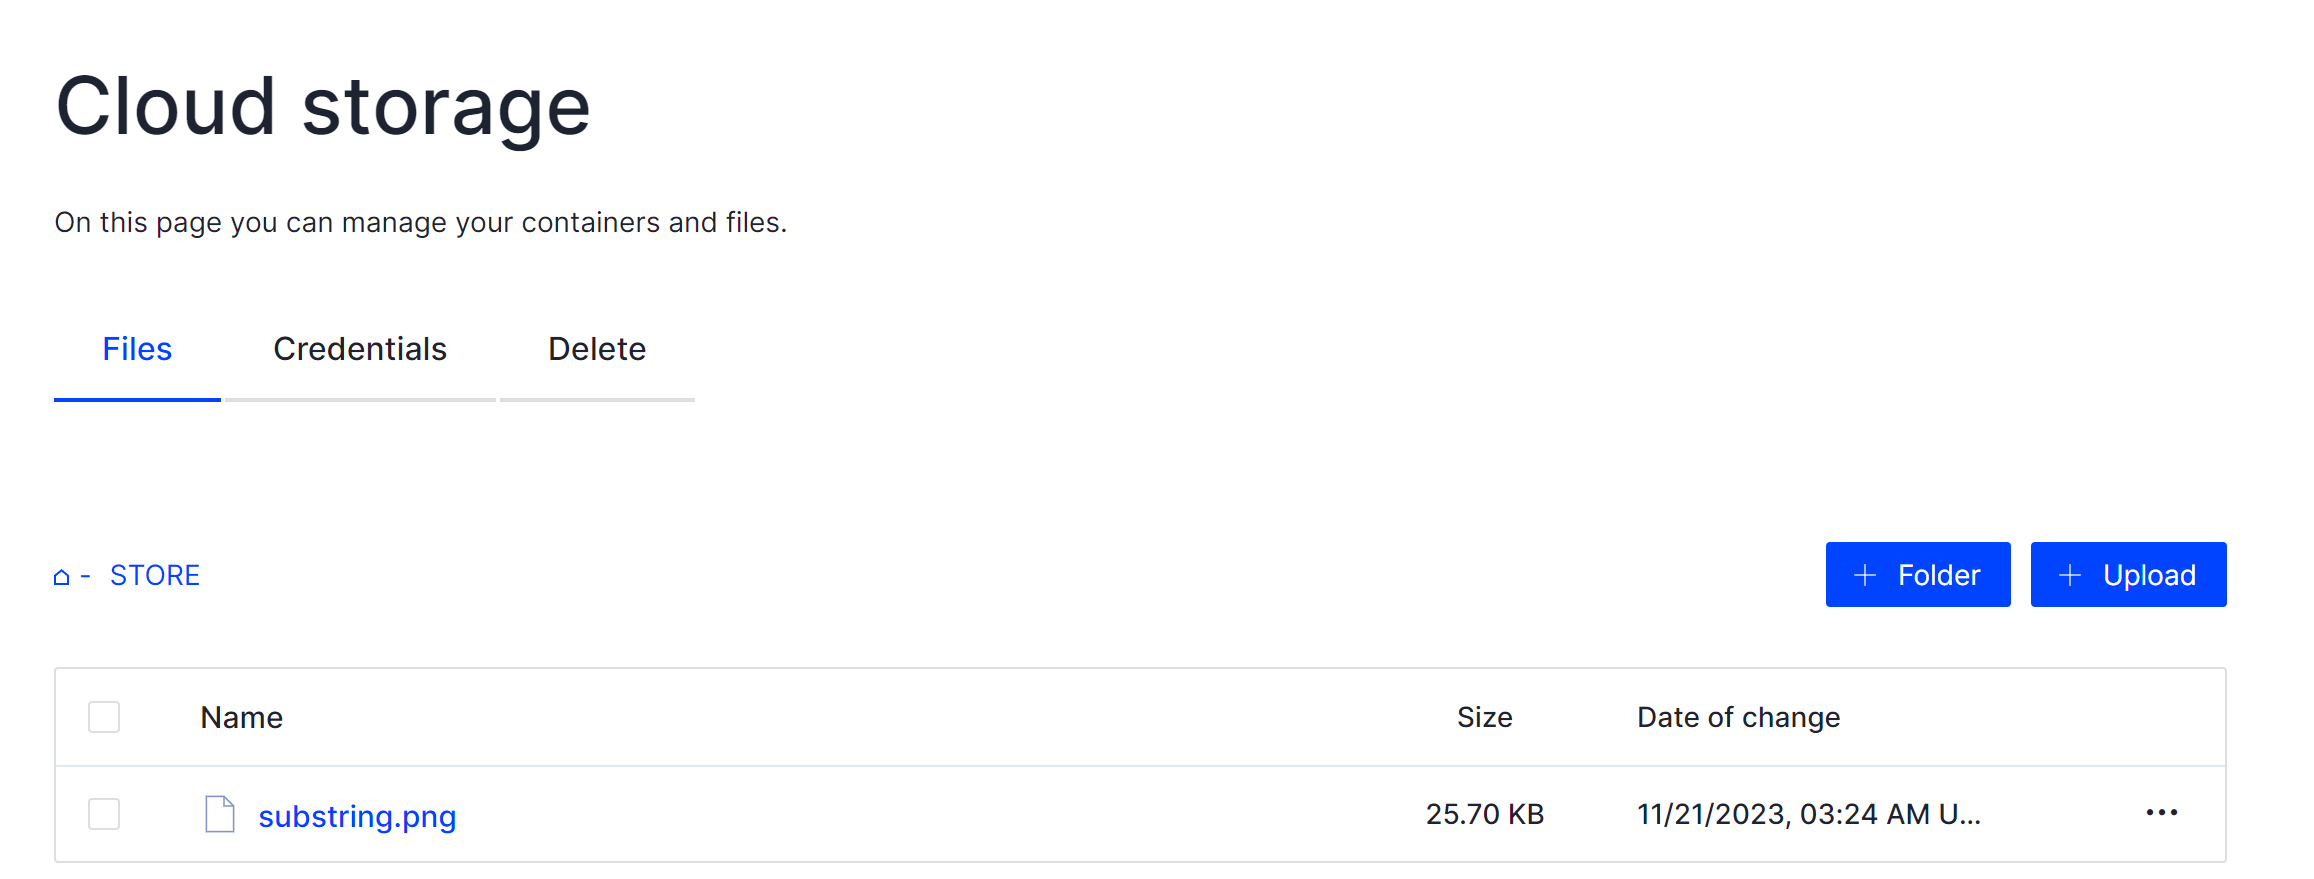
While you can easily manage your data via a web interface for personal use, automated management may be required in corporate settings. To start, click on the Add Container button and specify its name. Next, upload a file to verify the connection by testing it further:

On your display, find the tab labeled Credentials and click on it to navigate to the area dealing with Swift connections:

In the meantime, kindly hold onto this information. Then, please proceed to retrieve the device which has the downloaded client software installed on it. After gaining access to this device, navigate to the command prompt and enter the login credentials found in the provided table. This will allow us to establish a connection with SWIFT storage and manage data:
swift \

--os-storage-url $(Endpoint)/v1/AUTH_$(UserID) \

--os-password $(Password) \

--os-username $(Username) \

--os-project-name $(Project) \

--os-project-domain-name $(Domain) \

--os-auth-url $(Endpoint) \

stat -v
In that case our command will look like this:
swift --os-storage-url https://ru.serverspace.store:443/v1/AUTH_c7e61e55cca64d1f91d6a3b178a833f5 --os-password 6bfa1hdD2Dzr --os-username ssio6578_admin --os-project-name ssio6578 --os-project-domain-name default --os-auth-url https://ru.serverspace.store:443/ download STORE
Please note that the given instruction seeks to retrieve information from SWIFT storage using the entered credentials. You can validate the acquired data by executing the subsequent command:
lsIn order to simplify the authorization procedure and control access to your storage, you may want to create a shortcut within your login script:
echo "alias swift_request='swift --os-storage-url https://ru.serverspace.store:443/v1/AUTH_c7e61e55cca64d1f91d6a3b178a833f5 --os-password 6bfa1hdD2Dzr --os-username ssio6578_admin --os-project-name ssio6578 --os-project-domain-name default --os-auth-url https://ru.serverspace.store:443/'" >> ~/.bashrc
You may pick a meaningful title for this task, like swift_request. If there is any change in your login credentials (such as after resuming storage usage or due to various causes), you can update them in the .bashrc file using the given command:
nano ~/.bashrcNecessarily! You have to save entering alias by the command:
source .bashrcIn order for it to operate correctly, please delete all extraneous files linked to the storage container:
swift_request delete STORE
With the execution of the swift_request alias, a series of instructions specified in the associated script will be executed. You may add more parameters to the request if necessary after this step.
Conclusion
In essence, this tutorial provides a comprehensive overview of how to link Object Storage with SWIFT CLI on Debian. It underscores the significance of systematic methods and showcases the advantages of employing automation and cloud services for heightened productivity. By adhering to the guidelines presented in this manual, you will acquire an extensive comprehension of the procedure and be adept at executing it flawlessly.


