Why Use LVM on Debian?
LVM (Logical Volume Manager) is designed for flexible storage management and is widely used in Linux environments where disk space must be allocated efficiently. It is especially useful on Debian servers that handle multiple workloads, dynamic storage requirements, or shared disk resources. Unlike traditional partitioning, LVM allows administrators to extend, shrink, or migrate storage volumes without downtime, making it ideal for scalable and high-availability systems.
Additionally, LVM enables easy disk migration, including adding/removing drives and switching between mirrored or striped RAID configurations. Consequently, its use is advantageous in situations where data storage demand may fluctuate over time or when the need for redundant backup solutions arises (e.g. for disaster recovery purposes). In that instruction we will consider how to mount existing disk to system!
In this guide, we will walk through the process of mounting an existing LVM disk on Debian using standard Linux command-line tools.

Mounting a disk
First of all, we need to connect physically or virtual disk to our system and check them by the command below:
lsblk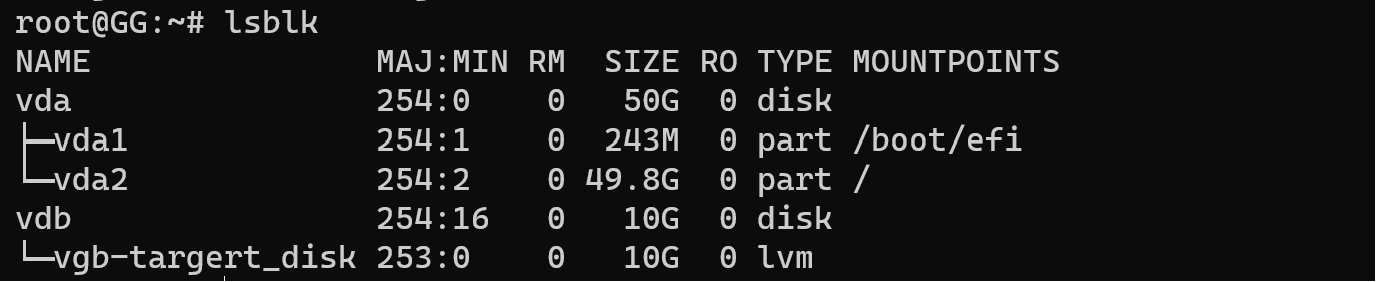
Now we can see printed map info about our disks system with various details, initially we have only vda physical and connect vdb virtual. But what type of disk you choose doesn't matter. Take a look at the last column with name MOUNTPOINTS that literally mean mount on the filesystem. If your disk doesn't display like this or in the filed type you see value none, then install needed utility for our manipulation:
apt install lvm2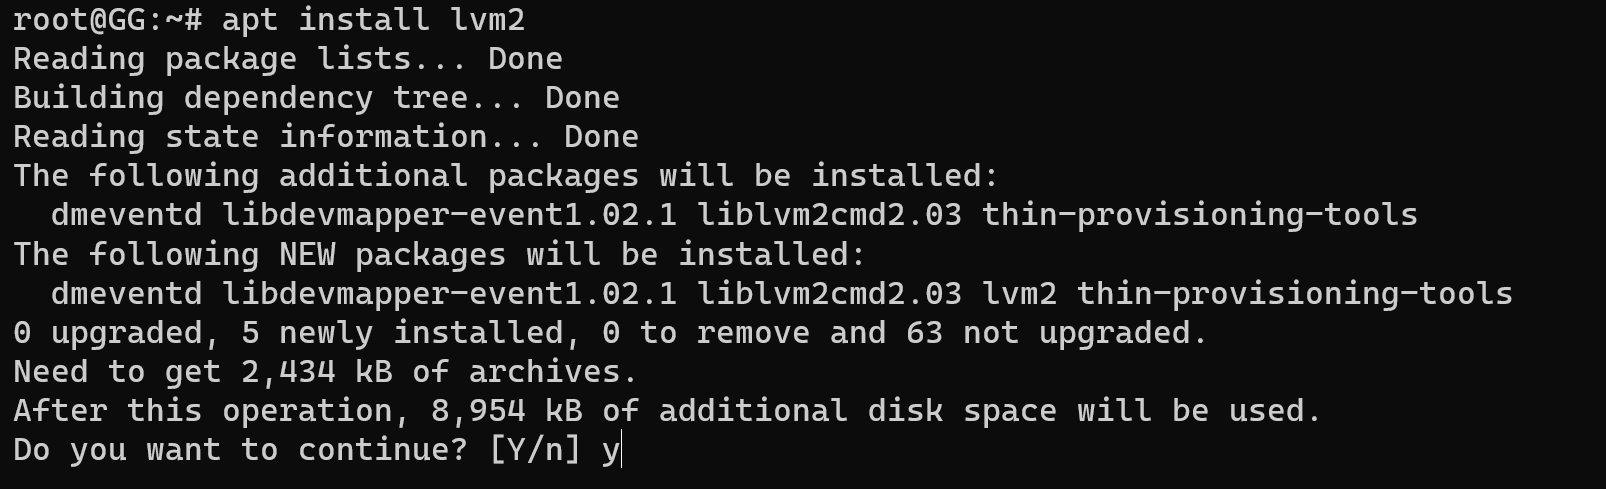
Alright! Not every time system search lvm disk automatically, for manual process we will use command:
vgscanAdditionally, after utility installation we can see disk space through the command with more detailed info about created volume:
lvs
Go ahead, commonly lvm disk activate automatically, but if in your case that doesn't work properly try to use command:
vgchange -ay /dev/vgbAnd also for logical volume we need to type command:
lvchange -ay /dev/vgb/target_disk
mkfs /dev/vgb/targert_disk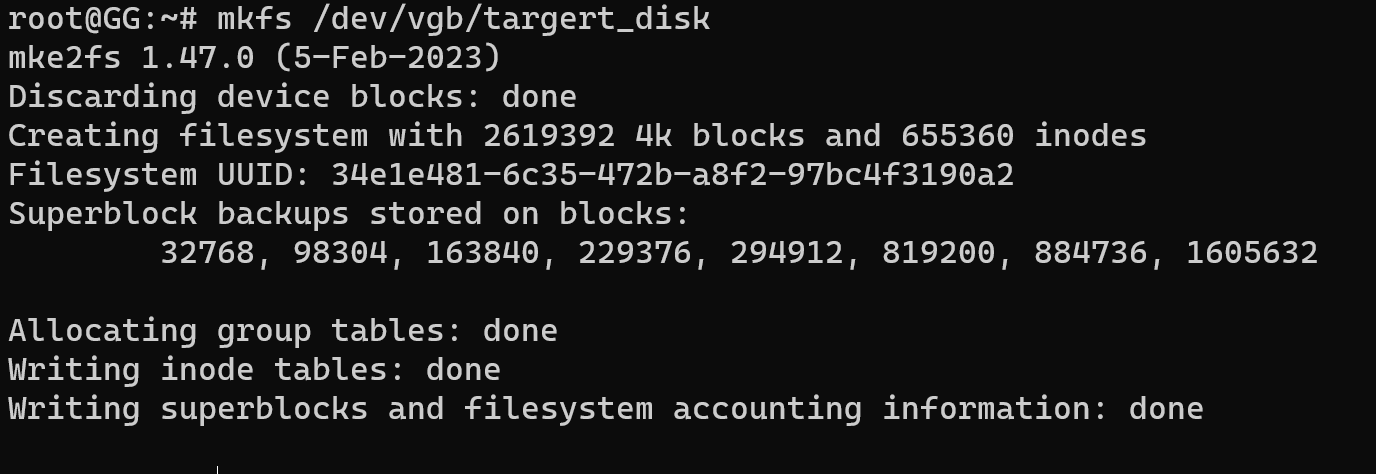
In the result we can see summary printed info. For temporary connect we can use command mount, for automatic load we will see below. At the first create or use currently existed folder in my case that /mnt/tmp:
mkdir /mnt/tmpAnd then mount disk:
mount /dev/vgb/targert_disk /mnt/tmpFor check result of our manipulations type:
lsblk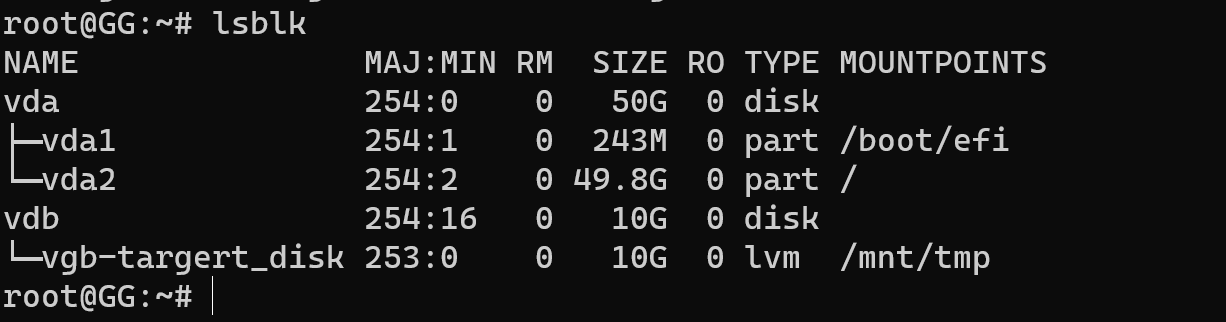
Last column indicate our point connection of disk /mnt/tmp! But what if we need to mount automatically disk with startup system? For that in the Debian we can use fstab. That file literally mount all disks contain in them, we just add specified row and system will work. But we need to know some details of disk:
blkid /dev/vgb/targert_diskThey will print UUID of the needed device and filesystem type, we will use them next.
echo 'UUID=34e1e481-6c35-472b-a8f2-97bc4f3190a2 /mnt/tmp ext2 defaults 0 0' >> /etc/fstabFor make sure that all work properly print last row in the file:
tail -n 1
Change UUID, folder where you want mount disk, filesystem and leave without changes defaults with 0 0. Command above allow to add entering values in the file.
For update map disk without restarting we will use:
mount -aMake sure that we do everything right:
lsblk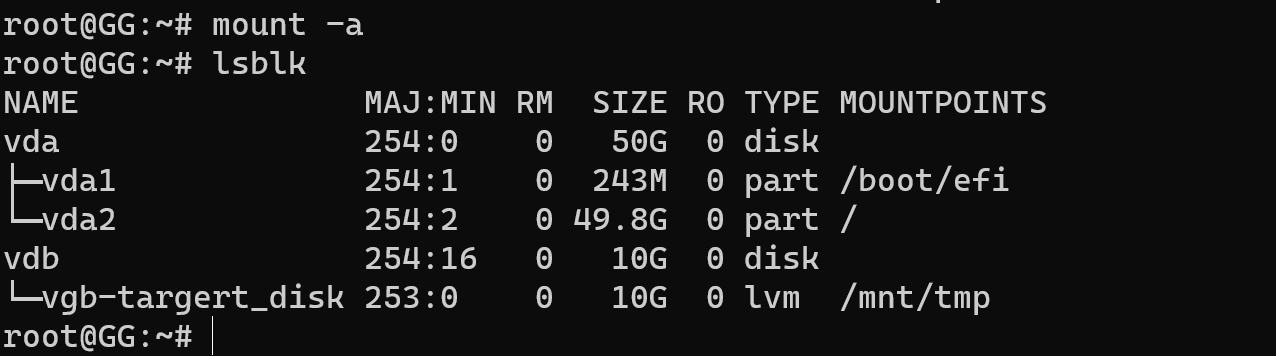
Also take look at the last column!
Conclusion
Mounting LVM disks on Debian involves several key steps, including scanning physical volumes, activating volume groups, mounting logical volumes, and configuring /etc/fstab for persistent mounts. This approach simplifies Linux storage management, improves disk utilization, and ensures reliable operation across reboots. Understanding LVM mounting is essential for administrators working with scalable and dynamic Debian-based systems.


