While working with Linux or other distributions on a daily basis, there is a list of tasks that need to be done hourly, daily or monthly. However, nobody cancels the human factor and it is easy enough to forget to perform a simple task or a routine list of them. To automate this kind of things there is a task scheduler - CRON! It allows you to execute on a certain schedule or interval the necessary commands.
What is Cron and how do I find it?
Cron is a system utility for automating the execution of tasks, scripts, utility commands, and services with a predefined schedule of precise times or intervals. This solution allows you to perform routine and constant tasks without user participation. Cron consists of several parts:
- crontab configuration files with commands to execute, when and what command should be executed. A separate file can be created for each user, usually stored in the /etc/cron.d directory;
- crond service, which periodically checks files with jobs to execute them.
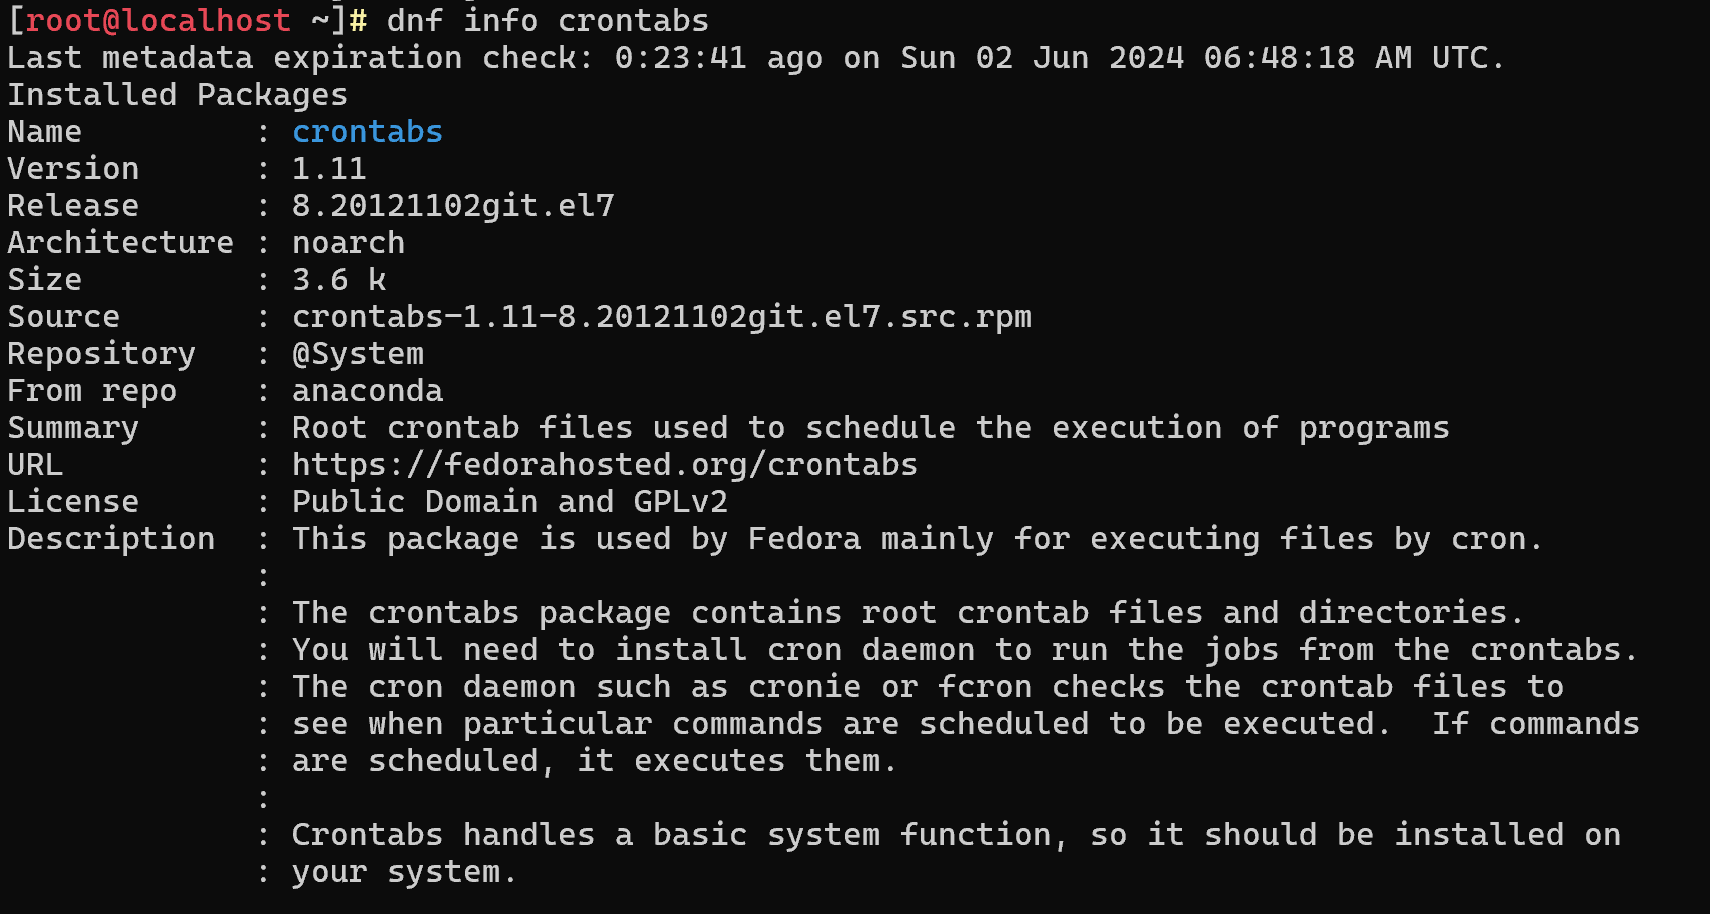
Let's check if the utility is installed on your system and where to find it, for RPM-like package managers use the command:
dnf info crontabs
If you are using the apt manager, use apt list | grep ‘.*cron.*\binstalled\b.*’[/code] to search:
apt list | grep ‘.*cron.*\binstalled\b.*’This will display a list of installed utilities mentioning cron, from which you can infer the installed software!
Installing cron
If you find that the packages are not present on your device, you need to install them via the command for apt-like distributions. Such as Debian, Ubuntu:
apt update && apt upgrade && apt install cronFor RPM-like systems, the command to install a package with its dependencies might look like this:
dnf update && dnf upgrade && dnf install crontabsAfter making sure that all dependencies with the package are installed via the crontab command, we can move on to its syntax!
Syntax and working principle of cron
There are a few basic blocks used to create a task in cron:
minutes hours hours days days months days_weeks username /path/to/commandThe first block with time values, which in order denotes the time when the task should be executed. Then comes the name of the user from whom it should be run, as well as the full path to the command. If the name is not specified, the task is assigned to the user by whom it was created.
For example, we need to display a text in the nearest exact time and write it to a file. To do this, let's write the command:
crontab -eA window with empty fields will open in the terminal, this is our task file, into which we can write one of them. To do this, let's go to the edit mode via the i button and write the following line:
27 7 * * * * * echo ‘Good morning $USER!’ >> /tmp/hello.txt 
It means that every day at 7 hours and 27 minutes the write to file command will be executed! Then press Esc to exit the edit mode and enter :wq to save and exit the editor.
To do this, type the following command, if it is not difficult, then skip this step:
 apt update && apt upgrade && apt install nano \

EDITOR=nano
Let's get back to our task manager! After a task is added cron will give an alert about it and in order to check the list of current tasks you need to write:
crontab -l
Great! The task has been created and now we need to check its operability for this we can wait for the time for which the task is set or forcefully run the file through the command:
run-parts /etc/cron.d/After that we will fix the result:

Cron worked on a task and wrote data to a file, but what if the task is not completed? How can I find out what actions cron has performed?
Cron logging
To view the actions of the utility, you need to open a text file with logs via the following command:
tail /var/log/cron Or use another path:
tail /var/syslog | grep ‘cron’Which will open a list of recent activity:

On the last lines, you can see that the CROND service has timed out the command and then terminated. If the list of tasks on cron is out of date, you can delete all tasks via the command:
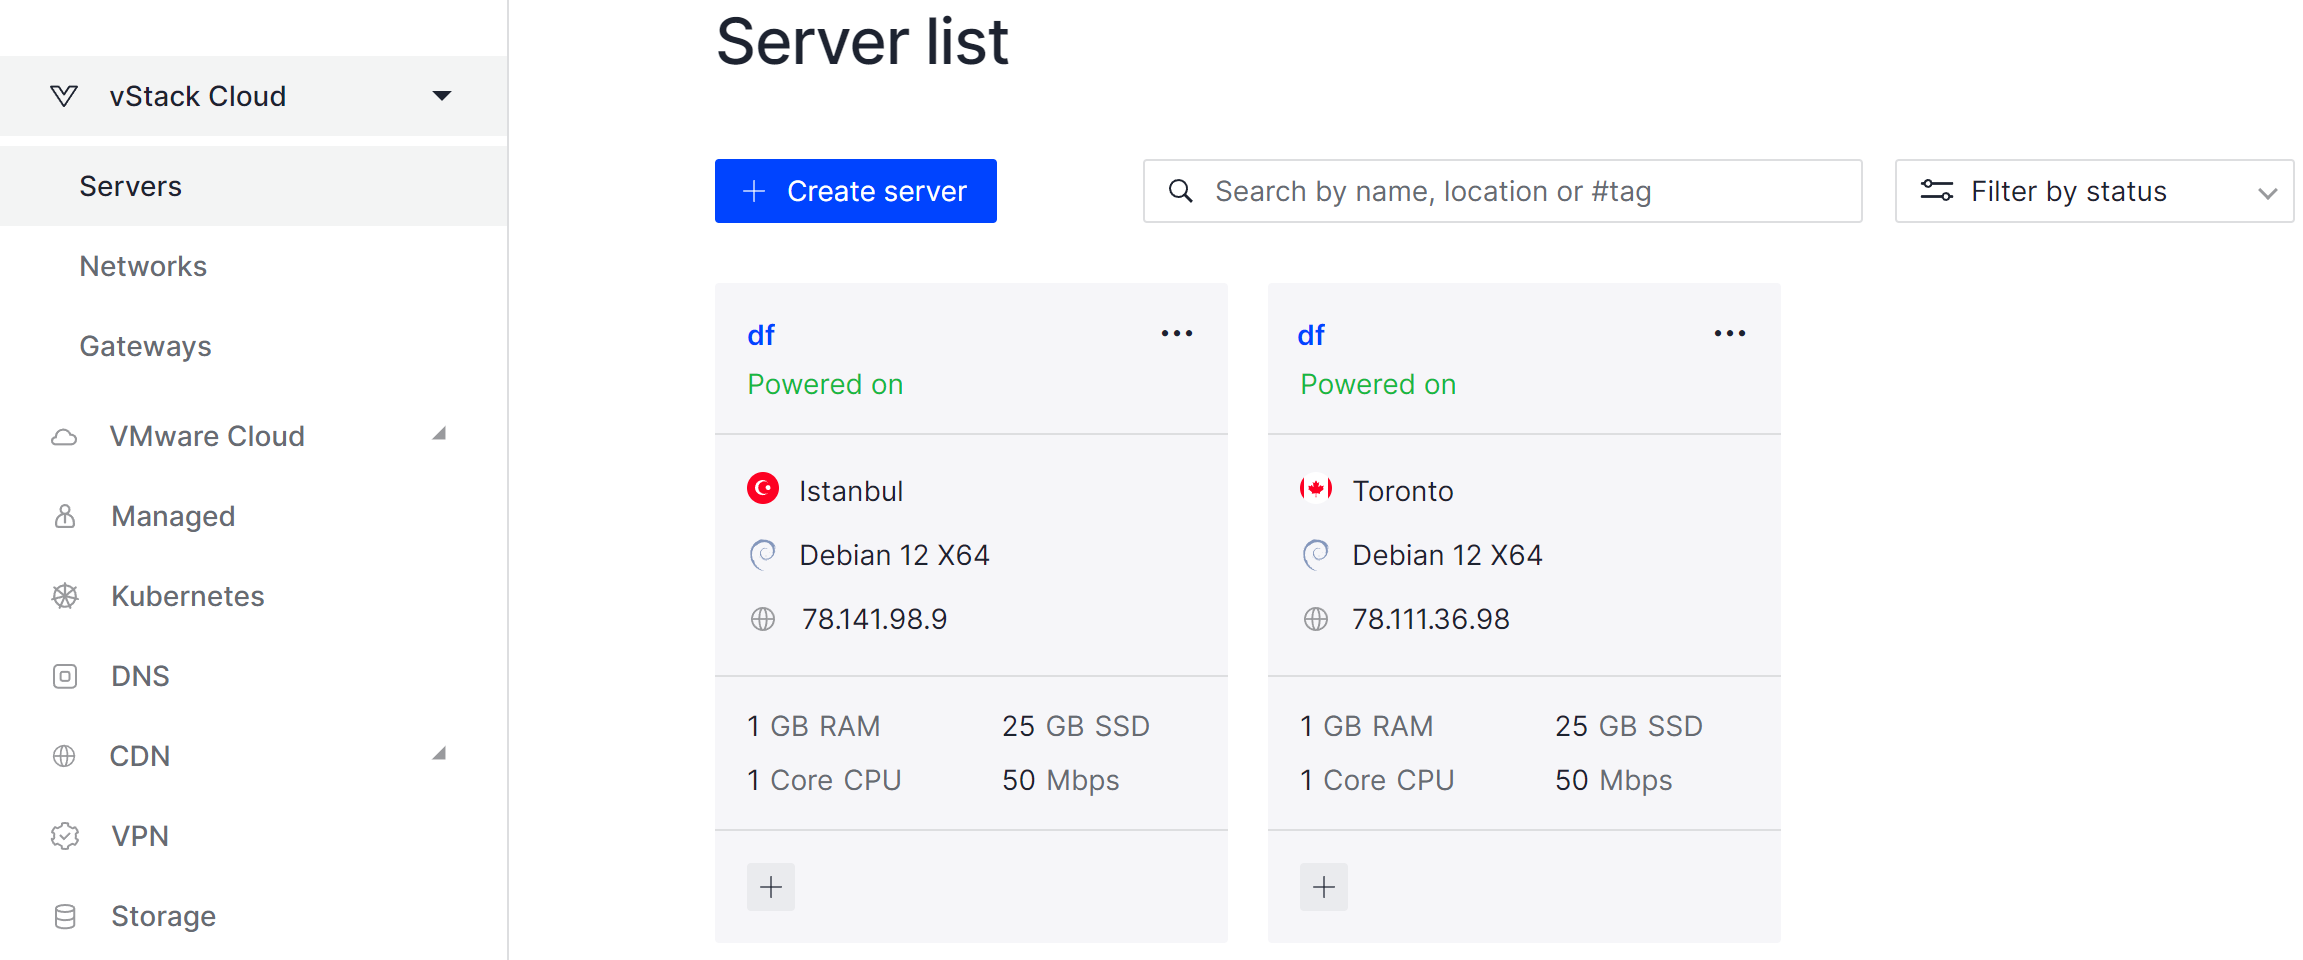
crontab -rAll steps in the tutorial can be performed on powerful cloud servers. Serverspace provides isolated VPS / VDS servers for common and virtualize usage.

It will take some time to deploy server capacity. After that you can connect in any of the convenient ways!
Example of using cron
If we take real tasks, cron helps to rotate temporary files and logs, clean temporary directories, create backups. Both for databases and for other systems. For example, let's consider directory cleanup, every day at intervals of 2 hours and 0 minutes with the cleanup command on the basis of storage more than a day:
0 */2 * * * /usr/bin/find /tmp -type f -mtime +1 -exec rm {} \ Let's check if it works using the utilities and methods described above:

Having checked that the utility has executed the appropriate command, we can declare the successful mastering of CRON!


