Working with disc space is one of the key skills in OS administration. It often happens that the size of a disc partition may be insufficient for services, in such cases it is expanded by reducing the size of others. The LVM tool allows dynamic resizing without rebooting the device.
How to quickly reduce partition size?
If you don't have sufficient resources than you can perform actions on powerful cloud servers. Serverspace provides isolated VPS / VDS servers for common and virtualize usage.

First of all it is necessary to install a set of tools that will be used to partition the disc space. To work with the physical disc and its logical partitions we need the parted utility, and to work with lvm we need the lvm2 utility:
apt update && apt install parted lvm2
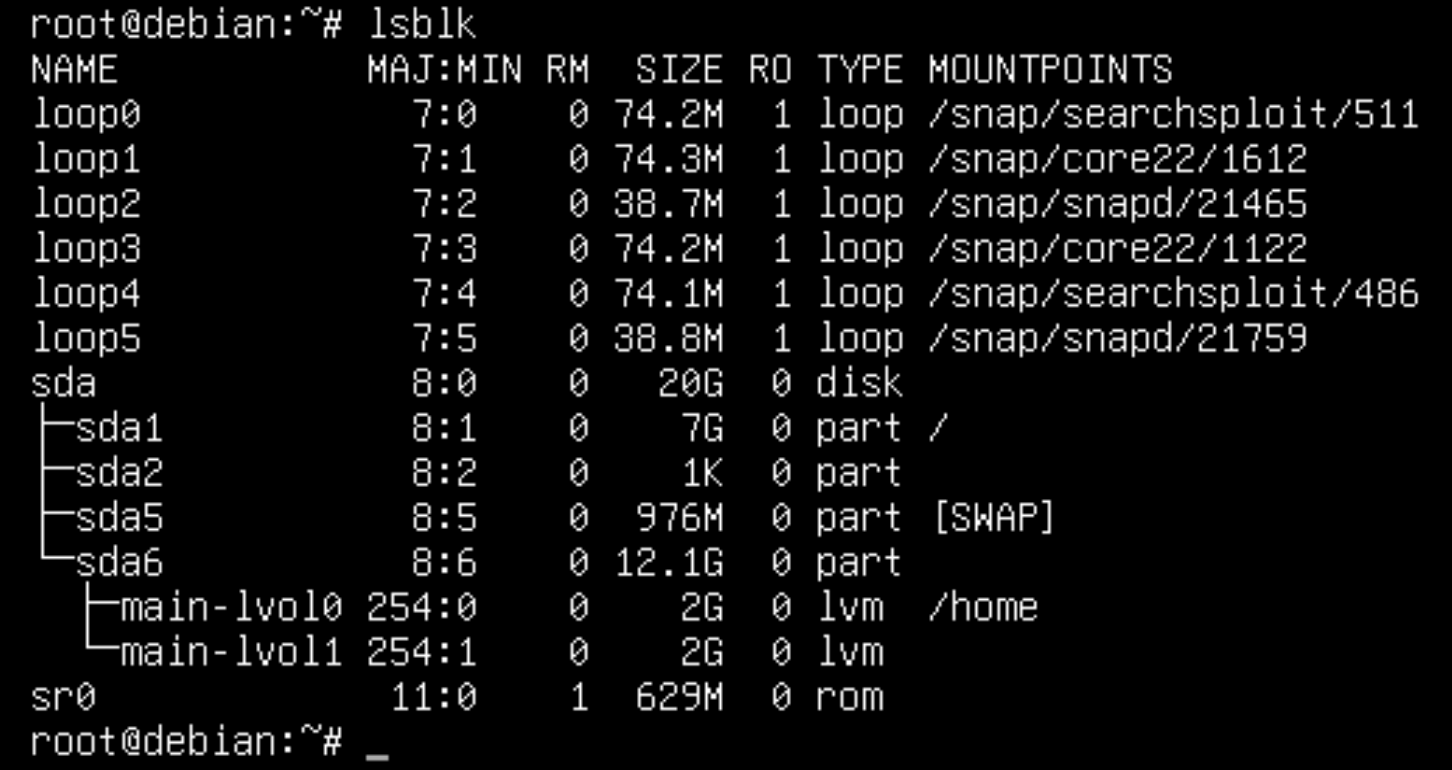
Great, now that we have all the tools from the toolbox - let's go through the list of mounted file systems:
df -H
When installing the image in /home, we lacked 2 GB - we need to increase the size to 3 GB, at the expense of the second partition. Unmount the working partition with the command:
umount /dev/main/lvol0
Note that you need to specify your logical partition! After the partition has been unmounted and is not used by the system - we can set a new space size for it.
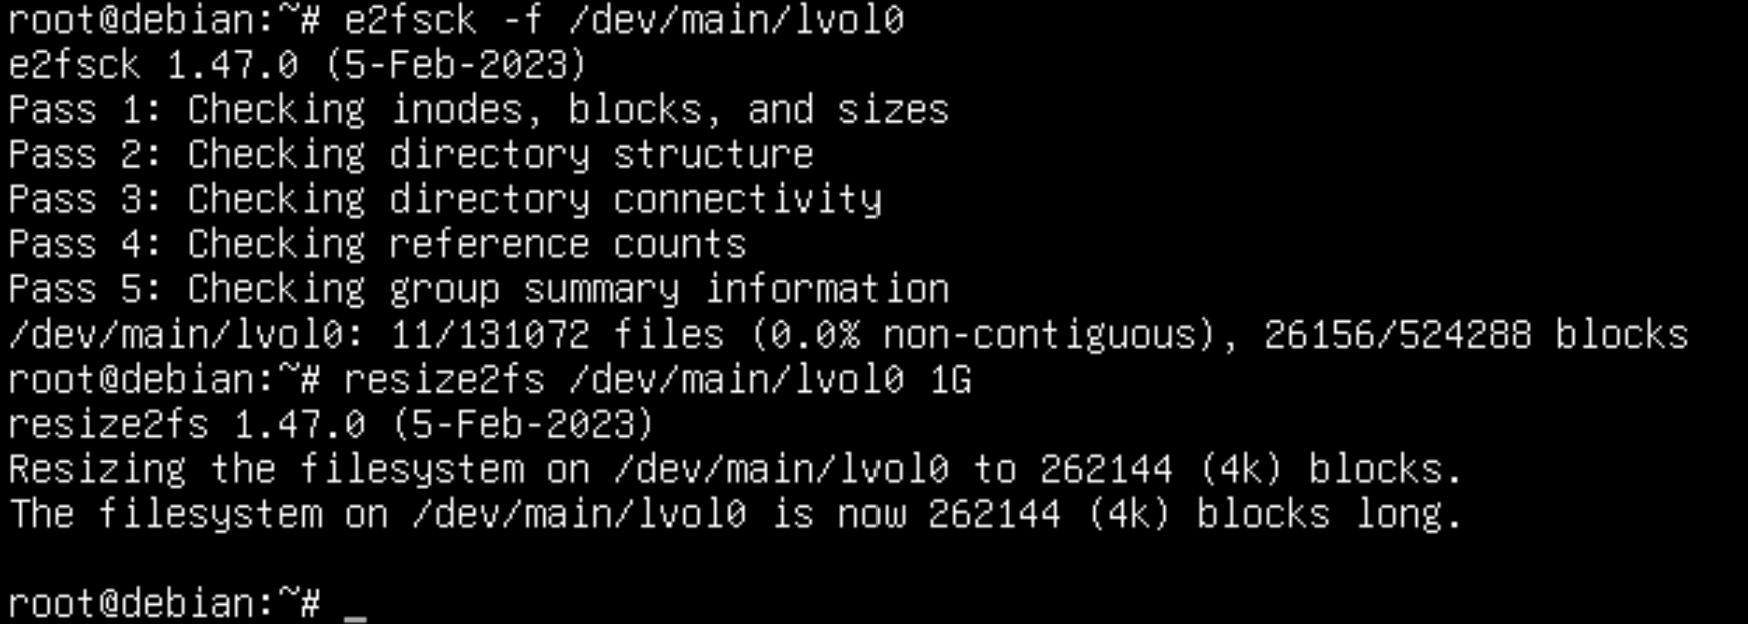
resize2fs /dev/main/lvol0The warning asks you to scan the partition for errors with the e2fsck utility, after which you will need to repeat the command. Let's speed up the process by entering two commands at once:
e2fsck -f /dev/main/lvol0 && resize2fs /dev/main/lvol0  Screenshot №5 — Reduce filesystem
Great, the message at the end notifies you of the new FS size. Shrink the lvm system logical partition with the command below:
lvreduce -L 1G /dev/main/lvol0 
The output of the command shows that the task was successfully completed, the partition was reduced! Using the freed space, we will enlarge another logical partition. Don't forget to mount partitions!
How to quickly increase the partition size?
Now the free space of the virtual group is exactly 1 GB, it must be defined to the logical partition lvol1. To do this, we will proceed in reverse order, first increasing the volume size:
lvextend -L /dev/main/lvol1 3GYou can find your volume with the lvscan command, in case it is not shown via df -H. After that let's increase the file system size to the maximum available:

In a few commands the space was enlarged and moved from the neighbouring partition, all that was left was to mount it and test it to see if it worked:
mount /dev/main/lvol1 && df -H


