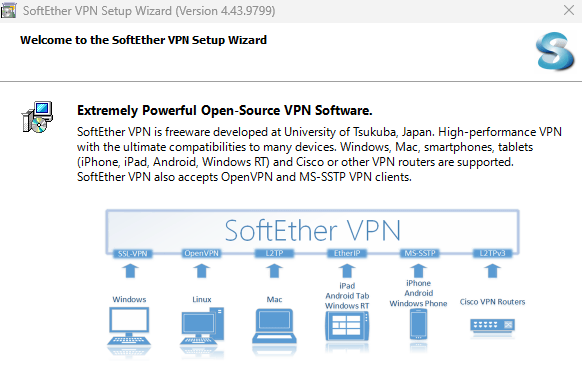
In this article we will consider the main aspects of deploying a VPN client solution and establishing a connection to the server for SoftEther VPN Client!

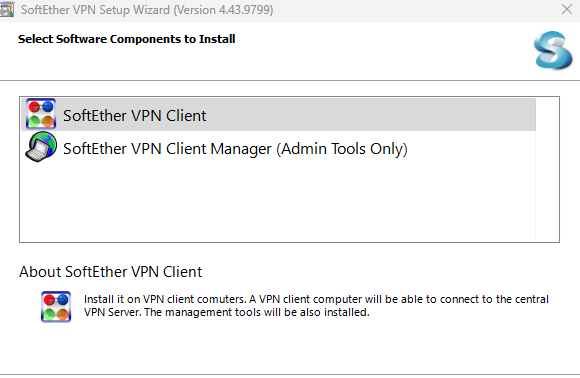
First of all, let's pre-install all the necessary packages, for this purpose go to the official SoftEther website and download the latest version of the VPN client. Choose the appropriate distribution for your OS and architecture.
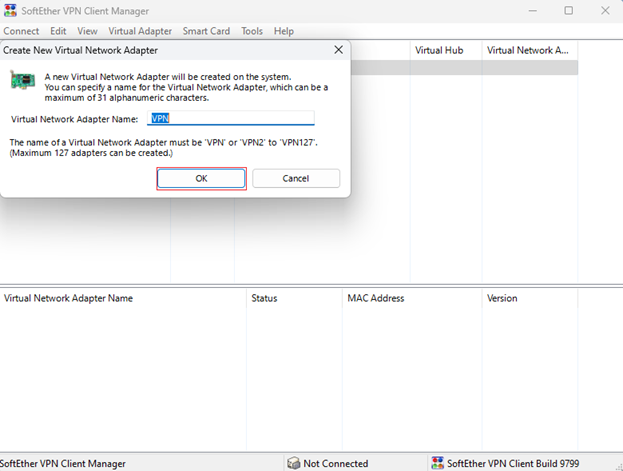
Installing the VPN client
Afterwards, run the installation file and follow the on-screen instructions to complete the installation.

After installation, open SoftEther VPN Client and proceed to connection setup:
To create a new connection Click on the “Add VPN Connection” button. Enter a name for your connection in the “Name” field. Enter the server address (IP address or domain name) in the “Host Name” field. If necessary, change the port (443 is the default).
Let's move on to selecting the authentication method. The classic and simplest is login by login and password, so let's choose it. Enter your credentials (login and password) in the appropriate fields.
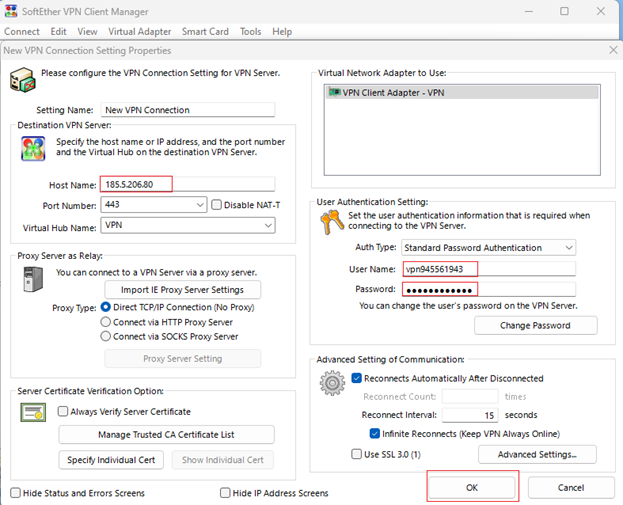
Click “OK” to save the created connection.
Connection to VPN-server
In the SoftEther VPN Client main window, select the connection you created. Click the “Connect” button. After successful connection, you will see the “Connected” status.

You can now use the internet via VPN.
Turn off VPN-client
To disconnect from the VPN, select the current connection and click the “Disconnect” button, which will disconnect the virtual adapter we created earlier. Traffic will go through the classic routes!


