Modern operating systems are no longer single-user terminal windows with a shell. Now they are multitasking multi-user operating systems with a graphical interface and the ability to process data in parallel. In this connection there is a need to organise work between users: their authorization and authentication. In this article we will consider the algorithm of authentication in Linux and how you can manage one of them.
What is PAM and what do Linux passwords have to do with it?
PAM or Pluggable Authentication Module is a single service that integrates authentication providers, allowing you to choose any scenario and the order in which they are used. They are considered system methods via /etc/passwd, /etc/shadow, where it compares the user and his entered password in the form of a hash. It can be LDAP, Kerberos, NTLM, SSH and others.

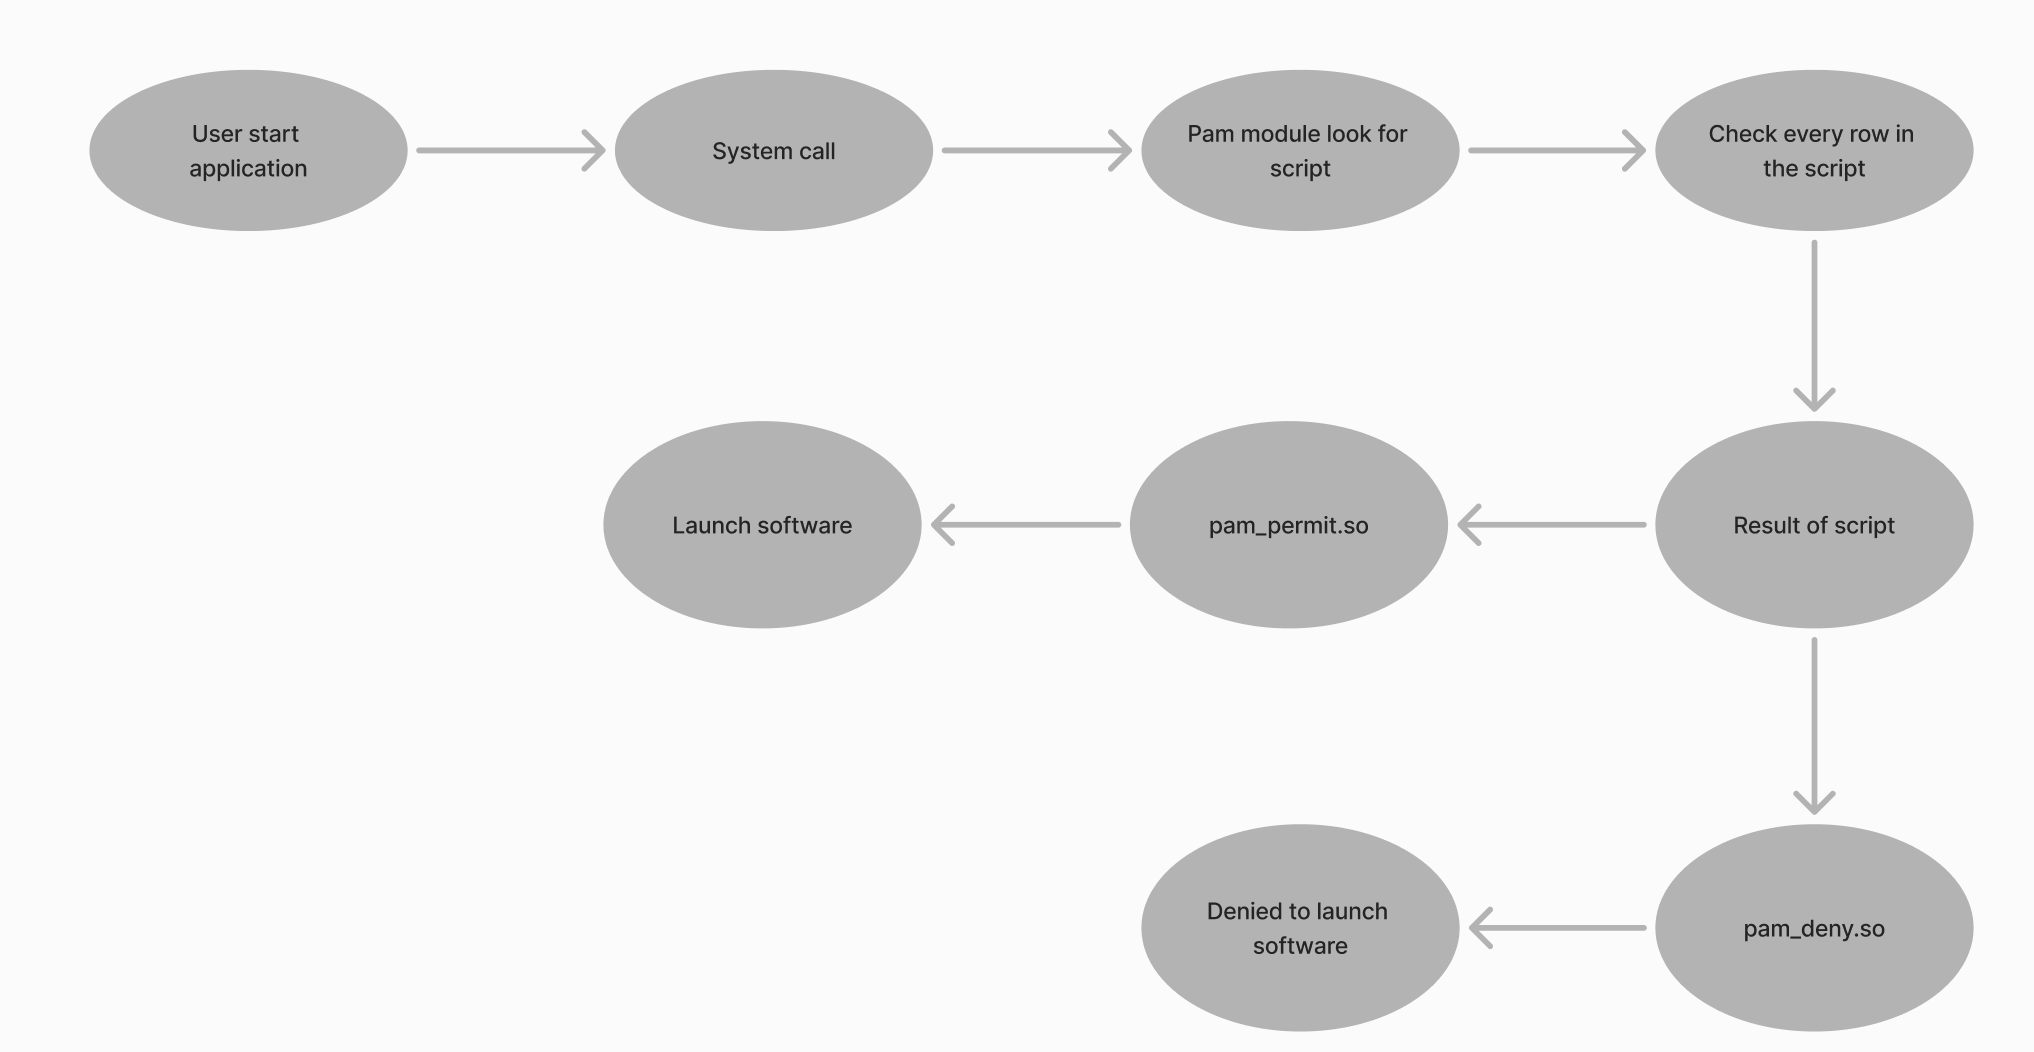
The way it works is that the user requests the execution of a file as a system call to the OS kernel. After the PAM module intercepts and processes the request according to the script prescribed for working with the service, determining access for the user. New providers for authentication can be connected by installing appropriate packages and libraries.
Classically, system password checking is used in the /etc/shadow directory using the pam_unix.so module. The user enters authentication data, it is hashed and compared to the hash in the directory. An example of an entry is as follows:
user:$6$JdjJd8...$:18355:0:99999:7::: It's immediately clear that user represents the user login and the value $6$JdjJd8...$ is the password hash, but what comes after that? This is the metadata, where 18355 is the date the password was last changed. The next fields are responsible for minimum/maximum authentication data expiration, warnings before expiration, and lockouts. The module accesses the file and reads all these values and then gives PAM a true or false response.
Let's take a look at the tools that will allow you to specify password settings in the /etc/shadow file.
Linux password tools
The most popular password utility is passwd. Simple functionality that includes changing, locking and unlocking, password validity and deletion. Let's create a new user and test all the features of the utility on him!
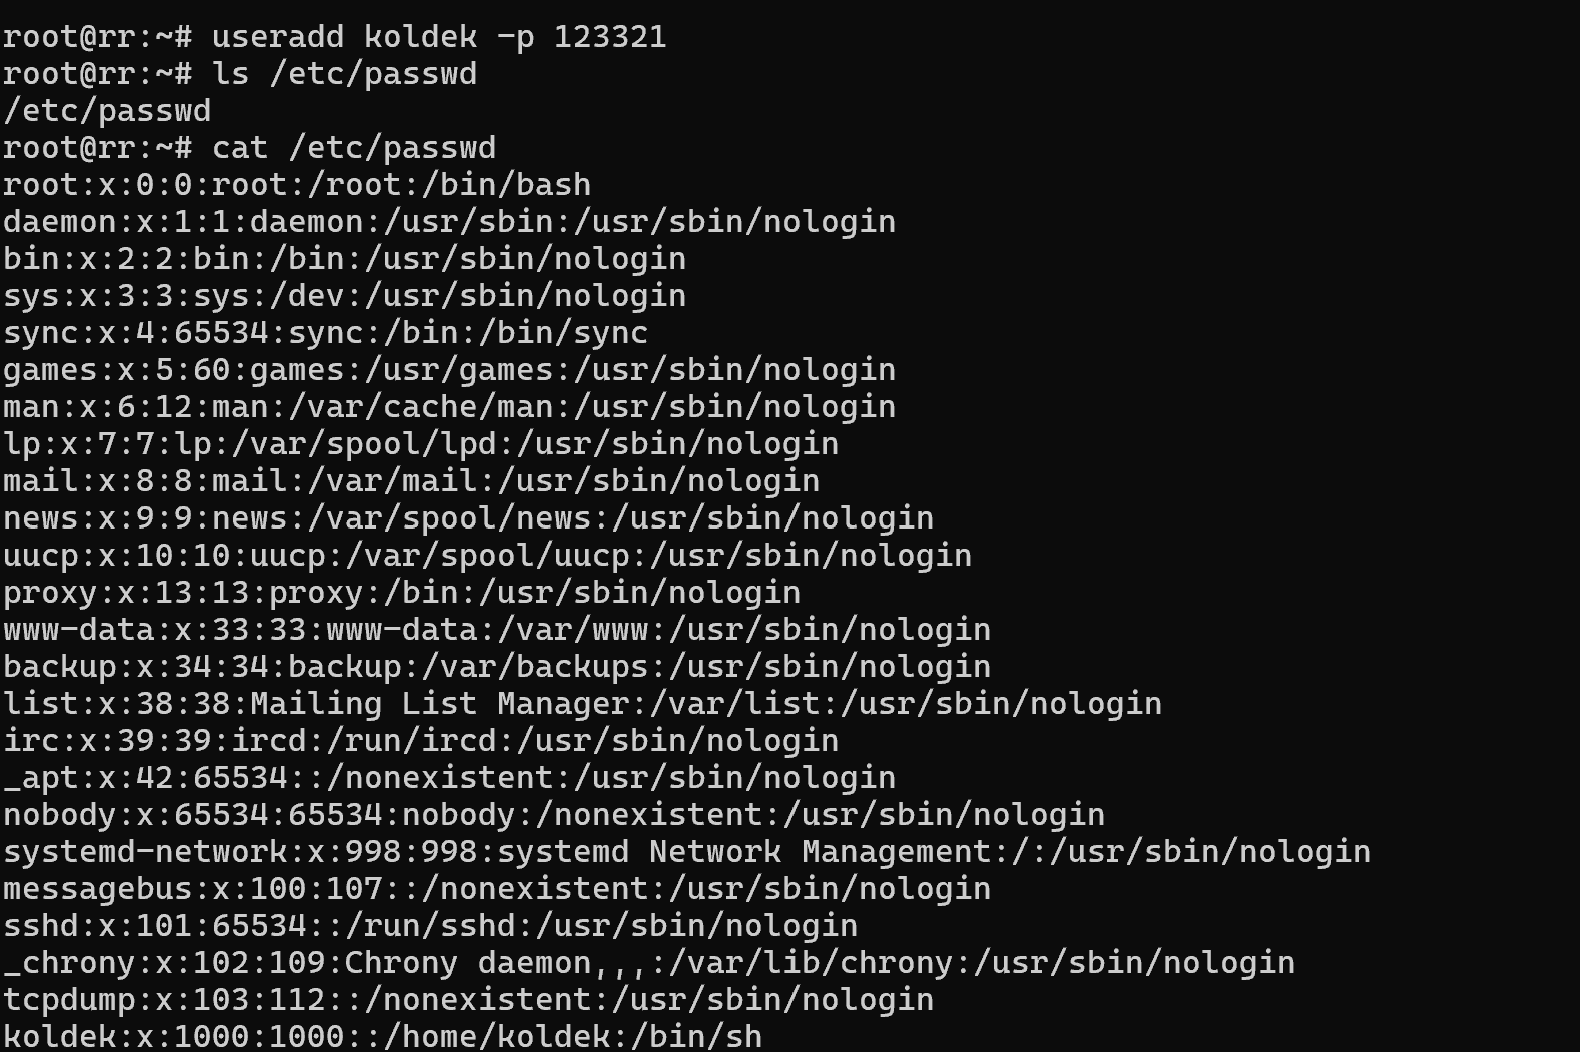
useradd koldek -p 123321  Screenshot №2 — New account
In the useradd utility, the -p option allows you to set the password in one command at a time and use it for authentication.
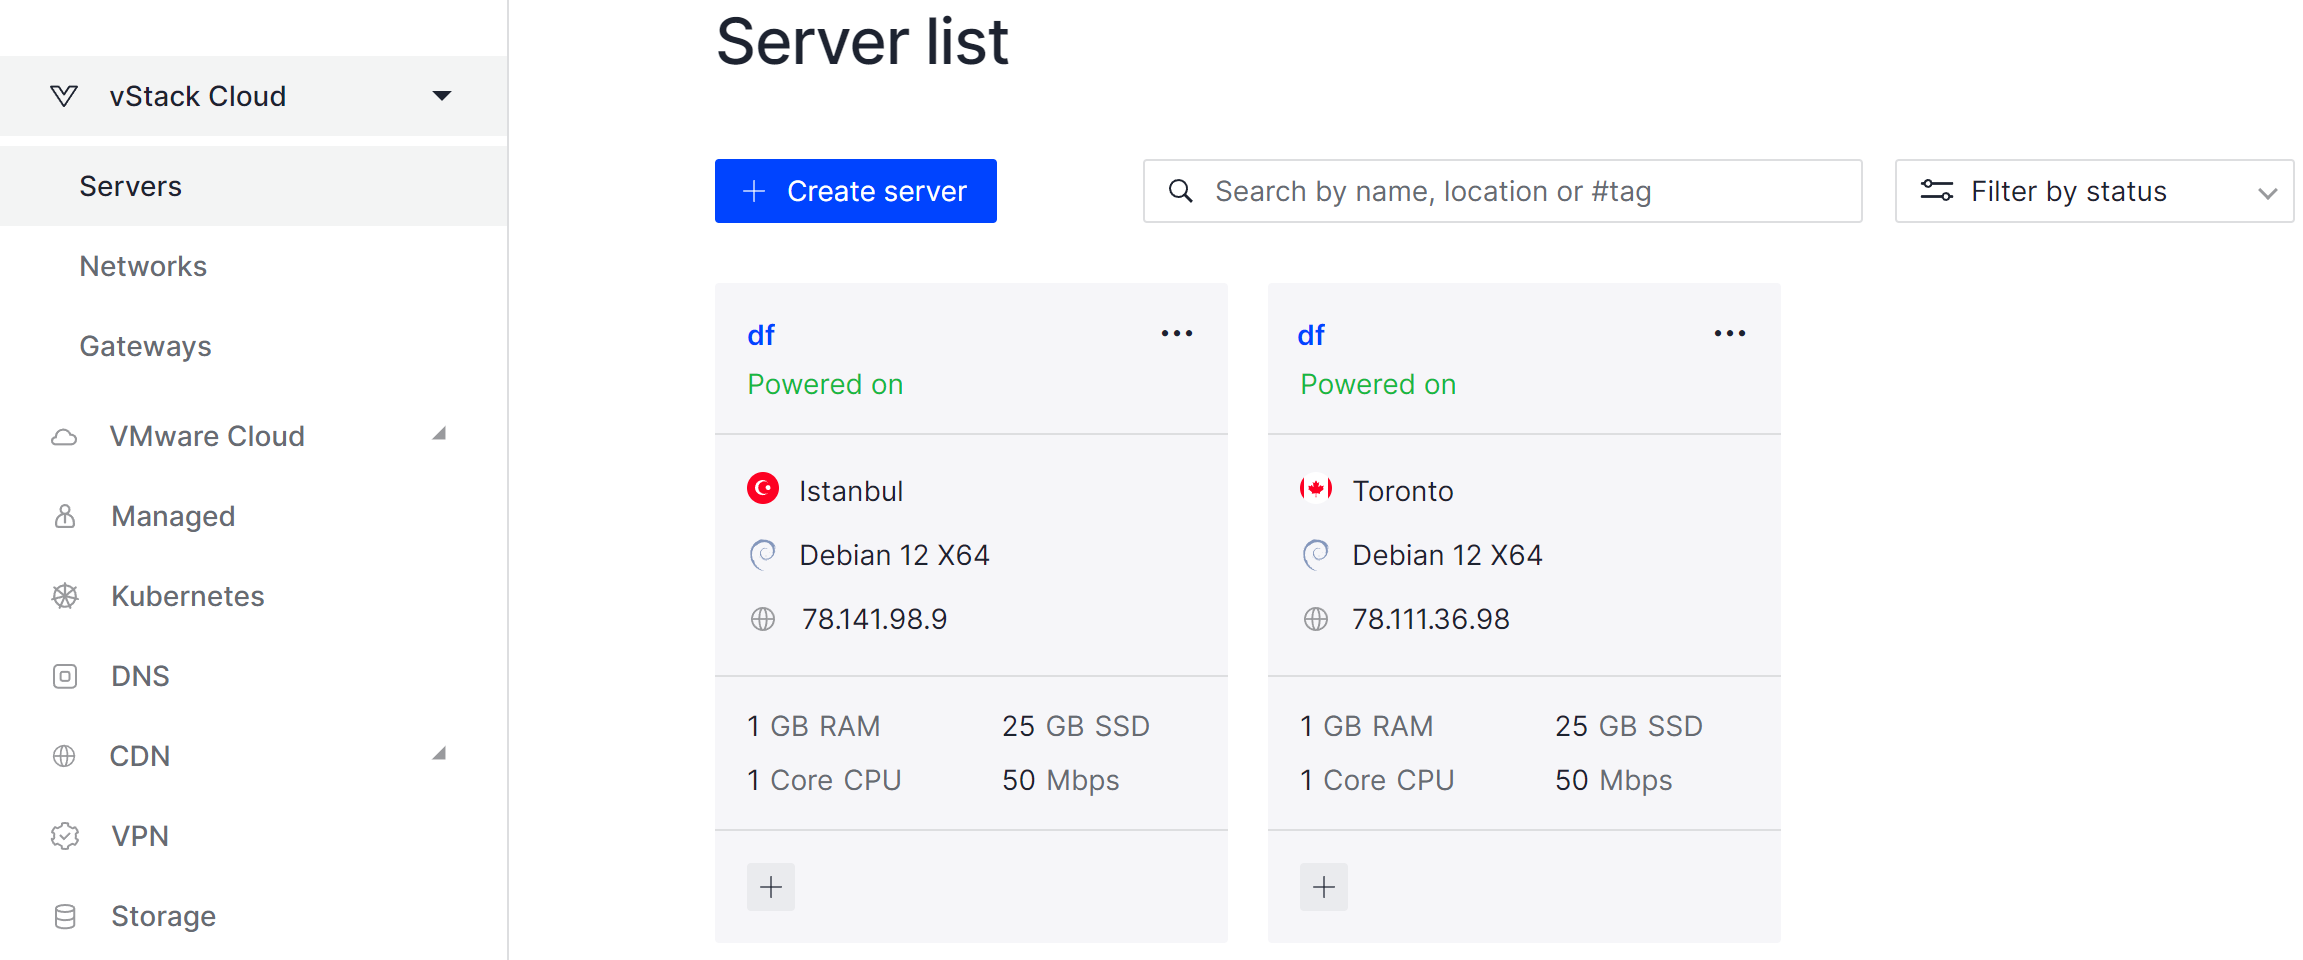
If you don't have sufficient resources than you can perform actions on powerful cloud servers. Serverspace provides isolated VPS / VDS servers for common and virtualize usage.

Let's go back to the terminal and assume that we have forgotten the password. Then it is necessary to reset it via users in the sudo or root group:
sudo passwd koldek  Screenshot №4 — New pass
Great, now we won't forget him for sure! But, what if the employee quits, the device is not connected to a domain controller and a separate account has been issued for the employee. One of the options is to block logging into the account, let's do it with the command:
passwd -l koldek Let's change the user to the same pre-created koldek2 and try to authenticate:

An error occurs, without any details about it. The su command accessed the virtual terminal, after which the pam module generated a request for authentication under the new user koldek2. Where the record was checked and it was indicated in /etc/shadow that authentication under this record is not possible. Pam went through the whole script and returned an error.
Let's imagine that we need to log in as this user. Let's change the password and unlock the account:
passwd koldek && passwd -u koldek Next, let's check if the authentication works, log in to koldek via koldek2 and write the command:
whoami 
Great, the last entry indicates that we have successfully authenticated to koldek on the device. You can prevent the user from being authenticated by simply removing their password via the command:
passwd -d koldek Let's consider another case when your user has been using the same password for a long time and you need to change it. For this purpose, let's specify a forced change during authentication:
passwd -e koldek Or manually specify the expiry date for the user's password:
 Screenshot №7 — Force expired
passwd -X 90 koldek 
And the command with the -S option allows you to view the status of the user's password and see if the settings have been applied. In general, these are all the options and features of local authentication on the device via the pam_unix.so module. More complex solutions such as TOTP or LDAP authentication will be covered in the next articles!
Conclusion
Linux authentication is a flexible and powerful system, where PAM (Pluggable Authentication Modules) plays a central role. By integrating various authentication providers and working with the /etc/shadow file, PAM ensures that password management is both secure and adaptable. With simple tools like passwd, administrators can manage user credentials, enforce password policies, lock or unlock accounts, and maintain proper security hygiene. Understanding how authentication works at the system level is essential for both infrastructure protection and effective user management.
FAQ
- 1. What is PAM in Linux?
PAM (Pluggable Authentication Module) is a framework that allows Linux systems to integrate different authentication providers, such as local passwords, LDAP, Kerberos, or SSH. - 2. Where are Linux user passwords stored?
User password hashes and related metadata are stored in the /etc/shadow file, which is accessible only to privileged users (root). - 3. What is the role of the pam_unix.so module?
The pam_unix.so module checks local user passwords by comparing the entered value (after hashing) with the stored hash in /etc/shadow. - 4. How can I change a user password in Linux?
You can use the passwd username command to change a user’s password. For example:
sudo passwd koldek - 5. How do I lock or unlock a Linux user account?
Lock: passwd -l username
Unlock: passwd -u username - 6. How can I force a user to change their password at next login?
You can expire their password with:
passwd -e username
This will require the user to set a new password upon the next login. - 7. Can I set password expiration policies in Linux?
Yes, for example:
passwd -X 90 username
This forces the password to expire after 90 days. - 8. What happens if I remove a user’s password?
Running passwd -d username removes the password, which prevents login with password authentication unless another method (like SSH key) is configured. - 9. Is local authentication with /etc/shadow secure?
Yes, as long as the file is protected and strong hashing algorithms (like SHA-512) are used. However, for enterprise environments, additional methods such as LDAP or multi-factor authentication are recommended.


