Introduction
MySQL Workbench is the official Integrated Development Environment (IDE) designed specifically for MySQL by Oracle Corporation, which owns and supports both MySQL and MariaDB databases. It's built on top of the Eclipse IDE framework, so you get all the benefits that come with that platform - including a powerful code editor, version control integration, syntax highlighting, and more. Workbench is also available as an integrated solution for Microsoft Windows and other operating systems.
In that instruction we will install Workbench on the Ubuntu OS, with graphical interface and configuring software!
Prepare stage
First of all, you need to update package from your repository by the command:
apt update && apt upgrade -yUnfortunately, due to various of appear problems we can't control package status and next installation maybe will fail, for make sure of properly work packet manager, type:
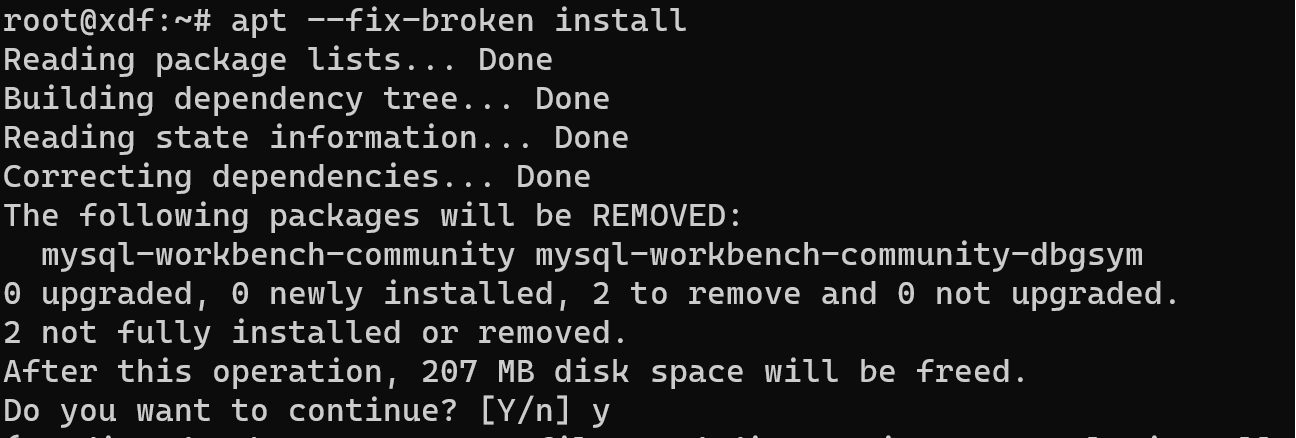
apt --fix-broken install
In our case, system check integrity of installed packages and find problem objects, press Y for start recover process and wait end of reinstalling! That help update and heal needed library in the system. Go ahead, let's config repository by install package in the system.
Highlight! Link may change, for make sure, that you installing exactly what you want check information on the development site, also there you can find install packages for another OS!
wget https://dev.mysql.com/get/mysql-apt-config_0.8.28-1_all.deb
Installation
By that command wget we download installation file to the home directory and run by the command:
dpkg -i mysql-apt-config_0.8.28-1_all.deb
In the pop-up window, you need to choose version of your OS and in the some of system required to indicate architecture of processor. Consider menu and also choose version and type of mysql, by the default we need to use common version. After that we need to update index of packages:
apt updateAfter that we need to install graphical shell, we would prefer gnome, but you can choose any else:
sudo apt install ubuntu-gnome-desktop
That will take a lot of time for downloading and installing, but if you have rapidly internet and high performance computer that will take less time. Next, workbench represent by self GUI system for control server or just client, therefore we need to have locally or remote installed server:
apt install mysql-community-server 
Press Y and wait end of the installation process, now we can install workbench by similar command:
apt install mysql-workbench-community
Alright, now we need to login into the GUI interface, for that you can restart OS by the command:
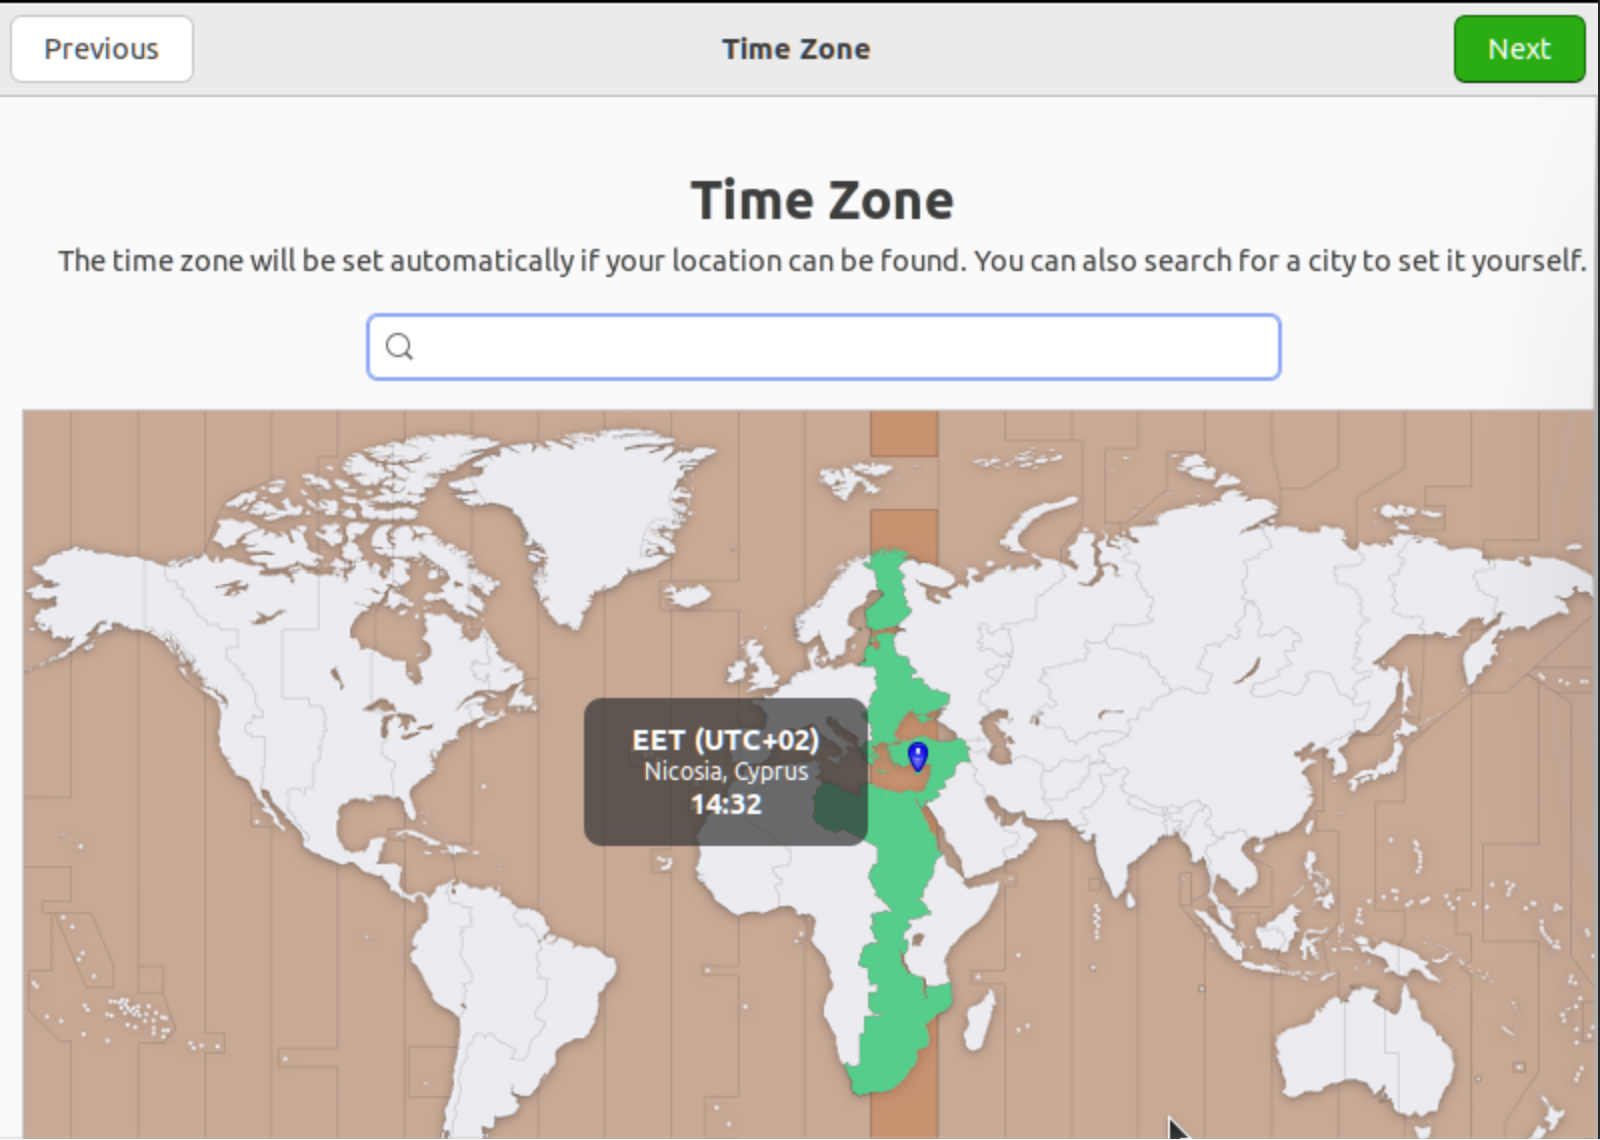
rebootAfter power on system pass the initial setup, configure your account, name and other significant point:

At the left corner you can see button Activities, press on there and find in the search bar as you can see below or just look at the application recently installed panel:

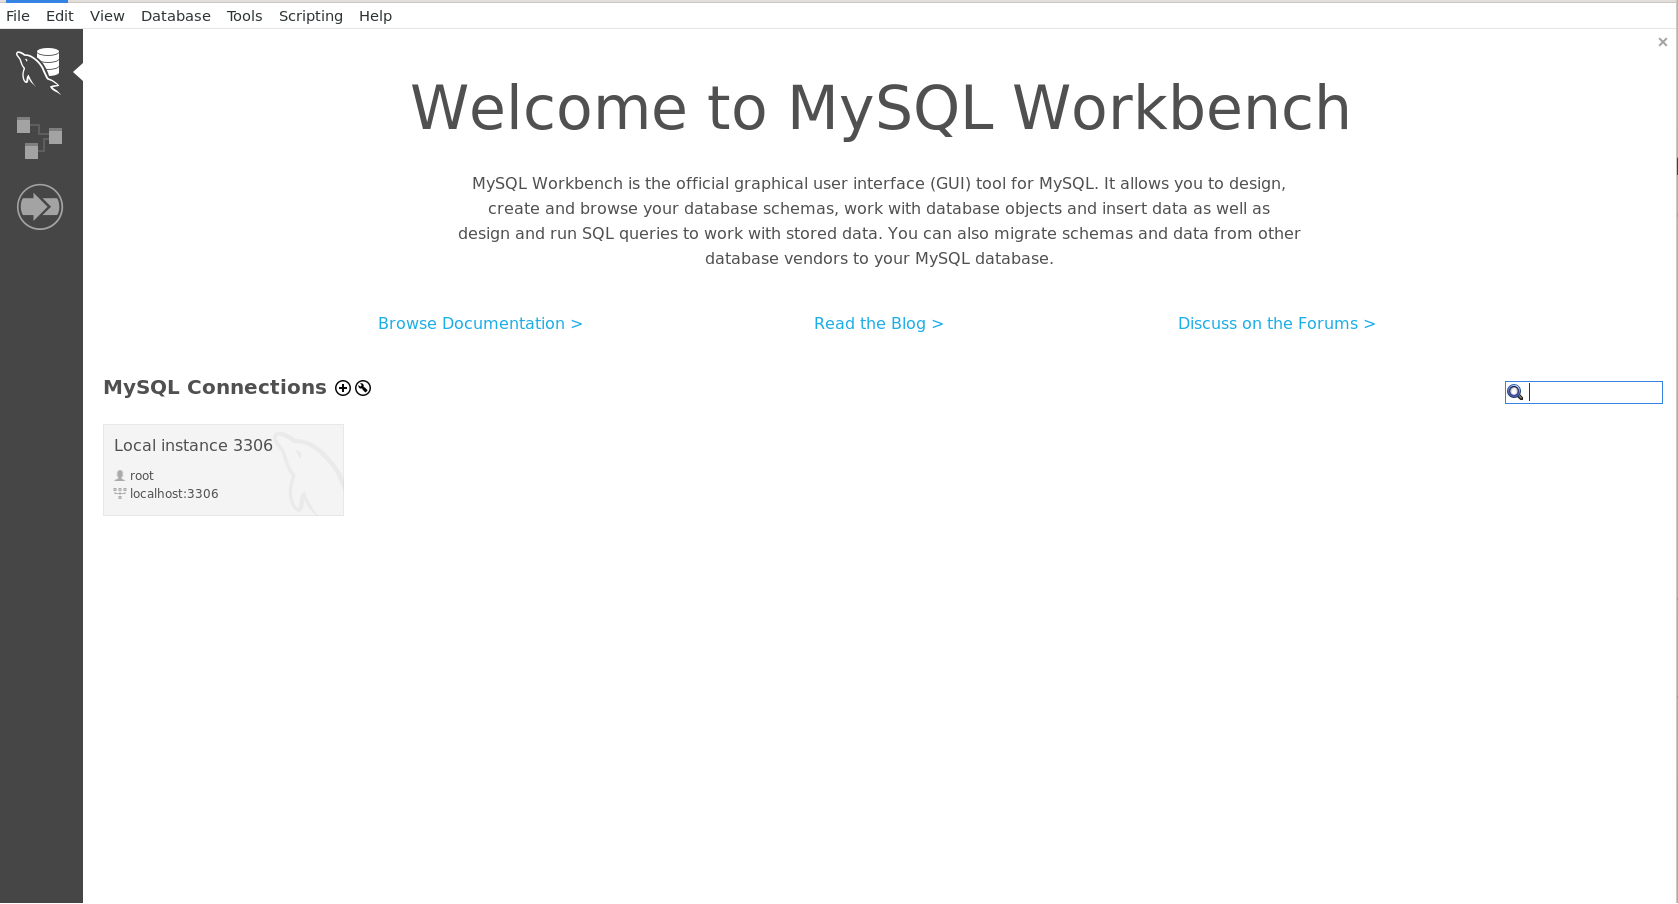
After we are click on the icon we can see welcome page with card of our connections, systems automatic recognize server, but if you want to manage remote DB, you can add them by plus near MySQL connection:

Make sure, that WorkBench work properly and choose at the left menu in the tab Management -> Status of the server, by that function we can control load on the database and rapidly and effective troubleshoot appears problem!

At the left part you can see many function and parameters that can help to manage the server!
Conclusion
The MySQL Workbench is designed specifically to cater to the needs of MySQL users by providing a comprehensive Integrated Development Environment (IDE). With its rich feature set, this tool makes it easy for developers and administrators alike to create, modify, and analyze database structures using intuitive graphical interfaces.
This guide has provided an in-depth overview of installing the MySQL Workbench on Ubuntu systems with a GUI, including step-by-step instructions that will help you quickly get up and running with this powerful tool. Additionally, this software is well-suited for managing multiple databases while also offering data import/export capabilities to facilitate seamless integration of different sources. By leveraging the MySQL Workbench's robust functionality, users can take advantage of a wide range of features that will streamline their development and administration tasks, allowing them to focus on more important aspects of their projects such as performance optimization or application security.
Overall, this powerful tool is an indispensable asset for anyone working with MySQL databases, offering unparalleled support in developing and maintaining a wide variety of applications.


