To reduce the load on the network and the device, a caching mechanism on the local Windows service - Dnscache - was implemented during DNS queries. It allows to record already made resolves to reduce the number of network packets and speed up the work process.

But often the network and its addressing can change and the infrastructure can be modified, so outdated records can generate an incorrect request.
How do I quickly clear and query new DNS records?
Open Terminal or invoke the context menu with the Win+X shortcut and select PowerShell. You can then view the existing cache for more detailed information:
ipconfig /displaydns 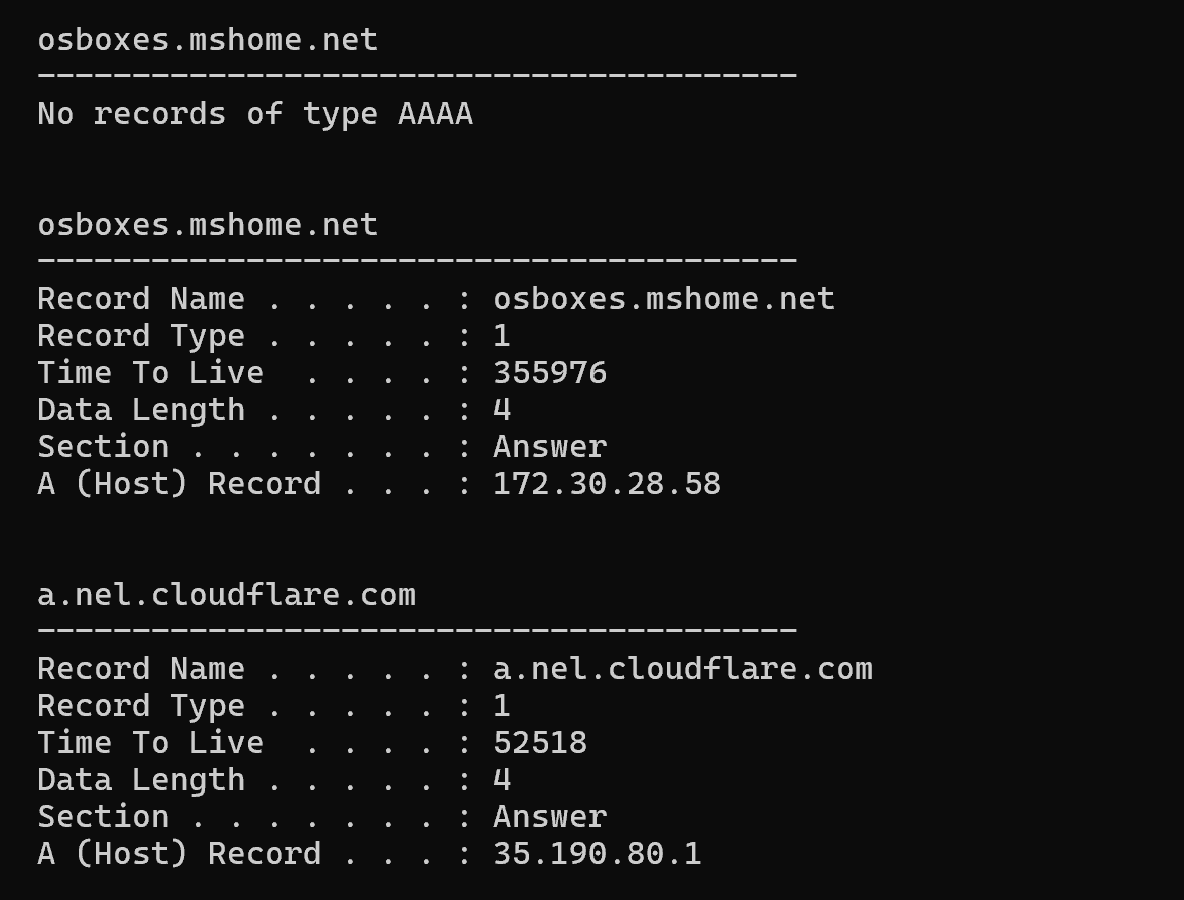
And reset it by entering the flush DNS command, where all records will be cleared already:
ipconfig /flushdns 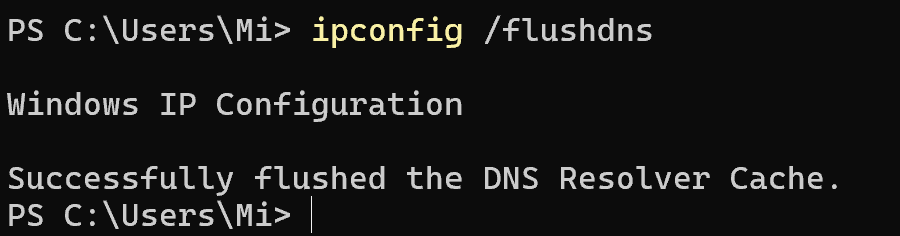
The machine will recheck its local host list, and if it finds nothing, it will contact the servers specified in the network settings. After that it will update the list of entries.
How do I disable the Windows DNS cache service?
If caching is not working correctly, you can always disable it:
net stop dnscacheBut if you change your mind, you can switch the network service back on with a similar command:
net start dnscache However, if you don't need to keep records for so long, and you still need caching. What to do then?
How do you configure the DNS records cache retention time?
Almost all Windows settings and configurations are in the registry, there you can also configure the Dns cache service by the path:
HKEY_LOCAL_MACHINE\SYSTEM\CurrentControlSet\Services\Dnscache\Parameters 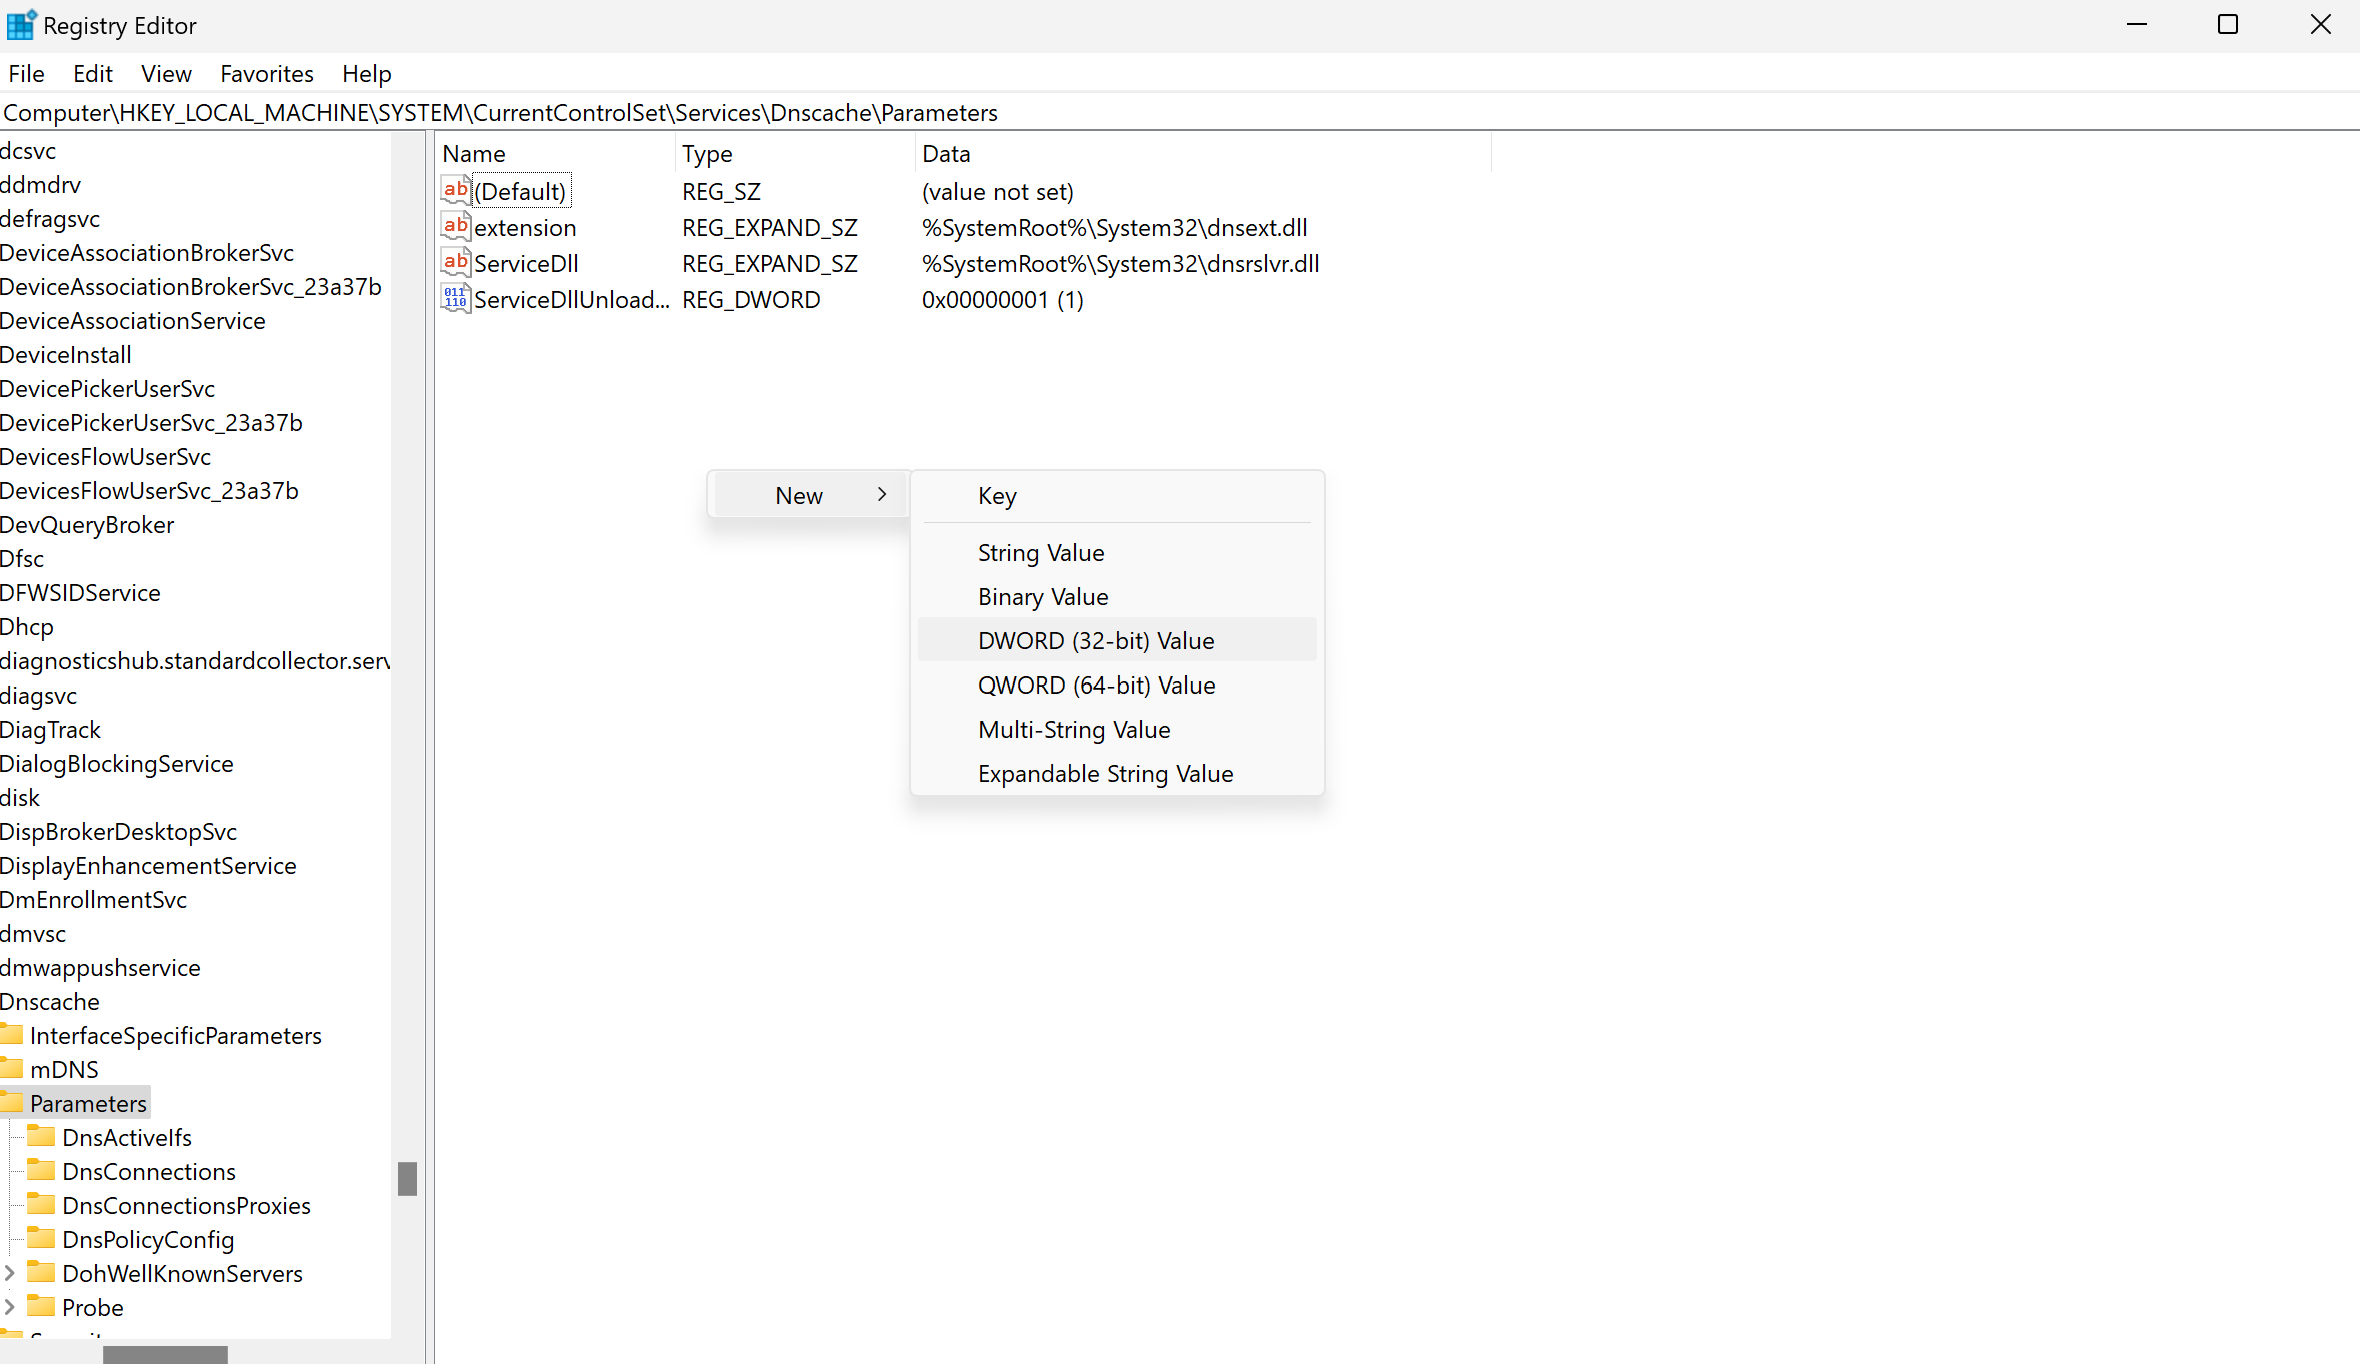
Beforehand, let's open the registry using the Win+R key combination and enter regedit in the search. Create or fix the attribute MaxCacheTtl of DWORD type to the value 360. This means that the records will be cached for 360 seconds and then reset, in order for the settings to take effect it is necessary to reboot the device. In that tutorial, we can see a clear DNS command that is used to remove the DNS cache.
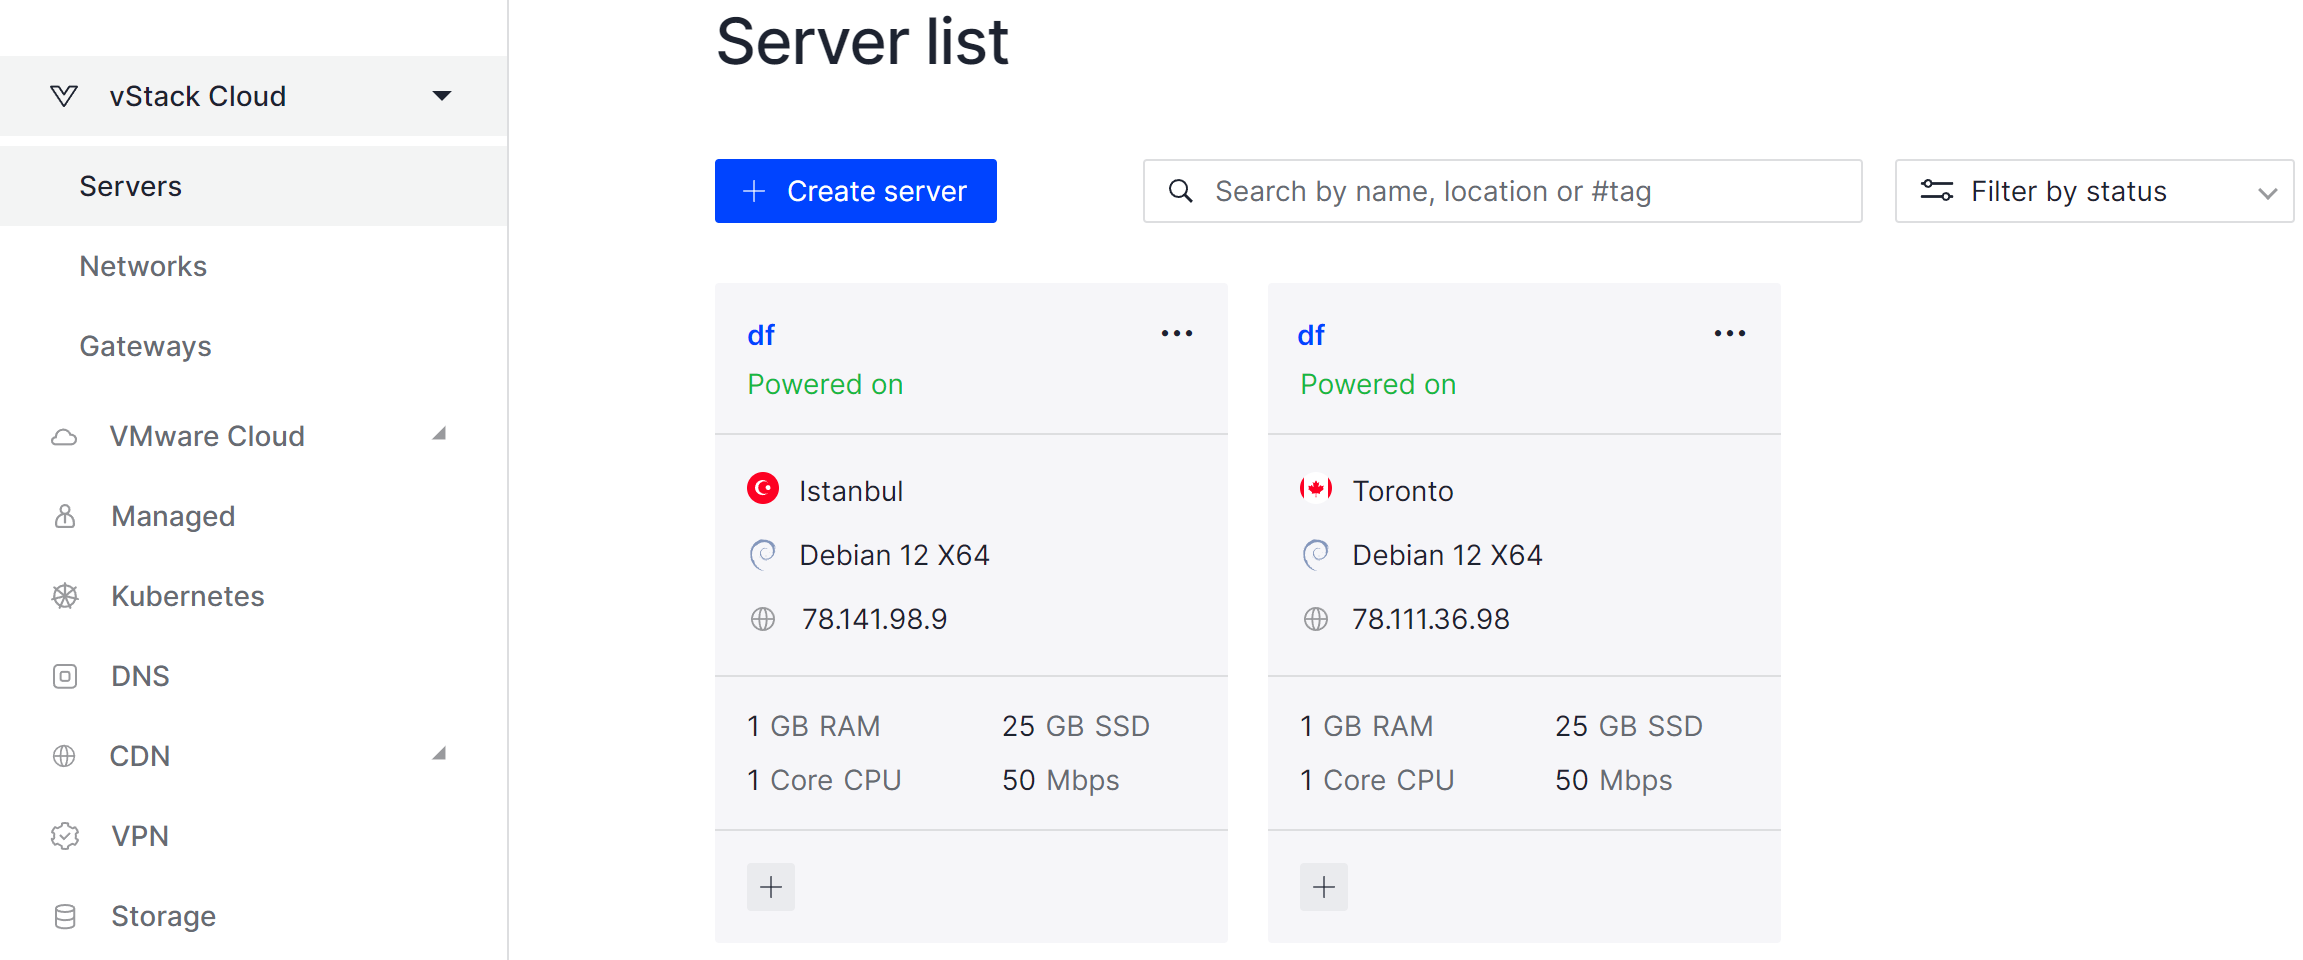
If you don't have sufficient resources than you can perform actions on powerful cloud servers. Serverspace provides isolated VPS / VDS servers for common and virtualize usage.
Conclusion
Clearing the Windows DNS cache is a simple yet effective way to resolve connectivity issues, update outdated DNS records, and improve browsing performance. By using commands like ipconfig /flushdns, checking existing records with ipconfig /displaydns, and optionally adjusting cache retention times via the registry, you can ensure that your system always queries fresh DNS data. Additionally, controlling the DNS Client service with net stop dnscache and net start dnscache gives you full flexibility over DNS caching behavior. These steps help maintain network stability and reliability on Windows systems.
FAQ
- Q1: What does clearing the DNS cache do?
A: It removes all stored DNS records from the local cache, forcing the system to fetch updated information from DNS servers, which can fix connectivity and resolution issues. - Q2: How do I view the current DNS cache on Windows?
A: Open PowerShell or Command Prompt and run:ipconfig /displaydnsThis displays all cached DNS entries.
- Q3: How can I clear the DNS cache?
A: Use the following command in PowerShell or Command Prompt:
ipconfig /flushdns
This deletes all cached DNS records. - Q4: Can I temporarily disable the DNS caching service?
A: Yes, stop the DNS Client service with:net stop dnscacheRestart it with:
net start dnscache - Q5: How do I change the DNS cache retention time?
A: Edit the Windows Registry at:HKEY_LOCAL_MACHINE\SYSTEM\CurrentControlSet\Services\Dnscache\ParametersCreate or modify the DWORD value MaxCacheTtl to set the cache duration in seconds, then reboot the system.
- Q6: Is clearing the DNS cache safe?
A: Yes, it only removes cached records; no personal data or system files are affected. - Q7: Will this improve my internet speed?
A: It can help resolve incorrect or outdated DNS entries, potentially improving browsing reliability and response times.


