Plan
Configuring a RAID array on Linux involves several basic steps:
- Disk preparation: Ensuring the availability and preparation of physical disks to be used in the RAID array. The disks may be new or have data that will need to be saved;
- RAID Level Selection: Determining the best RAID level for system requirements. For example, RAID 1 for data fault tolerance, RAID 0 for performance improvement, or RAID 5/6 for a balance between fault tolerance and performance;
- Creating a RAID array: Using the mdadm (Multiple Device Administration) utility to create a logical RAID array based on the selected RAID level and physical disks;
- File System Configuration: Formatting the RAID array using the selected file system so that data can be stored;
- Mounting a RAID array: Setting up the automatic mounting of the RAID array when the system boots;
- Testing and verification: Checking the correctness of the RAID array configuration and its operability by creating, writing and reading test data.
Requirements
- Root rights;
- Debian 11 or higher version;
- Several knowledge about work OS ;
- Internet connection.
Add disk
In the dependency of your infrastructure choose method for add disk to the system. For physical machine — connect to empty port, for virtual machine look at the tab on your hypervisor and add currently or target disk, in another way if you choose Serverspace VPS server you can add needed space through main panel:

Choose cloud technology and servers, then choose tab Settings and scroll until you will see Volumes and click to Add:

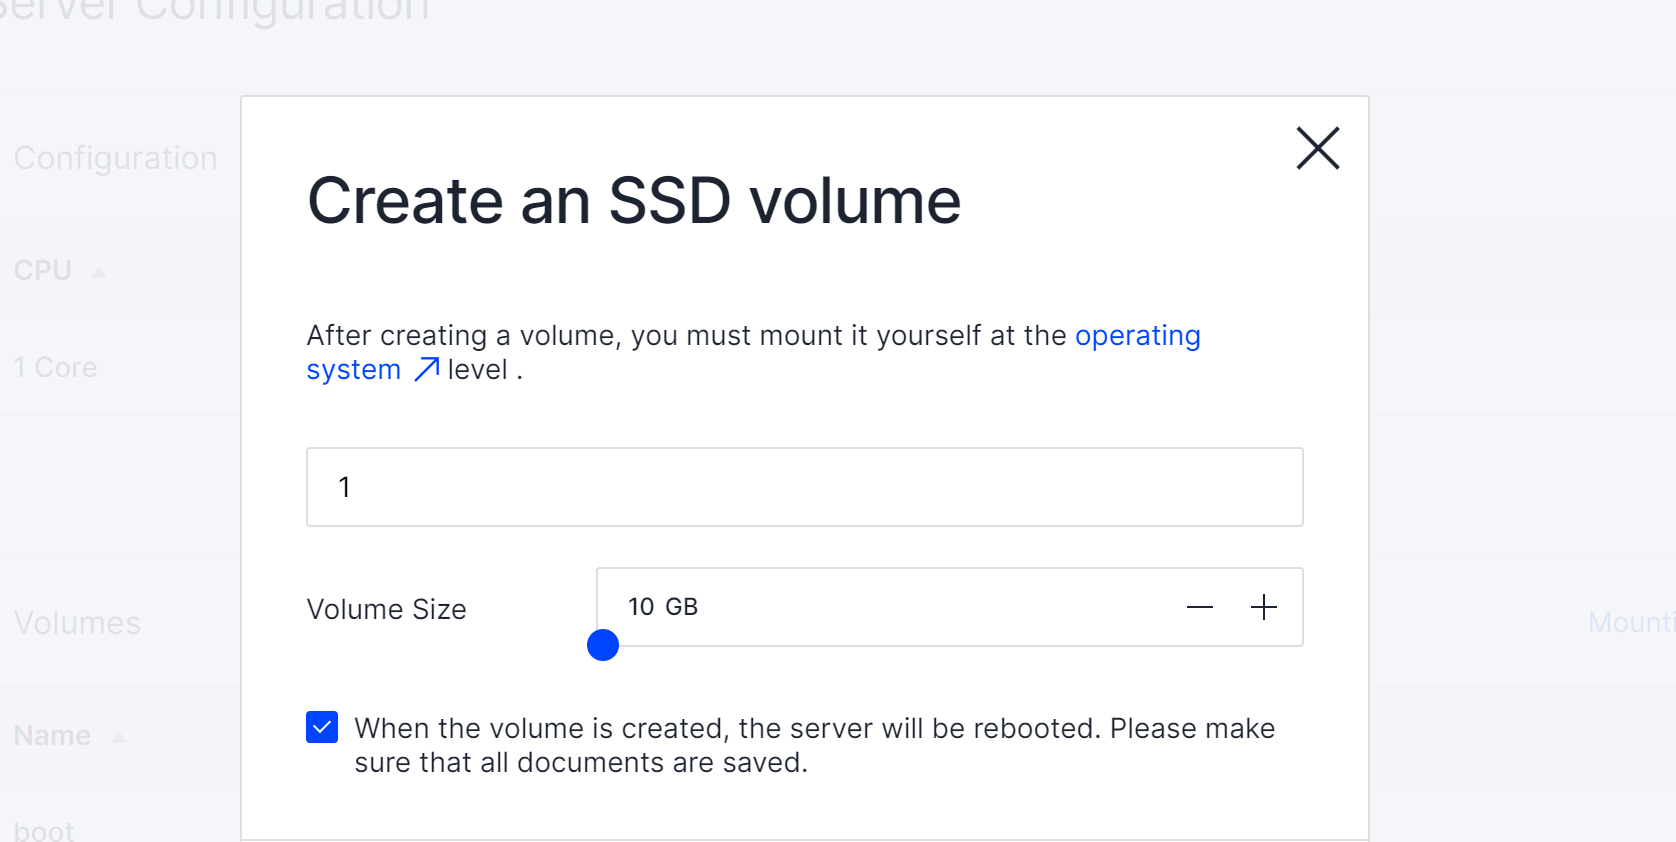
In the pop-up window choose needed disk space, check the box and restart server via button below, after we need to make shure, that disk are connected. In the terminal type command:
lsblk
Alright, two disk in the system and they are connected. At the next step we need to choose RAID format. Let's have look!
RAID schemes
In the various of bundle, combination and architectures of modern raid schemes highlight several for using:
RAID 0
Represented basic method of transfer data by striping block of information between two or more disks. Whole data divide into to parts, that upgrade bandwidth due to using several disk instead of single storage. But there is significant problem in that case: non fault tolerance. If at least one disk will corrupted, then all data become into trash. That simple system use for temporarily data and system with requirements to rapidly read and write information.
RAID 1
Represented basic method of transfer data by mirroring and synchronize information between two or more disks. Whole data copy to another storage. In that way appears fault tolerance and save system until corrupt one of the disk, but there is lack of the speed to write data in comparison to RAID 0.
RAID 5
That solutions are compromise between speed of I/O and fault tolerance in the RAID system. Integrity of data will possible due to parity block algorithm, which save data more securely.
The process of calculating the parity blocks depends on the RAID level and the parity algorithm used. Consider the processes of calculating parity blocks for RAID 5 and RAID 6, which are the most common RAID levels using parity blocks.
Suppose we have 4 disks A, B, C and P (where P is a parity disk) and we want to write data to disks A, B and C. To calculate the parity block for the data that we want to write to disks A, B and C, the XOR (exclusive OR) operation is used on the data on these disks.
Example:
Let's say we have data 10101010 that needs to be written to disks A, B and C. Then the process of calculating the parity block (P) will be as follows: P = A XOR B XOR C
Thus, the value of P will be equal to the result of the XOR operation between the data on disks A, B and C.
When reading data from disks A, B and C, the RAID controller can use the parity block (P) to recover data on the failed disk. For example, if disk B fails, the RAID controller uses data on disks A, C, and P to recover data that was stored on disk B. But for this RAID we need at least three disk.
Installation
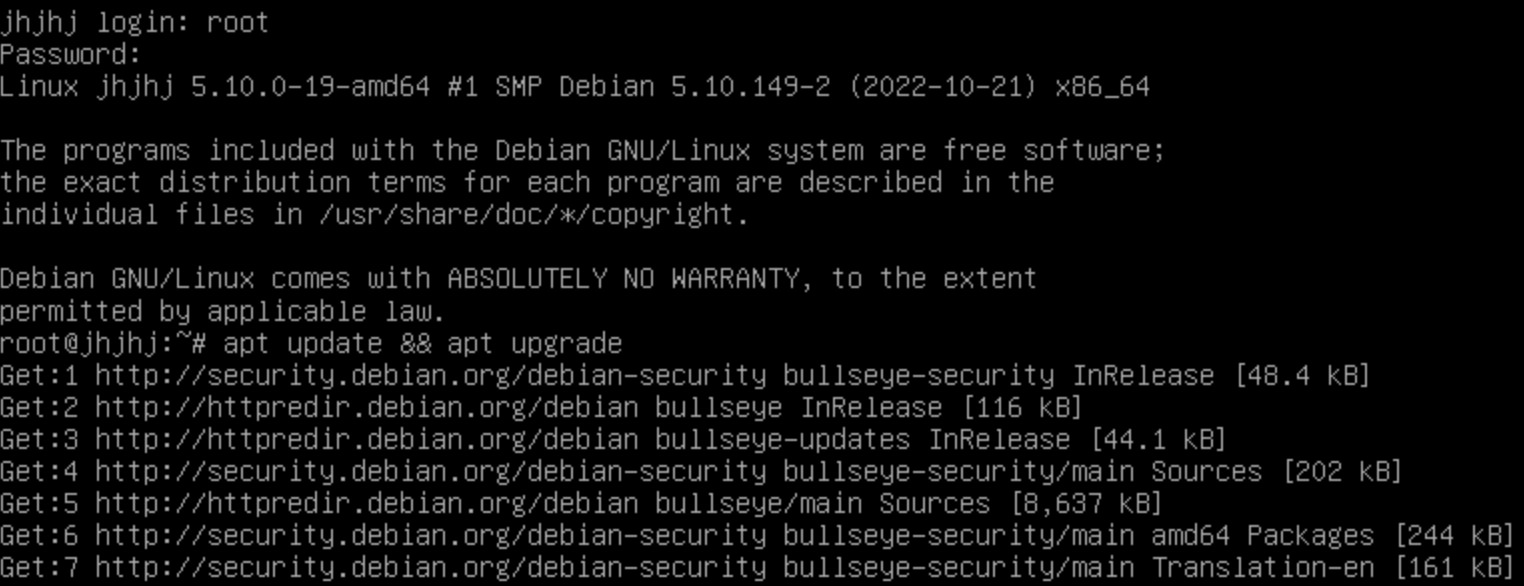
After you was made your choice of RAID system, you need to update and upgrade system packages in our machine for their properly work:
apt update && apt upgrade -y
If you have significant data on the disk make backup of their via command below:
tar -cvfz backup /etc && scp /backup root@65.44.32.1:/etc/backupYou have to change IP address for your IP of machine. Check for working with RAID are installed on your Linux distribution. In most cases, it will be an mdadm package. You can install it using your distribution's package manager (e.g. apt, yum, dnf). In our example we will use apt packet manager, for your case use accordance to your OS. If you forgot label of your disk you need to type:
lsblkAfter that install needed software, in our instruction that will mdadm which allows to create program RAID system for disk on Linux:
apt install mdadm
Now we can use mdadm for create array, let's start with RAID 1 and create virtual controller device and indicate needed disk for usage.
Important to highlight! In the dependency of your network architecture you need to decide. You will use bootable disk of OS in RAID system or not. If answer positive then you need ensure your boot loader supported md version. Let's create array by the command below:
sudo mdadm --create /dev/md0 --level=1 --raid-devices=2 /dev/sdc /dev/sdb
The mdadm is main syntax command, --create option to make array, /dev/mdo --level=1 device of RAID 1, --raid-devices=2 /dev/sdc /dev/sdb in that part we indicate two using disk for our array. Let's check status of process through command below:
cat /proc/mdstat
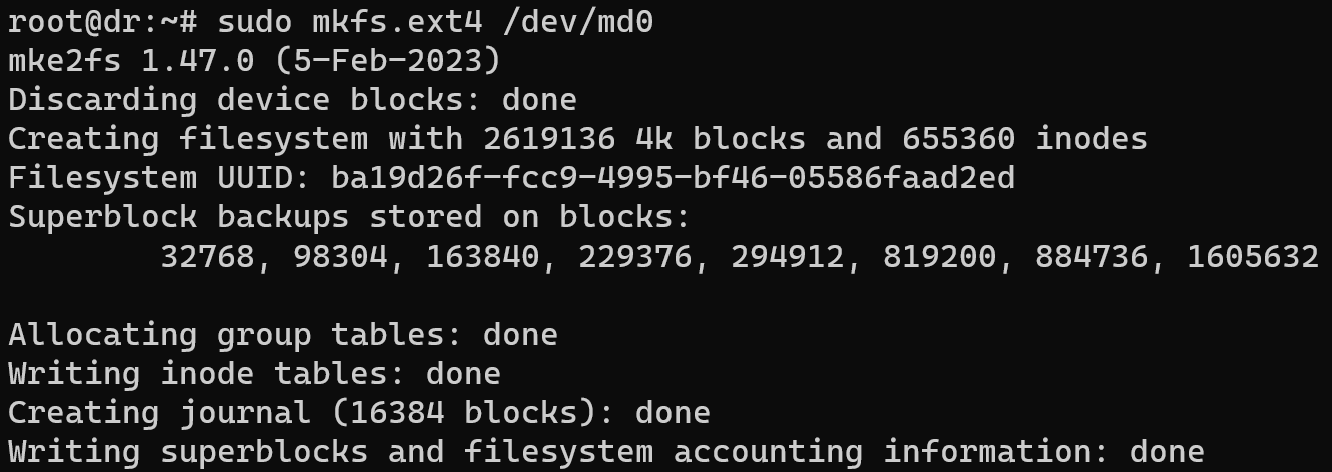
For our array we need to create single file system for all disks, we will use ext4 for our purposes:
sudo mkfs.ext4 /dev/md0
Let's mount RAID system to point:
sudo mkdir /mnt/md

sudo mount /dev/md0 /mnt/md
Add raid system to autoboot at the start, after this open nano by the command below and put Tab in the red field:
echo "/dev/md0 /mnt/md ext4 defaults 0 0" >> /etc/fstabnano /etc/fstab
After this reload daemon:
systemctl daemon-reloadAnd type check command to ensure that file system and RAID are worked properly:
lsblk
Conclusion
Configuring a RAID array on Linux involves preparing the disks, selecting the RAID level, creating the RAID array using mdadm, configuring the file system, and mounting the RAID array. Testing and verifying the setup is crucial for ensuring its functionality. Specific requirements include root access, Debian 11 or higher, knowledge of the OS, and an internet connection. Adding a disk, choosing RAID schemes (RAID 0, RAID 1, RAID 5), and installation steps are also covered. The conclusion provides a concise overview of the RAID configuration process on Linux.


