To streamline deployment and automation tasks, many developers rely on Docker by downloading pre-built images from DockerHub. These images save time, are highly reliable with a success rate of up to 90%, and offer easy configuration. But what if none of the available images meet your specific needs? Or if you want to create a custom Docker image that automates tasks on your machine efficiently?
For this purpose, just there is Dockerfile, which allows you to define the order of actions and form a new file system structure in layers. But we'll talk about everything in a row in the article below!
What is Dockerfile?
Dockerfile is a text document that contains instructions for creating an image, otherwise known as a script. It is what allows to automate the deployment of services and software. Its role is to make changes to the standard OS file system, and then it can run with the changes in an isolated environment!

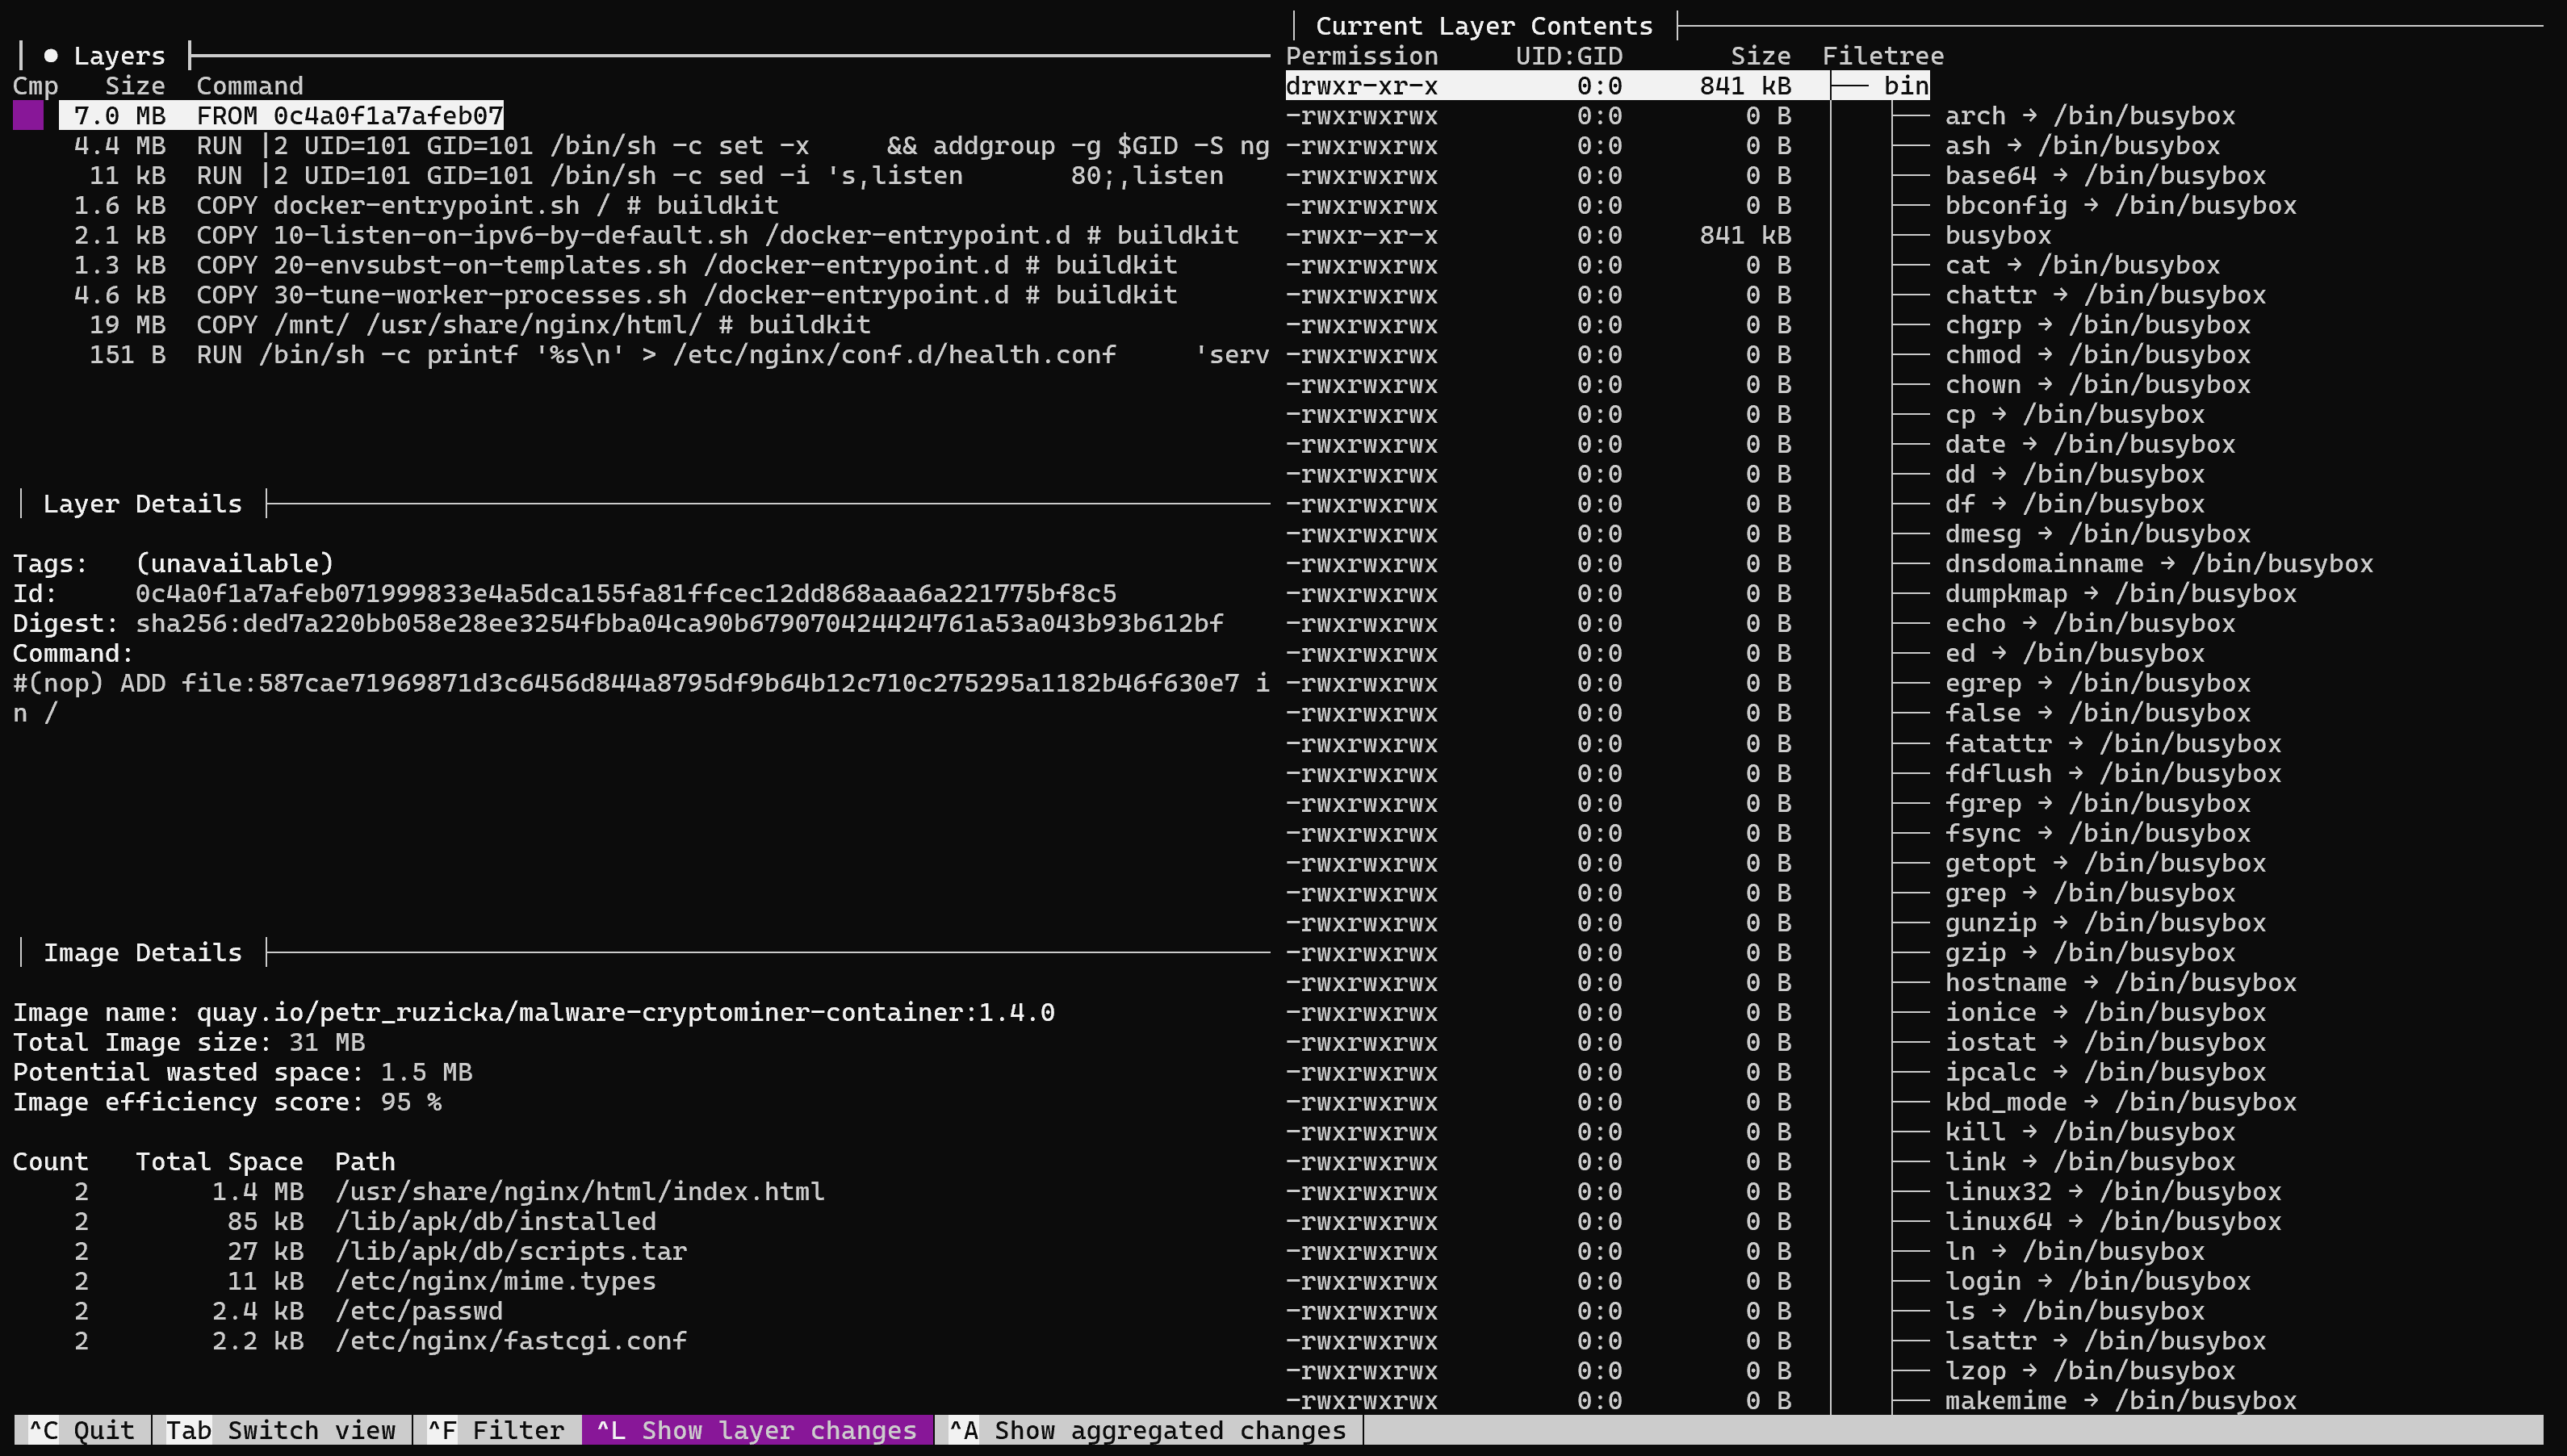
On the left you can see the layers or actions performed on the OS, and on the right the OS files themselves, where they are applied. The algorithm consists of the following steps:
- A Dockerfile is compiled that specifies the actions to be performed;
- The user invokes the Docker client command to build the image: docker build;
- The daemon receives the request from the client and starts building an image based on the minimal OS;
- Once created, the image or file system cast, will be sent to the repository by the daemon;
- When the container is created, it will be invoked and deployed in an isolated environment.
Let's imagine that we need to create our own database service deployment image that will be used as a server not in a cluster.
Create your Dockerfile
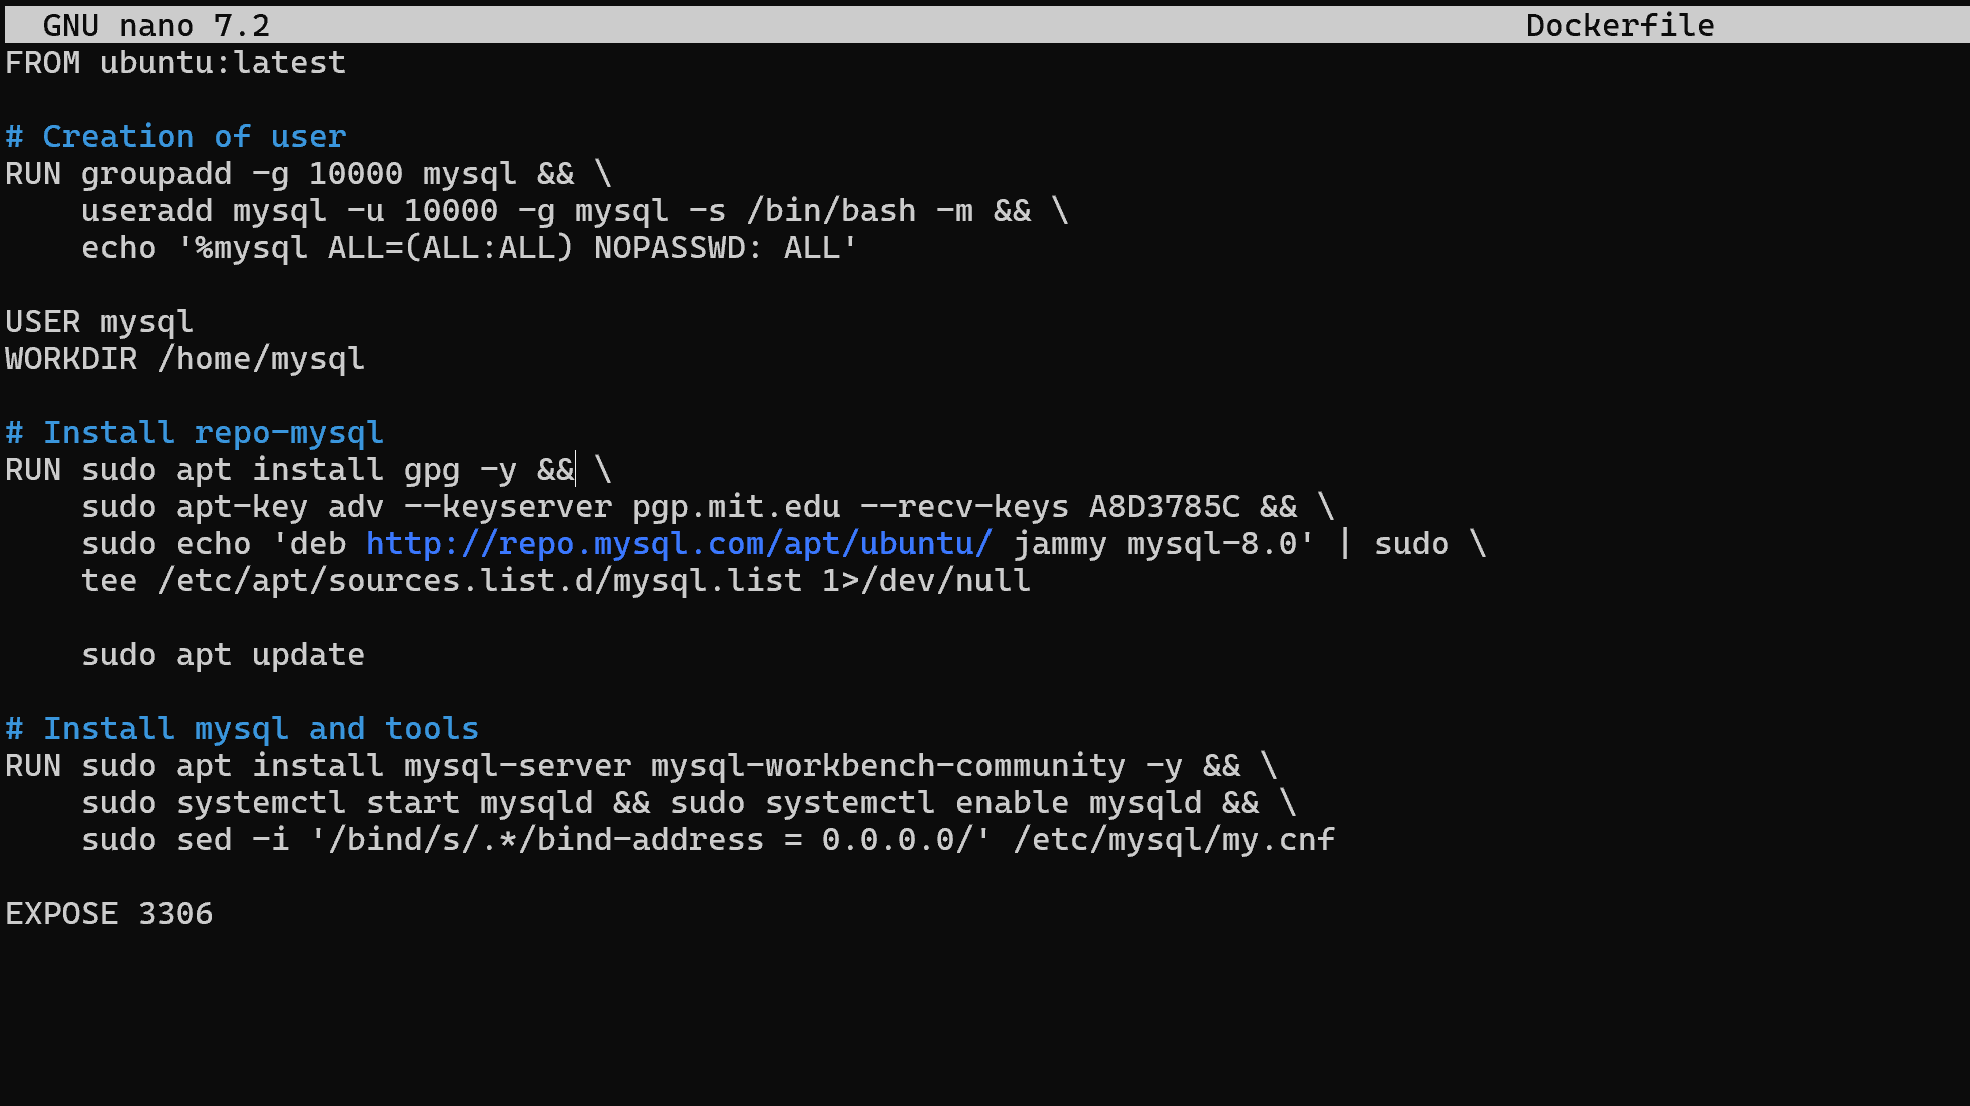
Let's follow the algorithm described earlier and describe all the necessary actions that need to be performed for the service to work, for example, it may look like this:

You may notice the syntax as capitalised words used to handle actions on the machine. Let's consider each of them:
- FROM this command allows you to define which image will be used as the basis for your work. In our case, Ubuntu is the latest version;
- COPY allows you to copy files from the host machine to the guest machine;
- CMD command, which will be executed when the container is booted;
- RUN this command will run your code in a shell on the machine, when running, a normal script instruction;
- ENV will set an environment variable to use at runtime;
- USER will switch to user, at runtime;
- WORKDIR will set the working directory where subsequent commands will be executed.
Note! The script is executed sequentially, which means that the actions up to USER will be executed as root user, the others as specified for them above. The same detail applies to the working directory.
If we go briefly through the script, we can distinguish three main blocks. In the first one, pre-installation actions were performed on behalf of root: software installation, user and group creation, as well as switching to a user. After all the dependencies were installed, on behalf of mysql user we downloaded the public key of EDS and wrote repositories. And in the 3rd stage we installed the software and opened the port on the machine for connection.
Let's create an image called gg using the docker utility:
sudo docker build -t gg .The -t option indicates the name of the future image, and the dot indicates the current directory where the Dockerfile should be found.

After a short manipulation, we get a response that the Docker image is generated and ready to use. Now we can either upload it to a repository or use it to create containers. This is the form in which ready-made deployment solutions are usually distributed. Let's create a container for it and run the command:
sudo docker run -d -it gg && sudo docker ps
As you can see, the image container is up and running successfully, with the port forwarded and the autoload command executed. But there is another way to create a container at once. For this we will use Docker Compose, the Docker container orchestration utility, or rather its configuration file. Where we specify that the image should be created first and then the container should be launched based on it.
This way allows to solve the configuration problem. Not all systems and services can be flexibly configured via Docker Compose file, so sometimes it is necessary to configure the configuration of the required service or software and then build the image. Let's create a docker-compose.yml file:
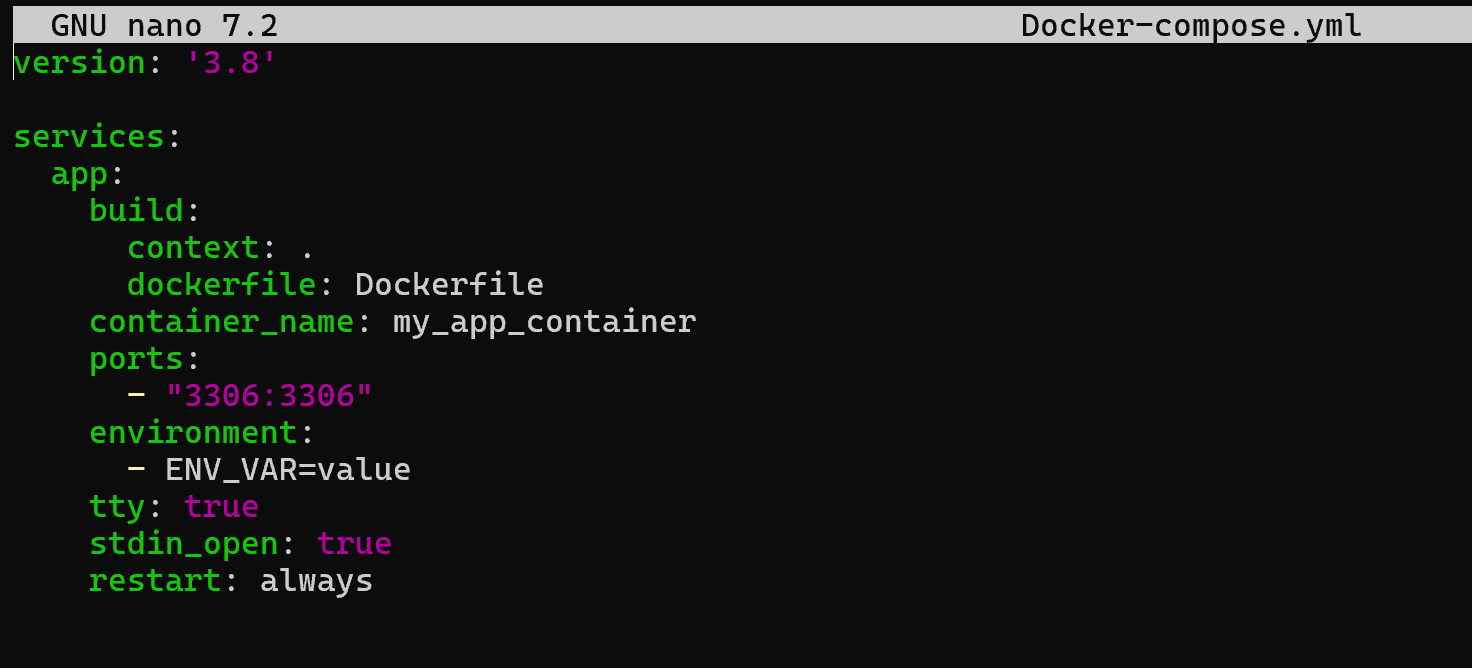
sudo nano docker-compose.yml Inside the file we will write the following parameters in markup language to start the container:
version: '3.8'

services :

app :

build:

context:

dockerfile: Dockerfile

container_name: my_app_container

ports :

- "3306:3306"

environment :

- ENV_VAR=value

tty: true

stdin_open: true

restart: always
The build item allows you to define the directory where the Dockerfile is located and its name below. After that the container itself is configured: ports are forwarded, name, environment variables, etc. are set. Let's start the container with the command:
sudo docker-compose up -d 
The result is a running service in a virtualised environment, which we described in a couple of lines. Let's repeat that Dockerfile is used to create an image and Docker compose is used to configure the container. Just these two files allow to automate the deployment process and speed up the service installation to two commands instead of a dozen.
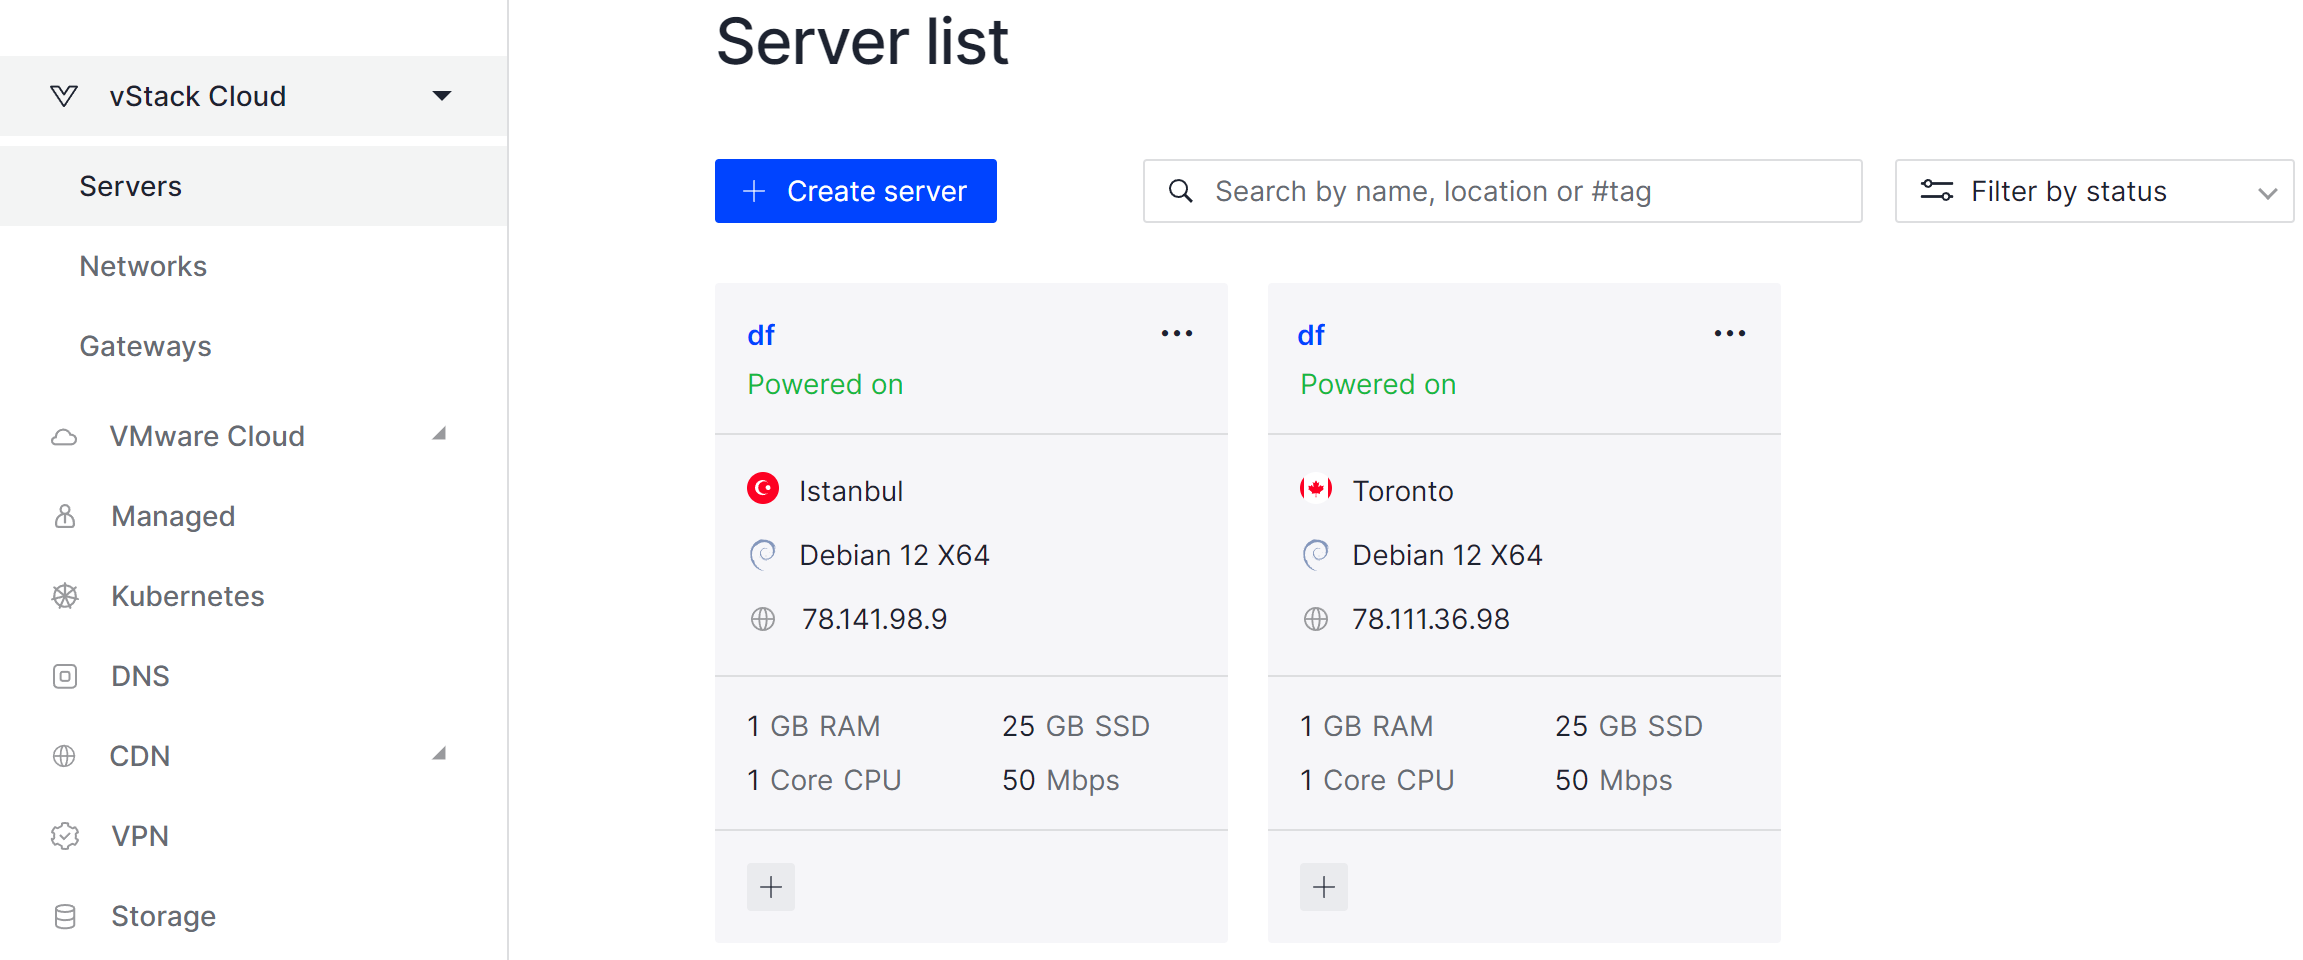
If you don't have sufficient resources than you can perform actions on powerful cloud servers. Serverspace provides isolated VPS / VDS servers for common and virtualize usage.

Conclusion
Dockerfiles are an essential tool for automating the creation of custom Docker images, enabling developers to define the exact sequence of steps required to build a consistent, repeatable environment. By understanding and using commands such as FROM, RUN, COPY, CMD, and ENV, you can create images tailored to your software requirements. Combining Dockerfiles with Docker Compose further simplifies container deployment and orchestration, allowing complex services to be launched quickly and reliably. Mastering Dockerfiles not only streamlines development workflows but also ensures that your applications run consistently across different environments, from local machines to cloud servers.
FAQ
- Q1: What is a Dockerfile?
A Dockerfile is a text file containing a set of instructions that define how to build a Docker image. It automates the process of creating an environment for your applications. - Q2: Why should I use a Dockerfile instead of pre-built images?
While pre-built images save time, Dockerfiles allow you to customize the image, install specific dependencies, configure the environment, and ensure that your application runs consistently in any environment. - Q3: What are the main commands in a Dockerfile?
Some of the key commands include:
FROM - specifies the base image.
RUN - executes commands during the build process.
COPY - copies files from the host to the container.
CMD - sets the default command to run when the container starts.
ENV - defines environment variables.
WORKDIR - sets the working directory inside the container.
USER - switches the user for executing commands. - Q4: How do I build an image from a Dockerfile?
Use the command:docker build -t image_name .Here, -t specifies the image name, and the dot . points to the directory containing the Dockerfile.
- Q5: How is Docker Compose related to a Dockerfile?
Docker Compose allows you to define and run multi-container applications. While the Dockerfile builds the image, Docker Compose configures how containers are run, including port mapping, environment variables, and dependencies. - Q6: Can I use Dockerfiles for cloud deployments?
Yes! Dockerfiles are ideal for cloud deployments. Once an image is built, it can be pushed to a registry and deployed on cloud servers, VPS, or container orchestration platforms. - Q7: How do I update an existing Docker image?
Modify the Dockerfile with the necessary changes, then rebuild the image using docker build -t image_name .. Containers using the old image will need to be recreated with the new one.


