Docker is a great platform that has collected a lot of tools and libraries that allow you to create isolated spaces with applications/services. They are automatically deployed, allowing you without knowledge of the application operation, to use an out-of-the-box solution!
These spaces are also called Docker containers, due to their ability to isolate from the host, except for a common core and increased efficiency - they have become used to deploy services and other solutions. In this article let's learn all about them, as well as practical examples of their use!
How does a container work?
A Docker container is actually a limited process in the operating system to which a separate file system, network stack and PID have been attached. All of these components were virtually created within a single kernel and then added to the container process. The link diagram shows the components and the container process in purple, and the host objects in blue:

With this scheme of interaction achieves a certain level of network and file isolation, except for the kernel, which is often exploited by hackers. Therefore, it is recommended to limit the area of interaction with the host machine as much as possible for such environments. For example, it is better to use virtual volumes for storing configs and other data. Because if you attach the host volume to the container, the virtual root will have the same rights to the files as the host!
How to start and manage Docker containers?
Let's look at some basic examples of using and working with a container. Let's imagine that we have a ToR for deploying a Web application or any other service, but through Docker. For this purpose, we can use both a ready-made image or a cast of the system, which will deploy in our container, and write a Docker File ourselves. In this article we will consider the first case, the second case you can find in our detailed guide. Let's pre-install all dependencies and necessary components with the command:
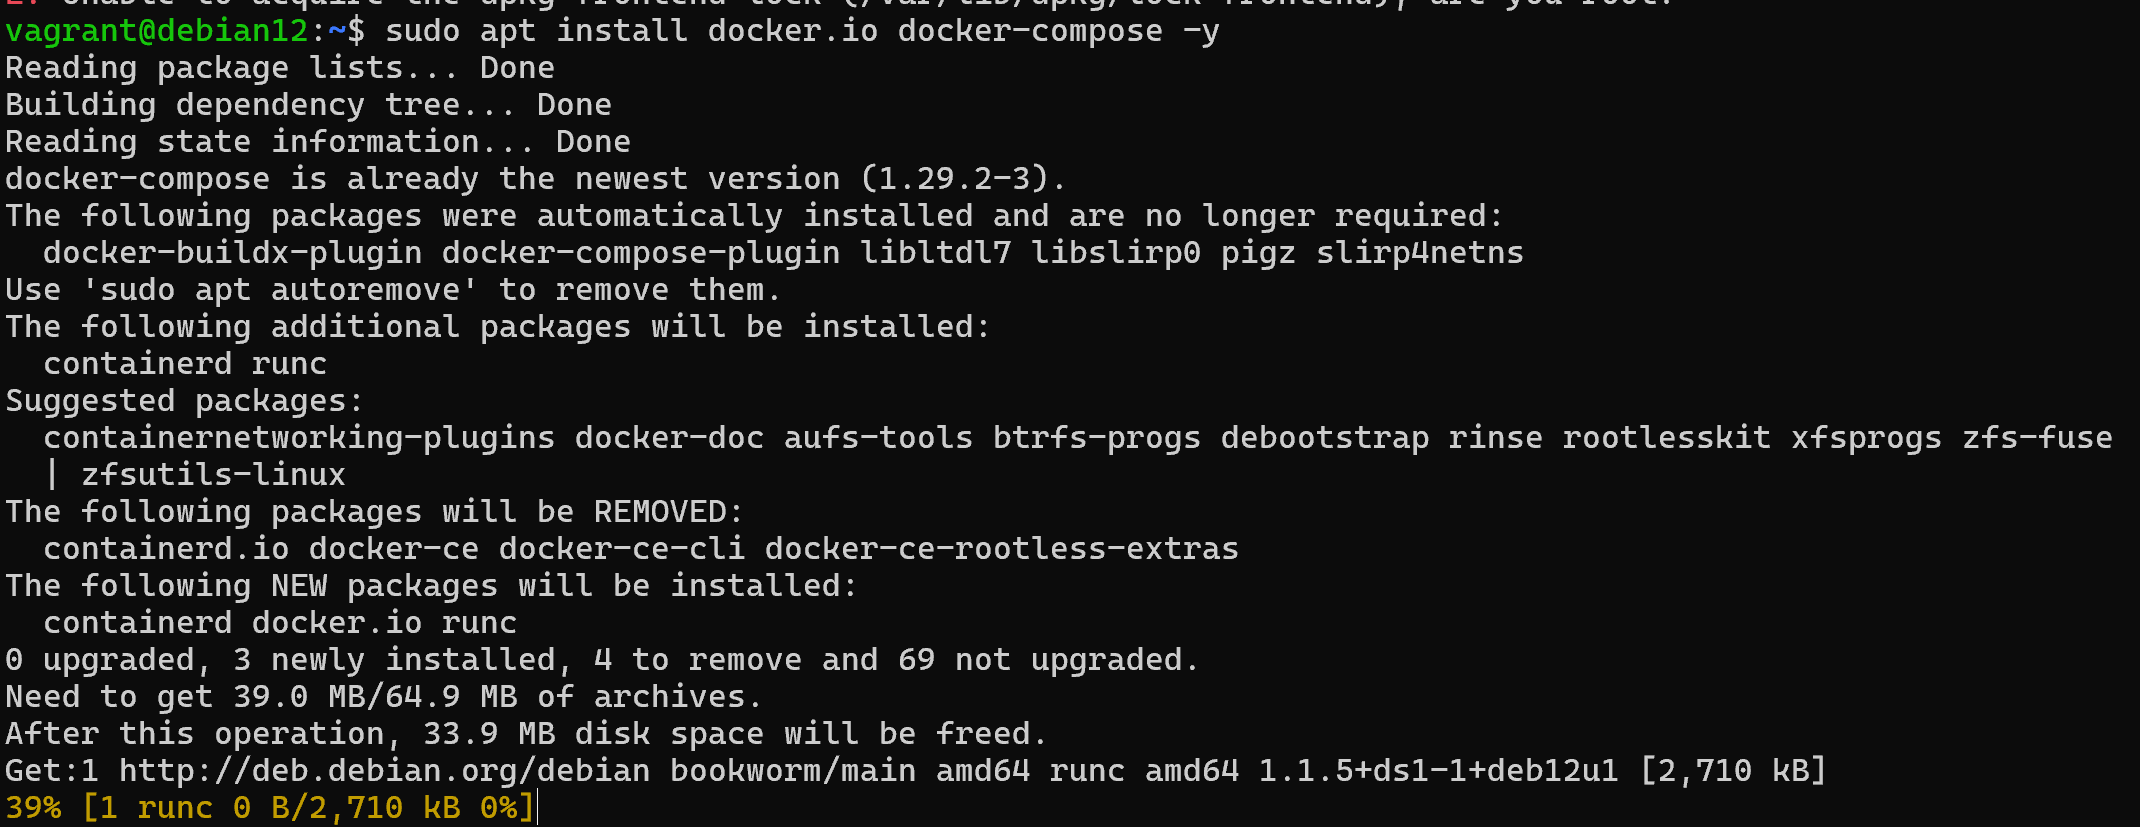
apt update && apt install docker.io docker-compose -y 
After that, let's run the container with the docker run container command, where we also specify its basic parameters for operation:
docker run -d -p 8080:80 --name my_container -v data:/app/data nginx 
After running the utility to create the container with the virtual environment port 80 forwarded to the host machine, as well as creating a virtual data volume to store the container data, the initialisation process was started. The image was not found on the device, so it was downloaded from the repository and deployed. To view the container, let's write the command:
docker ps
There are two additional running containers on the device, here you can see their main characteristics and state at the moment. To execute the process docker connect to container or enter the container, we will write the command:
docker exec -it my_container /bin/bash 
Where docker exec is a utility and subcommand, -it is an option to interactively link our terminal and the process in the container, my_container is the name of the container, and /bin/bash is our running shell. Logically, we open a new process, the output of which is displayed in our terminal, so we work through it. To exit, we use the keyboard shortcut Ctrl+D or the exit command.
To terminate the running container, write the command:
docker stop my_containerAnd if you need to close all of them at once, write the one below. It will allow you to execute a function within itself, which will only return a list of IDs of all containers:
docker stop $(docker ps -q)They are now in a stopped state, so they can be started back up with the docker run command.
You can remove them with the command below for a single container:
docker container remove my_containerAnd for all existing containers at once:
docker container remove $(docker container ls -a -q) 
It will also allow you to run the function to enumerate them first, and then remove all those returned to the command. Also in the process you can view your container logs using the same docker logs <name_of_container> command. These are redirected from this virtual environment to a file whose output can be filtered. For example to find the necessary lines with authentication to the container:
docker logs | grep 'SSH' As a result of executing these commands you should get a list of parameters of the requested objects. If you don't have sufficient resources than you can perform actions on powerful cloud servers. Serverspace provides isolated VPS / VDS servers for common and virtualize usage.

Let's consider one of the latest features of Docker containers - docker container stats. To monitor the performance and viability of an existing application and service, Docker has a built-in solution:
docker container stats <container_name> 
From this we can estimate what is the disk occupancy, load in the virtual environment, so that we can add the necessary capacity or debug at the time. We have covered all the necessary basics of virtual environment management, this knowledge will allow you to manage your services and solutions more efficiently!
Conclusion
Docker containers provide a lightweight and efficient way to isolate applications and services from the host system, while maintaining flexibility and portability. By understanding how containers work, using basic commands for starting, stopping, and managing them, and leveraging volumes for persistent data, you can deploy and maintain applications reliably. Monitoring container performance with built-in tools ensures that your services run smoothly. Mastering these basics allows you to fully utilize Docker for development, testing, or production environments.
FAQ
- Q1: What is a Docker container?
A: A Docker container is an isolated environment that runs applications with its own filesystem, network, and process space, all while sharing the host kernel. It provides efficiency and portability without affecting the host system. - Q2: How do I start a Docker container?
A: Use the docker run command with necessary parameters, such as image name, port mapping, container name, and volume mounts. Example:docker run -d -p 8080:80 --name my_container -v data:/app/data nginx - Q3: How can I manage or access a running container?
A: You can use docker ps to list containers and docker exec -it <container_name> /bin/bash to enter a container interactively. Stop containers with docker stop and remove them with docker container remove. - Q4: How is data stored in Docker containers?
A: By default, container data is ephemeral and lost after stopping the container. Use Docker volumes (e.g., -v data:/app/data) to persist data, or commit the container to a new image with docker container commit. - Q5: Can I monitor Docker container performance?
A: Yes, Docker provides docker container stats <container_name> to view CPU, memory, disk, and network usage for running containers, helping you optimize and debug applications.


