When working with Python projects, especially on a single server or machine, it is important to isolate dependencies to avoid conflicts between different libraries and versions. For this purpose, there is a mechanism of virtual environments. One of the standard tools is venv.
In this article, we will consider what venv is, why it is needed, and how to create a virtual environment for a project.
What is venv?
venv is a built-in Python module that allows you to create an isolated environment for running Python programs. Each environment contains its own directory with installed libraries and does not affect the system Python and other environments.
Using venv is especially relevant when working with multiple projects that require different versions of libraries.
Installing Python
The venv module is included in the standard Python distribution, starting with version 3.3. Make sure Python is installed on your system:
python3 --version If Python is not installed, you can install it depending on your OS. For example, for Ubuntu:
sudo apt update

sudo apt install python3 python3-venv python3-pip
Go to your project directory or create a new one:
mkdir myproject

cd myproject
Create a virtual environment with the command:
python3 -m venv venv 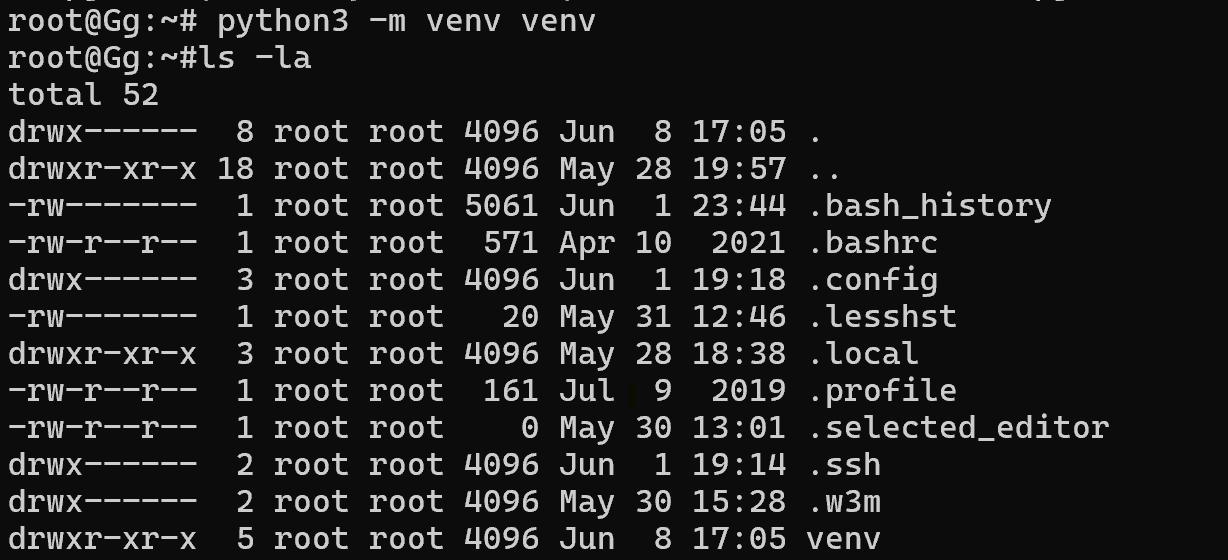
Here venv is the name of the directory where the virtual environment will be located. You can name it differently (for example, env or .venv), but venv is often used by convention.
After executing the command, a folder structure will be created containing its own Python interpreter and a directory for libraries.
Activating a virtual environment
To use the environment, you need to activate it in Linux/macOS:
source venv/bin/activate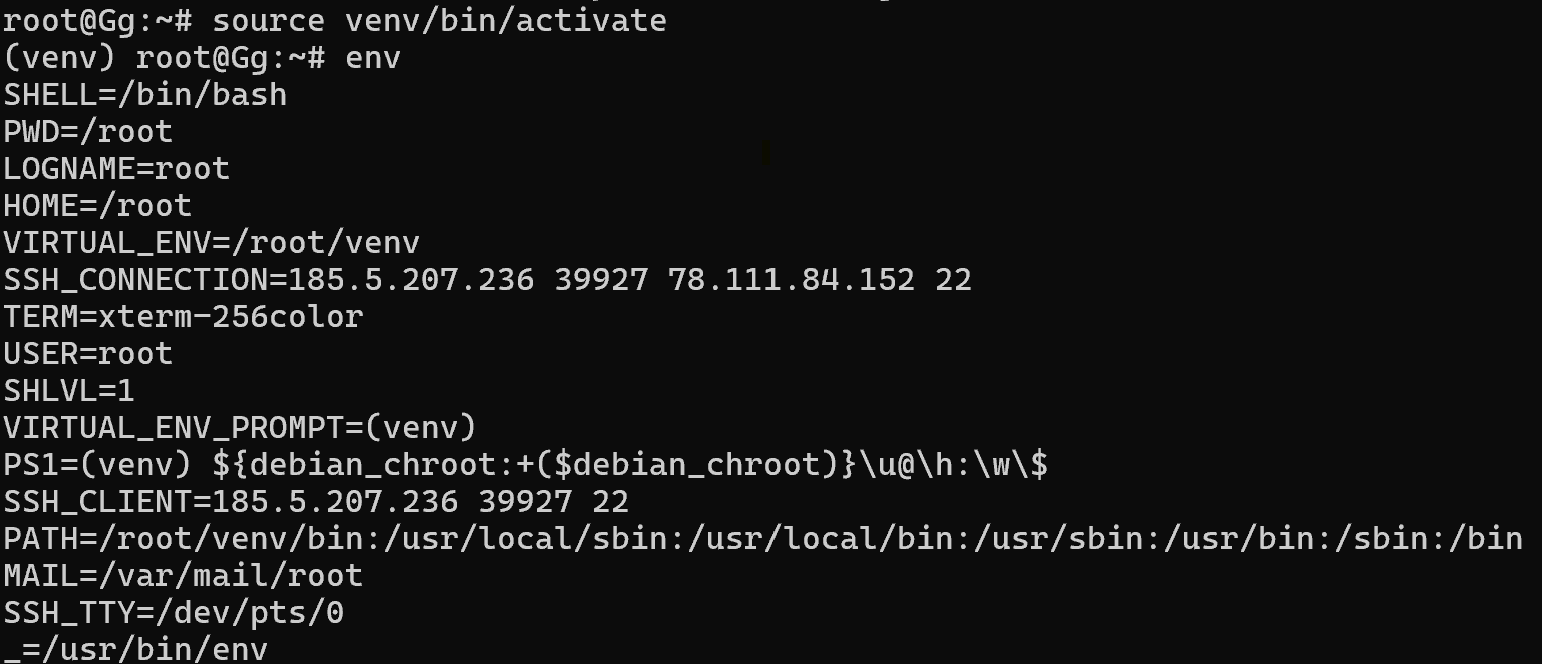
And in Windows via the PowerShell management shell:
.\venv\Scripts\Activate.ps1After activation, a prefix with the environment name will appear in the terminal:
Now any installed libraries will be saved only within this environment. Make sure you have activated the environment. Now you can install dependencies as usual:
pip install requests To save the list of libraries to a file, use:
pip freeze > requirements.txt And then restore on another machine:
pip install -r requirements.txt Deactivating a virtual environment
To exit the virtual environment and return to the system Python, run the command:
deactivate If you no longer need the environment, simply delete its directory:
rm -rf venv 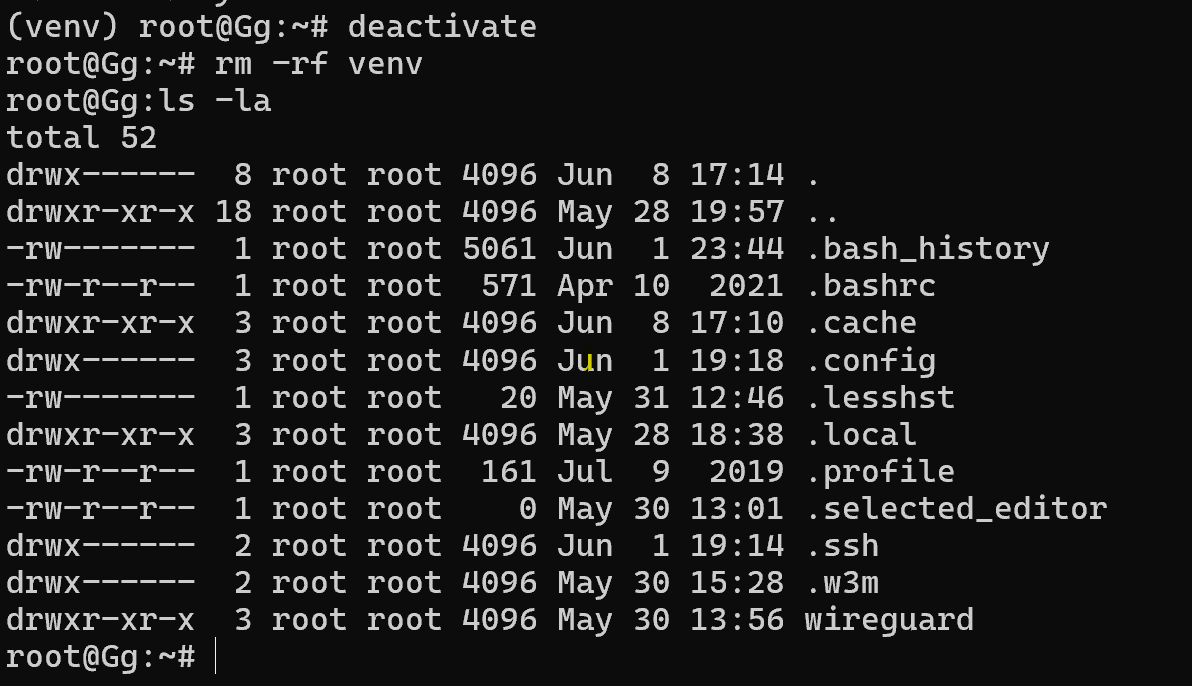
Using venv is a simple and convenient way to organize an isolated environment for Python projects. It avoids conflicts between libraries, makes it easier to manage dependencies, and makes projects more portable.


