Today, the web is the most accessible and widely used platform for delivering digital services. From online banking to food delivery, nearly every industry either uses or plans to adopt web applications as part of their infrastructure. To simplify development, various web frameworks — such as Django, Flask, ASP.NET Core, and Laravel — provide powerful libraries and structured tools for building scalable and efficient web apps.
In this article, we’ll walk through a quick and practical way to start working with one of the most popular Python web frameworks — Flask. You’ll learn how to build a simple web application that handles routing, renders HTML pages using templates, and includes basic logic for processing user requests.
What is a web application and how does it differ from a regular application?
Usually, a server application is a set of instructions and/or executable files, configurations, libraries that process client requests over network or file sockets.

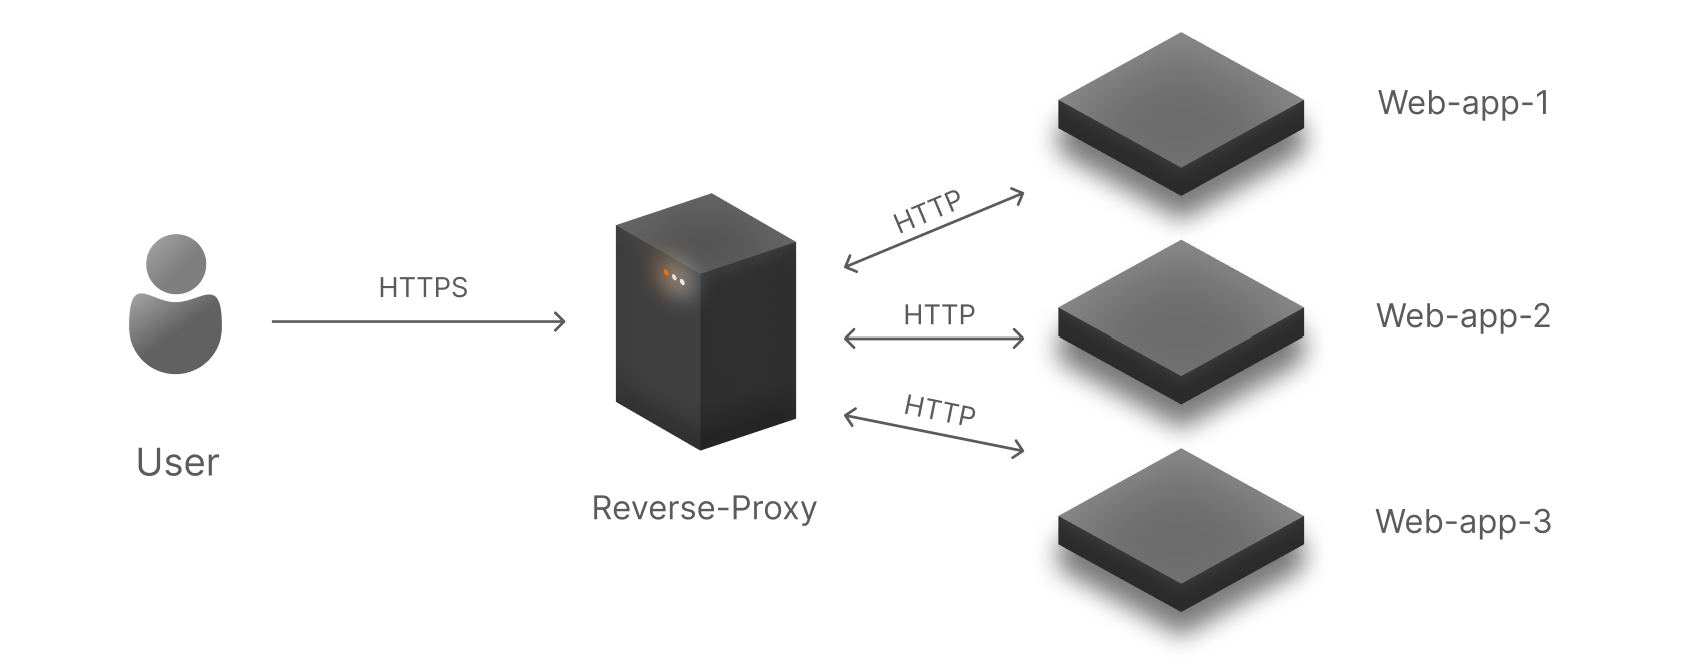
But a web application processes requests using protocols that work on the web, receiving a full URL as input and breaking it down into path, method, headers and packet body. With respect to the received packets with paths Flask decides which code functions should be executed. For example, a client calls the web with a request of the form:
hxxps://gg.com/aboutFlask has the following application structure:from flask import Flask, render_template:
app = Flask(__name__)

@app.route('/about')

def index():

return render_template('index.html')
Upon receiving the packet, Flask web framework starts looking for a path that matches the client's request and method. In this case, it immediately routes the request to @app.route('/about'), where the my function will be executed:
def my():

return render_template('my.html')
Accordingly, the client will receive an HTML page in response, which will be returned by the application server or the web server.
How to quickly write an application in Flask Python?
Creating a web application from a regular one is almost no different at the initial stages, it is the same directory containing a set of instructions, libraries and static and dynamic content.
Let's create a project folder and installing flask with all the necessary dependencies:
mkdir –p ~/web_app/ && cd ~/web_app && apt install python3 python-pip3 flask python3-venv -y Screenshot №2 — Installation
In the another way to installation flask python we can use pip:
pip install flask After that, to delimit environment variables, we will create a virtual environment using venv:
python3 –m venv ~/web_app/venv 
This solution will allow you to create your own file of environment variables and dependencies for a given project, all that remains is to replace your current file with the created one:
source ~/web_app/venv/bin/activate Let's commit the used software package to be sent for deployment so that we don't have dependency problems:
pip freeze > ~/web_app/requirements.txt 
Now let's create the necessary application:
nano ~/web_app/app.py Let's spell out the basic instructions for running the application:
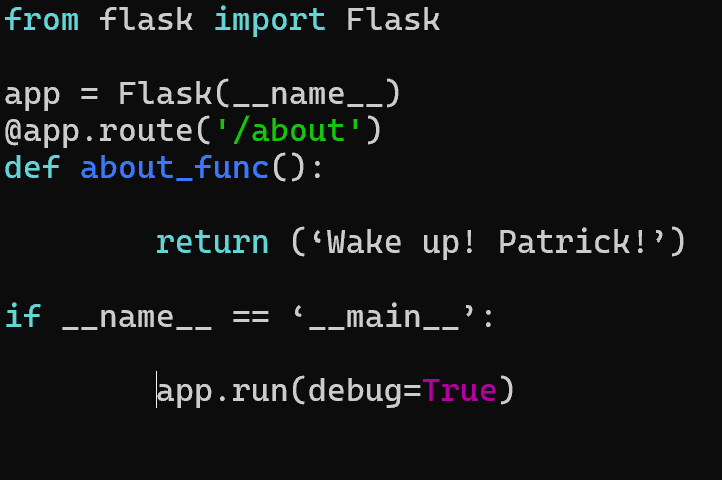
from flask import Flask

from flask import Flask
app = Flask(__name__)
@app.route('/about')

def about_func():

return 'Wake up! Patrick!'
if __name__ == '__main__':

app.run(debug=True)

Let's explain each of the existing lines:
- from flask import Flask, render_template allows you to import the desired instructions from the library;
- app = Flask(__name__) initializes the application;
- @app.route('/') decorator that binds the request to a function;
- def main_page():return render_template('main.html') function passed to execution;
- app.run(debug=True) start the application server.
As a result, the resulting code should be saved and run on the interpreter:
python3 ./app.py
Ultimately, the structure of the project may be as follows:
 /your-app

/static

/dynamic

app.py

/venv
After that, you need to navigate to one of the addresses that have been defined:

Great, a basic application that can output text is ready! But what if we need to output HTML pages that have been pre-prepared or JSON files?
To do this, let's add a couple libraries and lines of code to the existing configuration:
 from flask import Flask, render_template

app = Flask(__name__)

@app.route('/')

def main_page():

return render_template('main.html')

@app.route('/id/<username>')

def to_dict(username):

data = {

'username': {username},

}

if __name__ == '__main__':

app.run(debug=True)
Now, respectively, when calling paths in URL /id/<username> and / we will get the results of related functions.To work with methods other than GET, it is necessary to explicitly specify them when setting up routes to functions from flask import request import os:
@app.route('/click', methods=['DELETE'])

def click():

name = request.form['value']

os.remove(f"/home/{name}")

return 'Complete task!'
Then by calling the DELETE method with the passed form of invocation, we will be able to delete files from the /home folder. The framework has many more different ways of working and implementing the logic, which you can check out in our pool of instructions on python and flask!
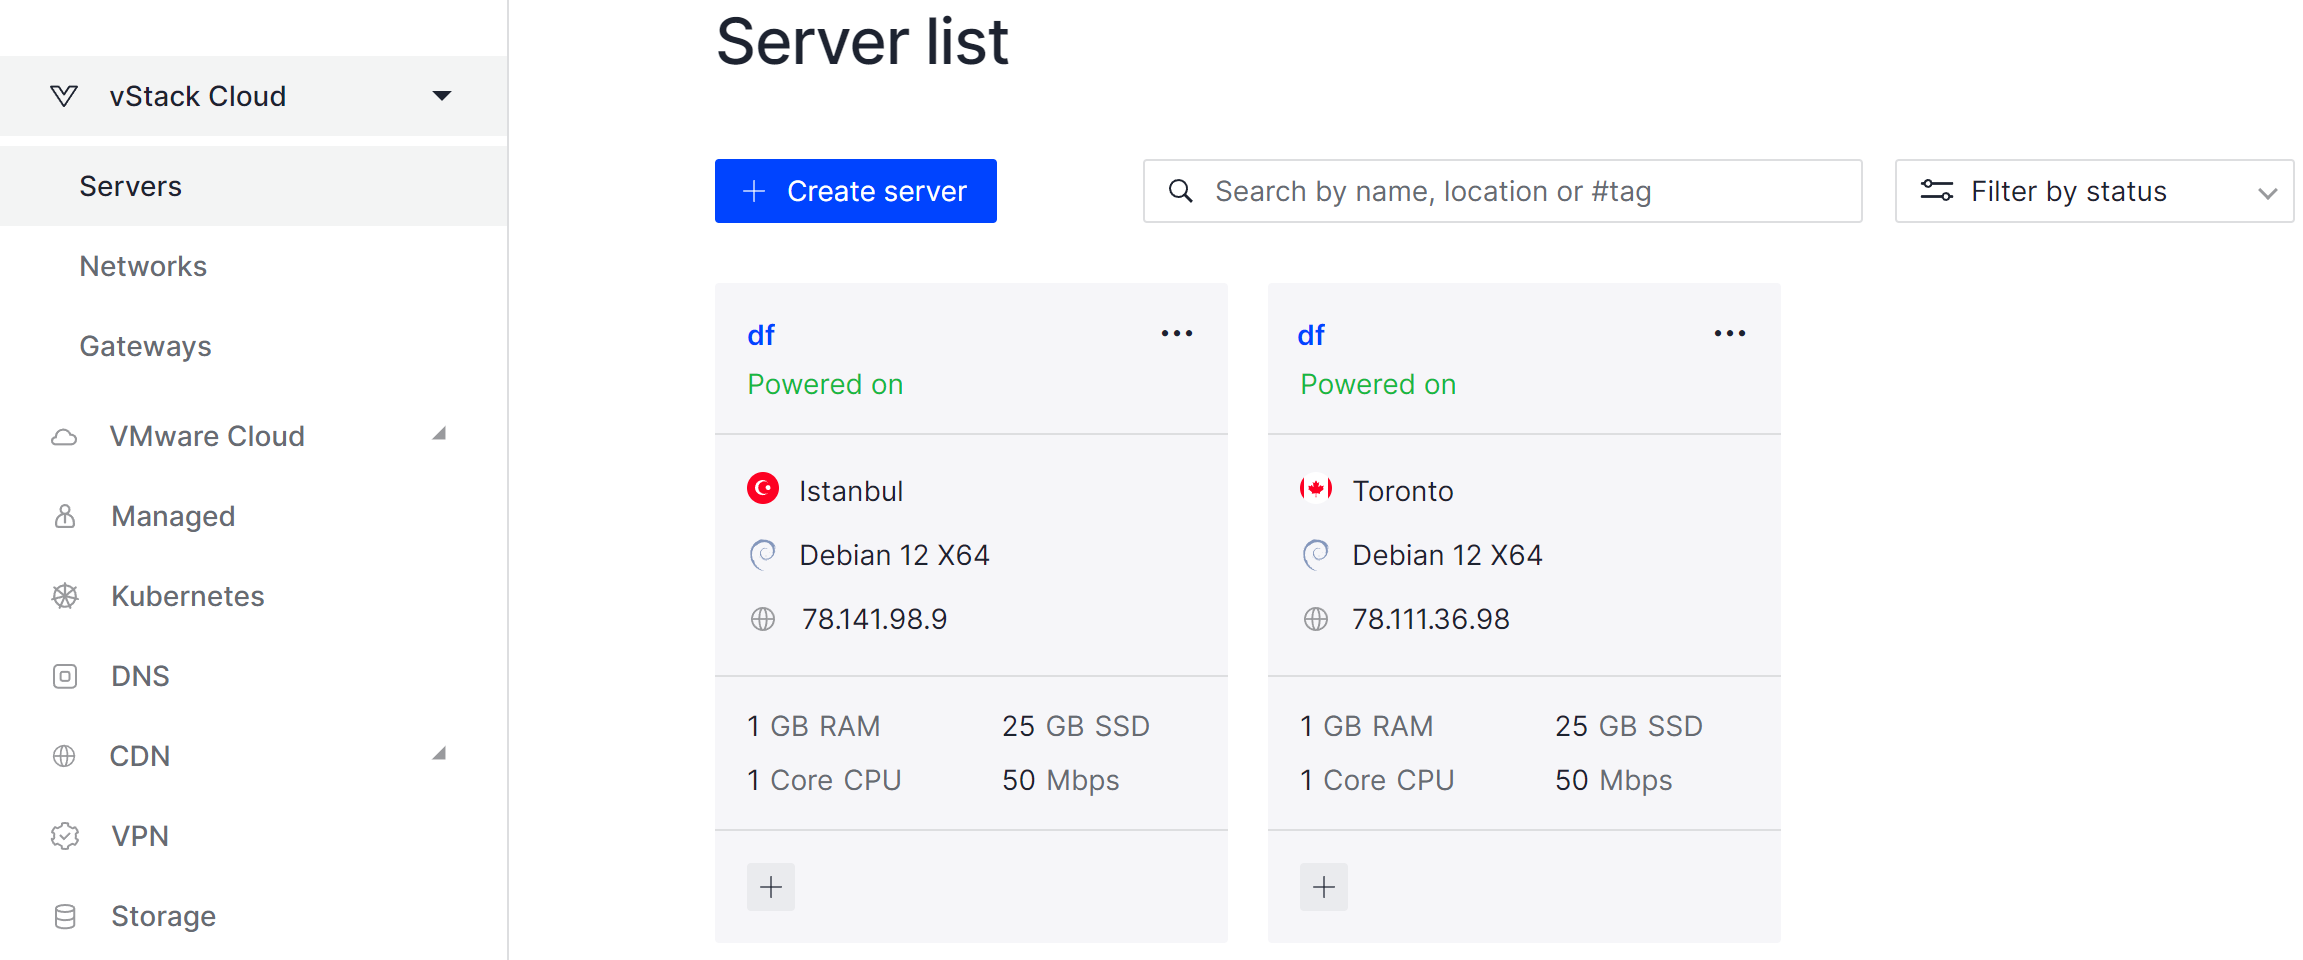
If you don't have sufficient resources than you can perform actions on powerful cloud servers. Serverspace provides isolated VPS / VDS servers for common and virtualize usage also can fit for python web framework flask!


