As a team grows in size, it is often necessary to document and manage the accumulated knowledge. This approach allows teams to work more efficiently and newcomers to the field to understand the material on their own. Public resources such as Google Docs, Notion, and others give access to your trade secrets to site administrators, and are not always convenient to work with. In this material we will understand how to raise your wiki in the corporate segment of the network and do it safely!
What is Confluence?
Confluence is a Wiki platform that allows to organise accumulated knowledge and materials in a single space for employees. Confluence is a server with a web panel that can be accessed using a standard login/password or an external authentication system. In addition to standard tasks, it allows for analyses, retrospectives, team task management and much more, thanks to built-in templates.

Since employees have different access to information, there is an access differentiation system that determines what information an employee can access.
How is Confluence implemented and what are its requirements?
The platform consists of services that provide the following: web server, database, caching server, as well as application server with various modules from authentication to request handlers.

The user contacts the web server and provides his authentication credentials. The request goes to the web application, the architecture of which is shown above, and authenticates with the server. After that the request is processed on the web application and returns the response to the client. In the process of query processing, the web application can access the database and make changes.
Installation is done via Docker image, which allows to install the product in a few steps isolated from other services on the machine. All architectural components are already included in the image and are automatically lifted after the container is created on the server. A number of minimum requirements need to be met in order to work:
- Processor: 2 cores, 2.0 GHz or higher;
- RAM: 4 GB (basic installation with few users and minimal load);
- Disk space: a minimum of 10 GB of free space for Confluence installation, plus additional storage space (depends on the size of the database and file attachments).To run the knowledge base quickly and efficiently, you need:
- Processor: 4 cores, 2.5 GHz or higher;
- RAM: 8 GB or higher, especially for an environment with a large number of users and activity;
- Disk space: 50 GB or more, given the growing need for data storage, backups and logs.
For example, a basic wiki system with 150 accounts, 30 spaces and 1000 pages will require about 6 gb of RAM, 2 cores and about 25 GB of free disk space.
If you don't have sufficient resources than you can perform actions on powerful cloud servers. Serverspace provides isolated VPS / VDS servers for common and virtualize usage.
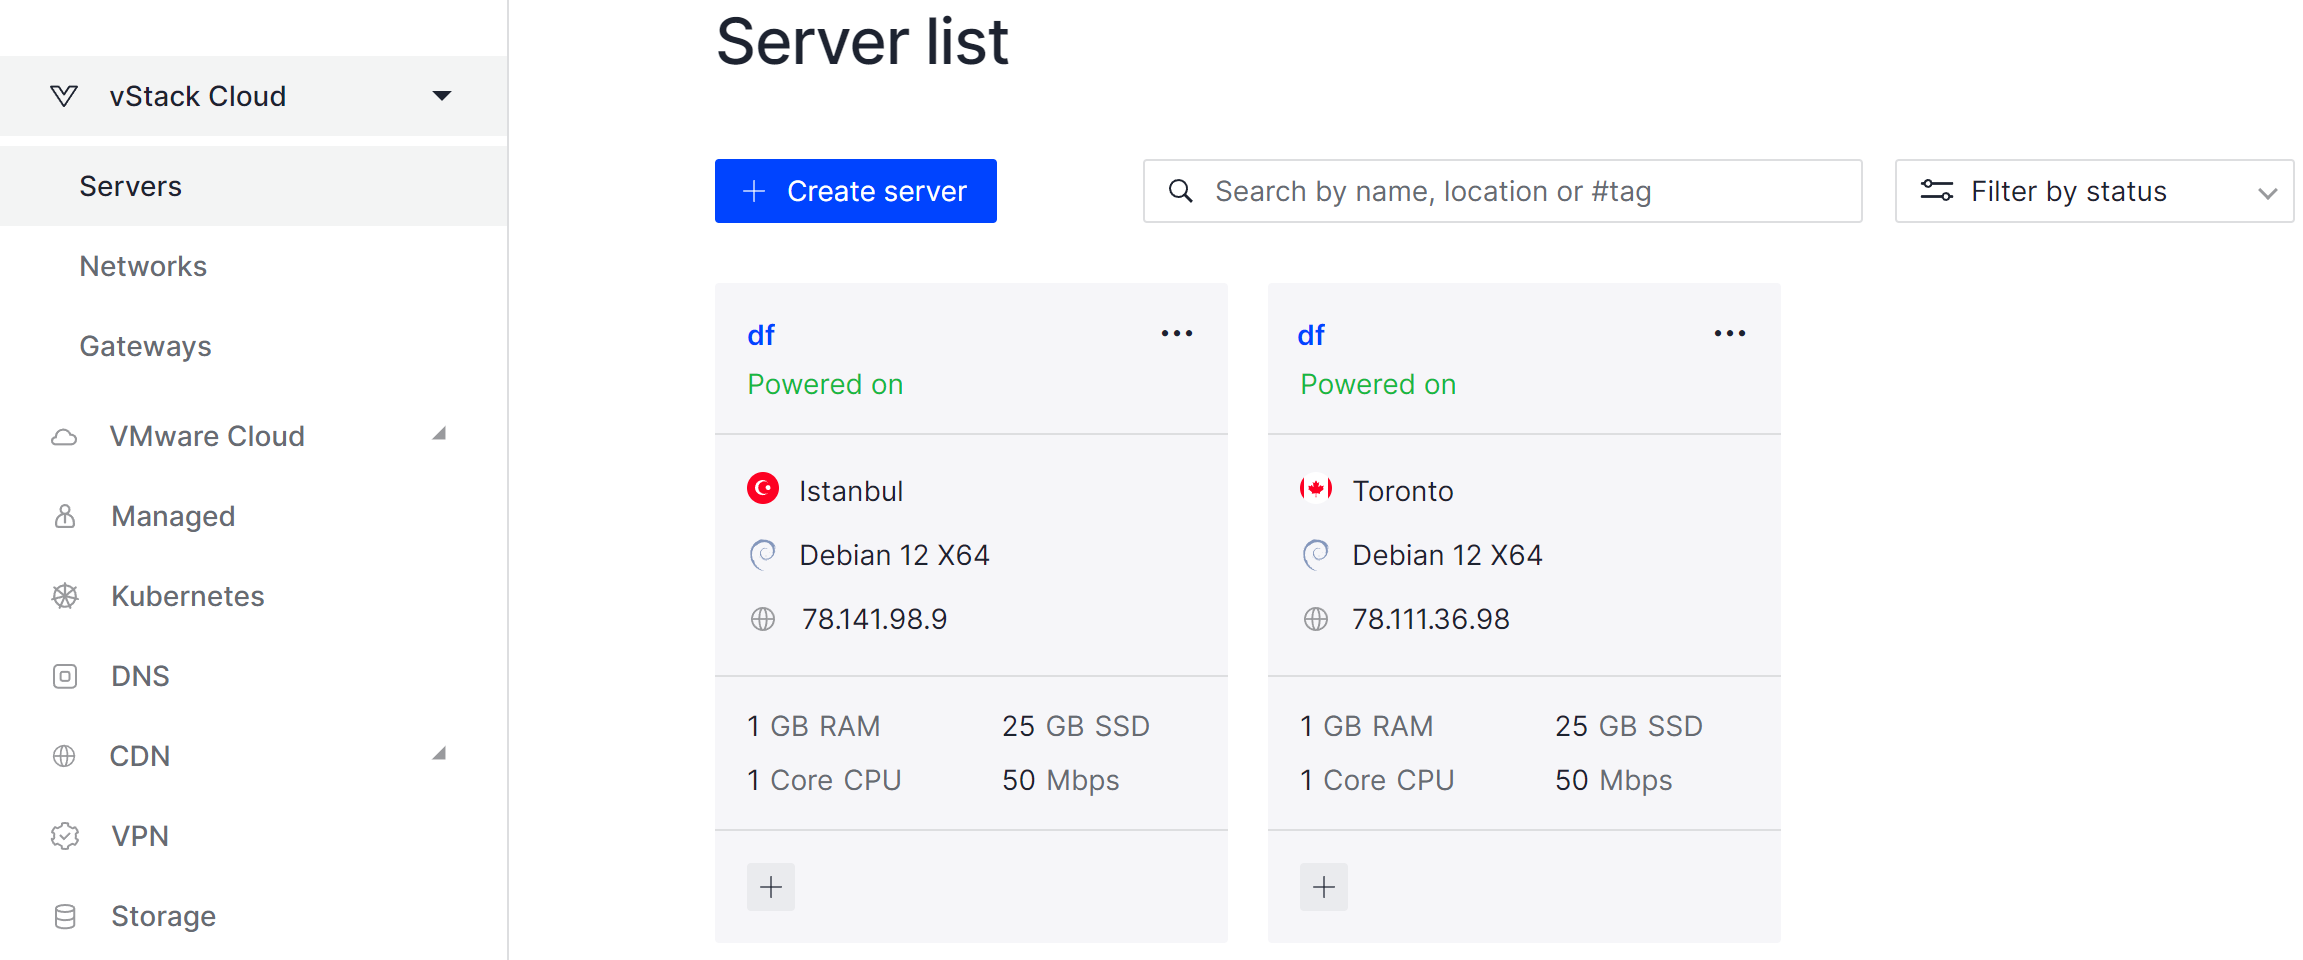
It will take some time to deploy server capacity. After that you can connect in any of the convenient ways.
How to install Confluence quickly?
Let's install Docker container manager, when working it is necessary to take into account the OS version for installation on the company's site. In our case Docker is installed on RHEL similar OS.
sudo dnf remove docker*

sudo dnf install -y yum-utils

sudo yum-config-manager --add-repo https://download.docker.com/linux/rhel/docker-ce.repo

sudo dnf update && sudo dnf install docker-ce

sudo systemctl start docker && sudo systemctl enable docker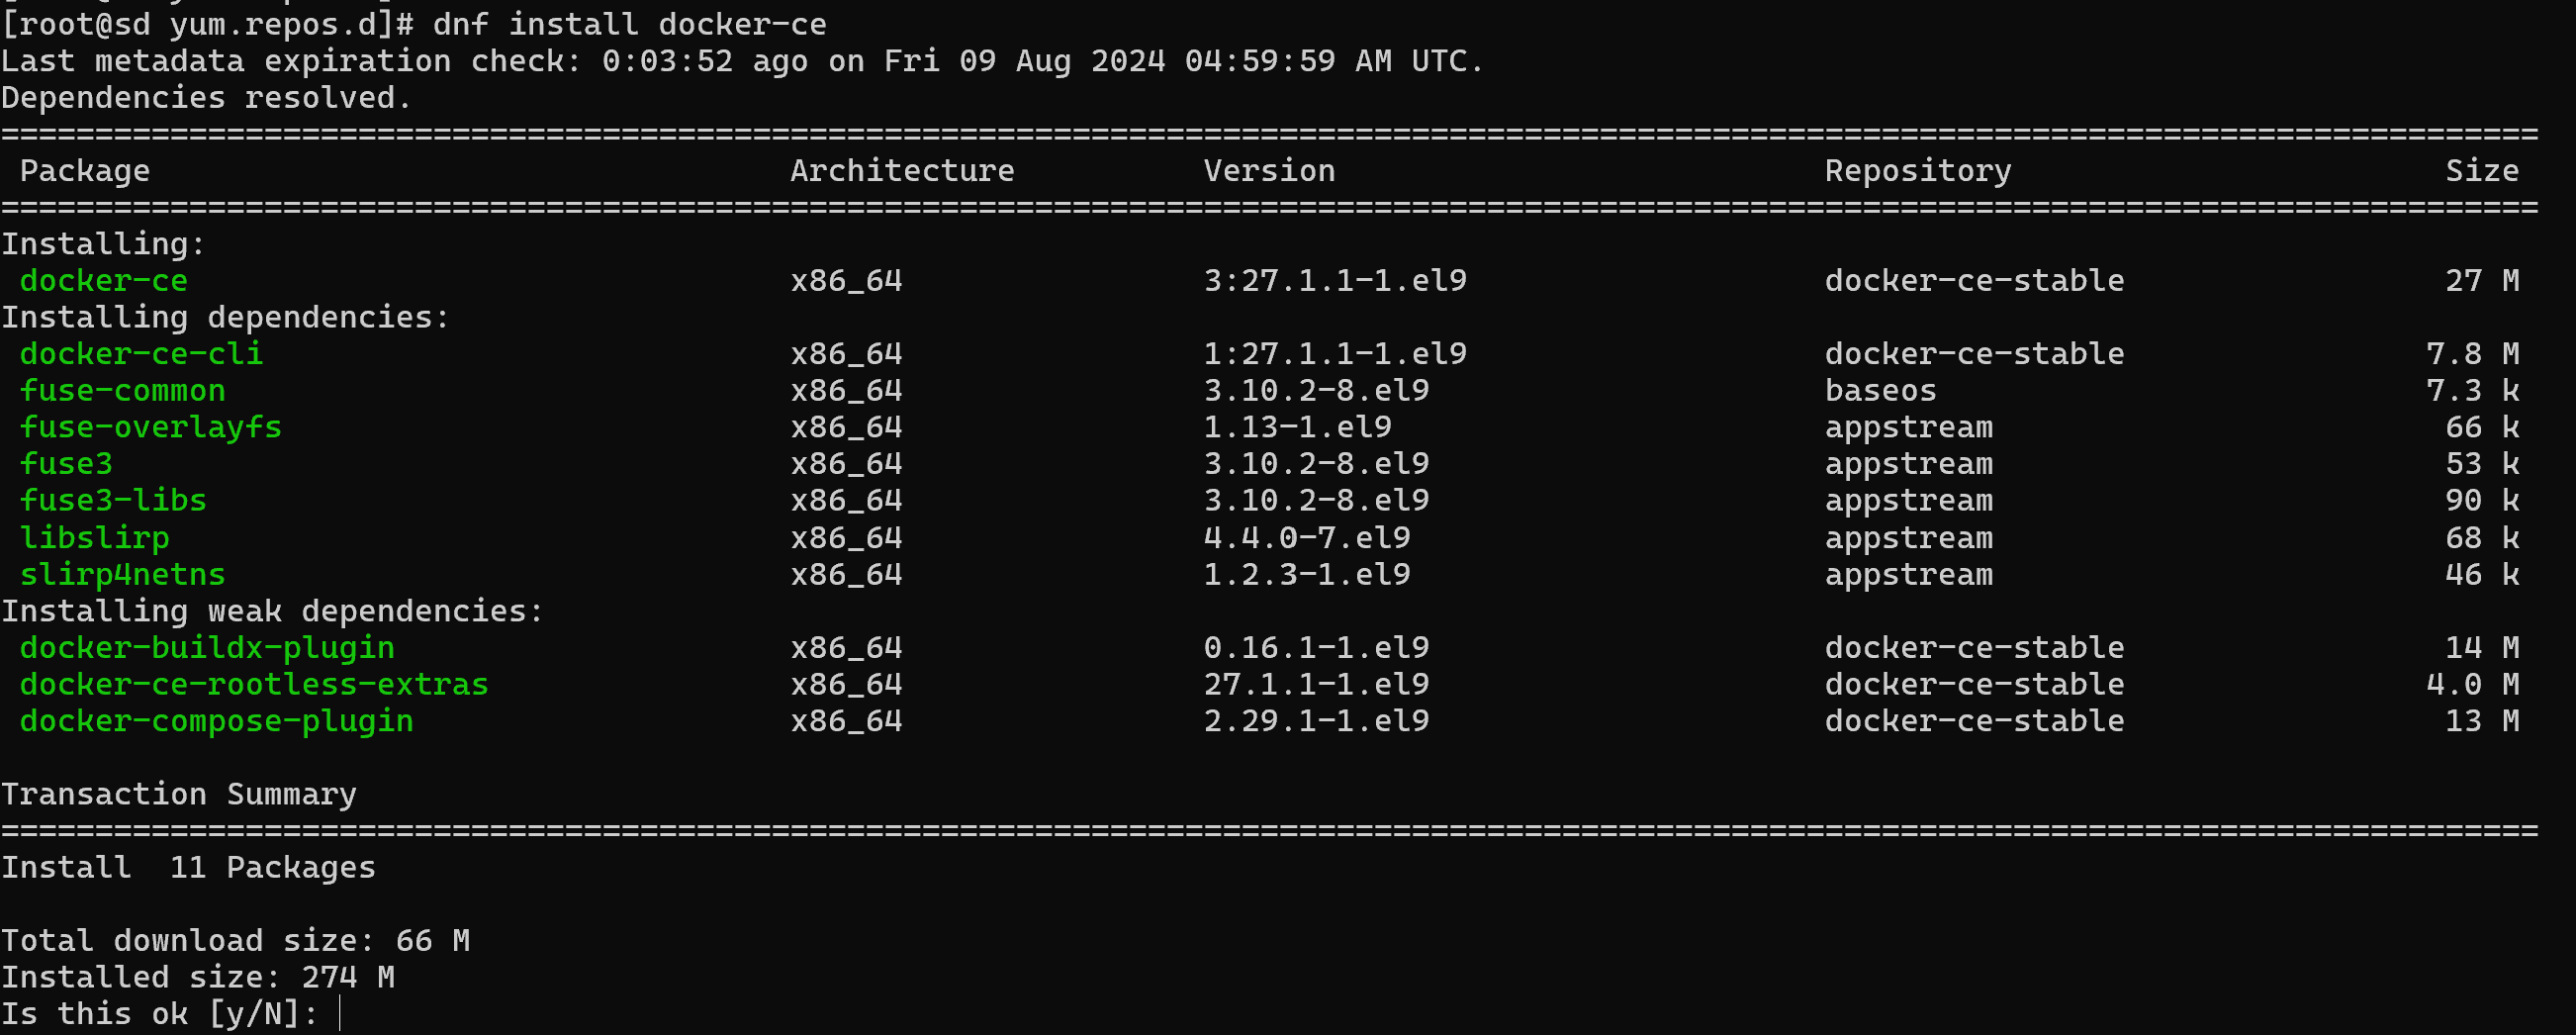
After the installation, you need to download the Confluence image itself by running the command:
docker pull atlassian/confluence
The image or archive has been placed in local storage, and now when creating a container based on this image, docker daemon will be able to find it on the device. The system also requires the creation of a virtual volume, which will be separate from the main OS file system. This approach ensures that Wiki resources are isolated and the service can be flexibly managed:
docker volume create conflunceeLet's move on to starting Confluence and configuring the container, the environment in which the Wiki will run:
docker run -v /confluencee:/var/atlassian/application-data/confluence --name="confluencee" -d -p 8090:8090 -p 8091:8091 atlassian/confluenceLet's consider and describe the parameters of this command:
- docker run - command to start the container based on the image;
- -v /confluencee:/var/atlassian/application-data/confluence - connect the isolated volume to the container filesystem, where the volume is on the left and the container filesystem is on the right;
- --name="confluencee" - the name of the container, for easy reference by name;
- -d or detach to run the container in the background;
- -p port forwarding from the container to the host machine;
atlassian/confluence - the image itself with sources and automation file.
This command will allow you to run Confluence in a separate environment and all the necessary services to run it. Management is done through the web panel, for this we will go to the external or local address of the device through the browser. For configuration and testing, the format address is suitable:
http://localhost:8090
Insert your licence key or purchase it on the copyright holder's website by clicking on Get an evaluation license. Then click Next.

Select one of the deployment types: single node or cluster. The second type is used for large costs and requirements to the number of users, and the first for small and medium volumes, where one server can cope. Once the deployment type has been selected, let's select a template.
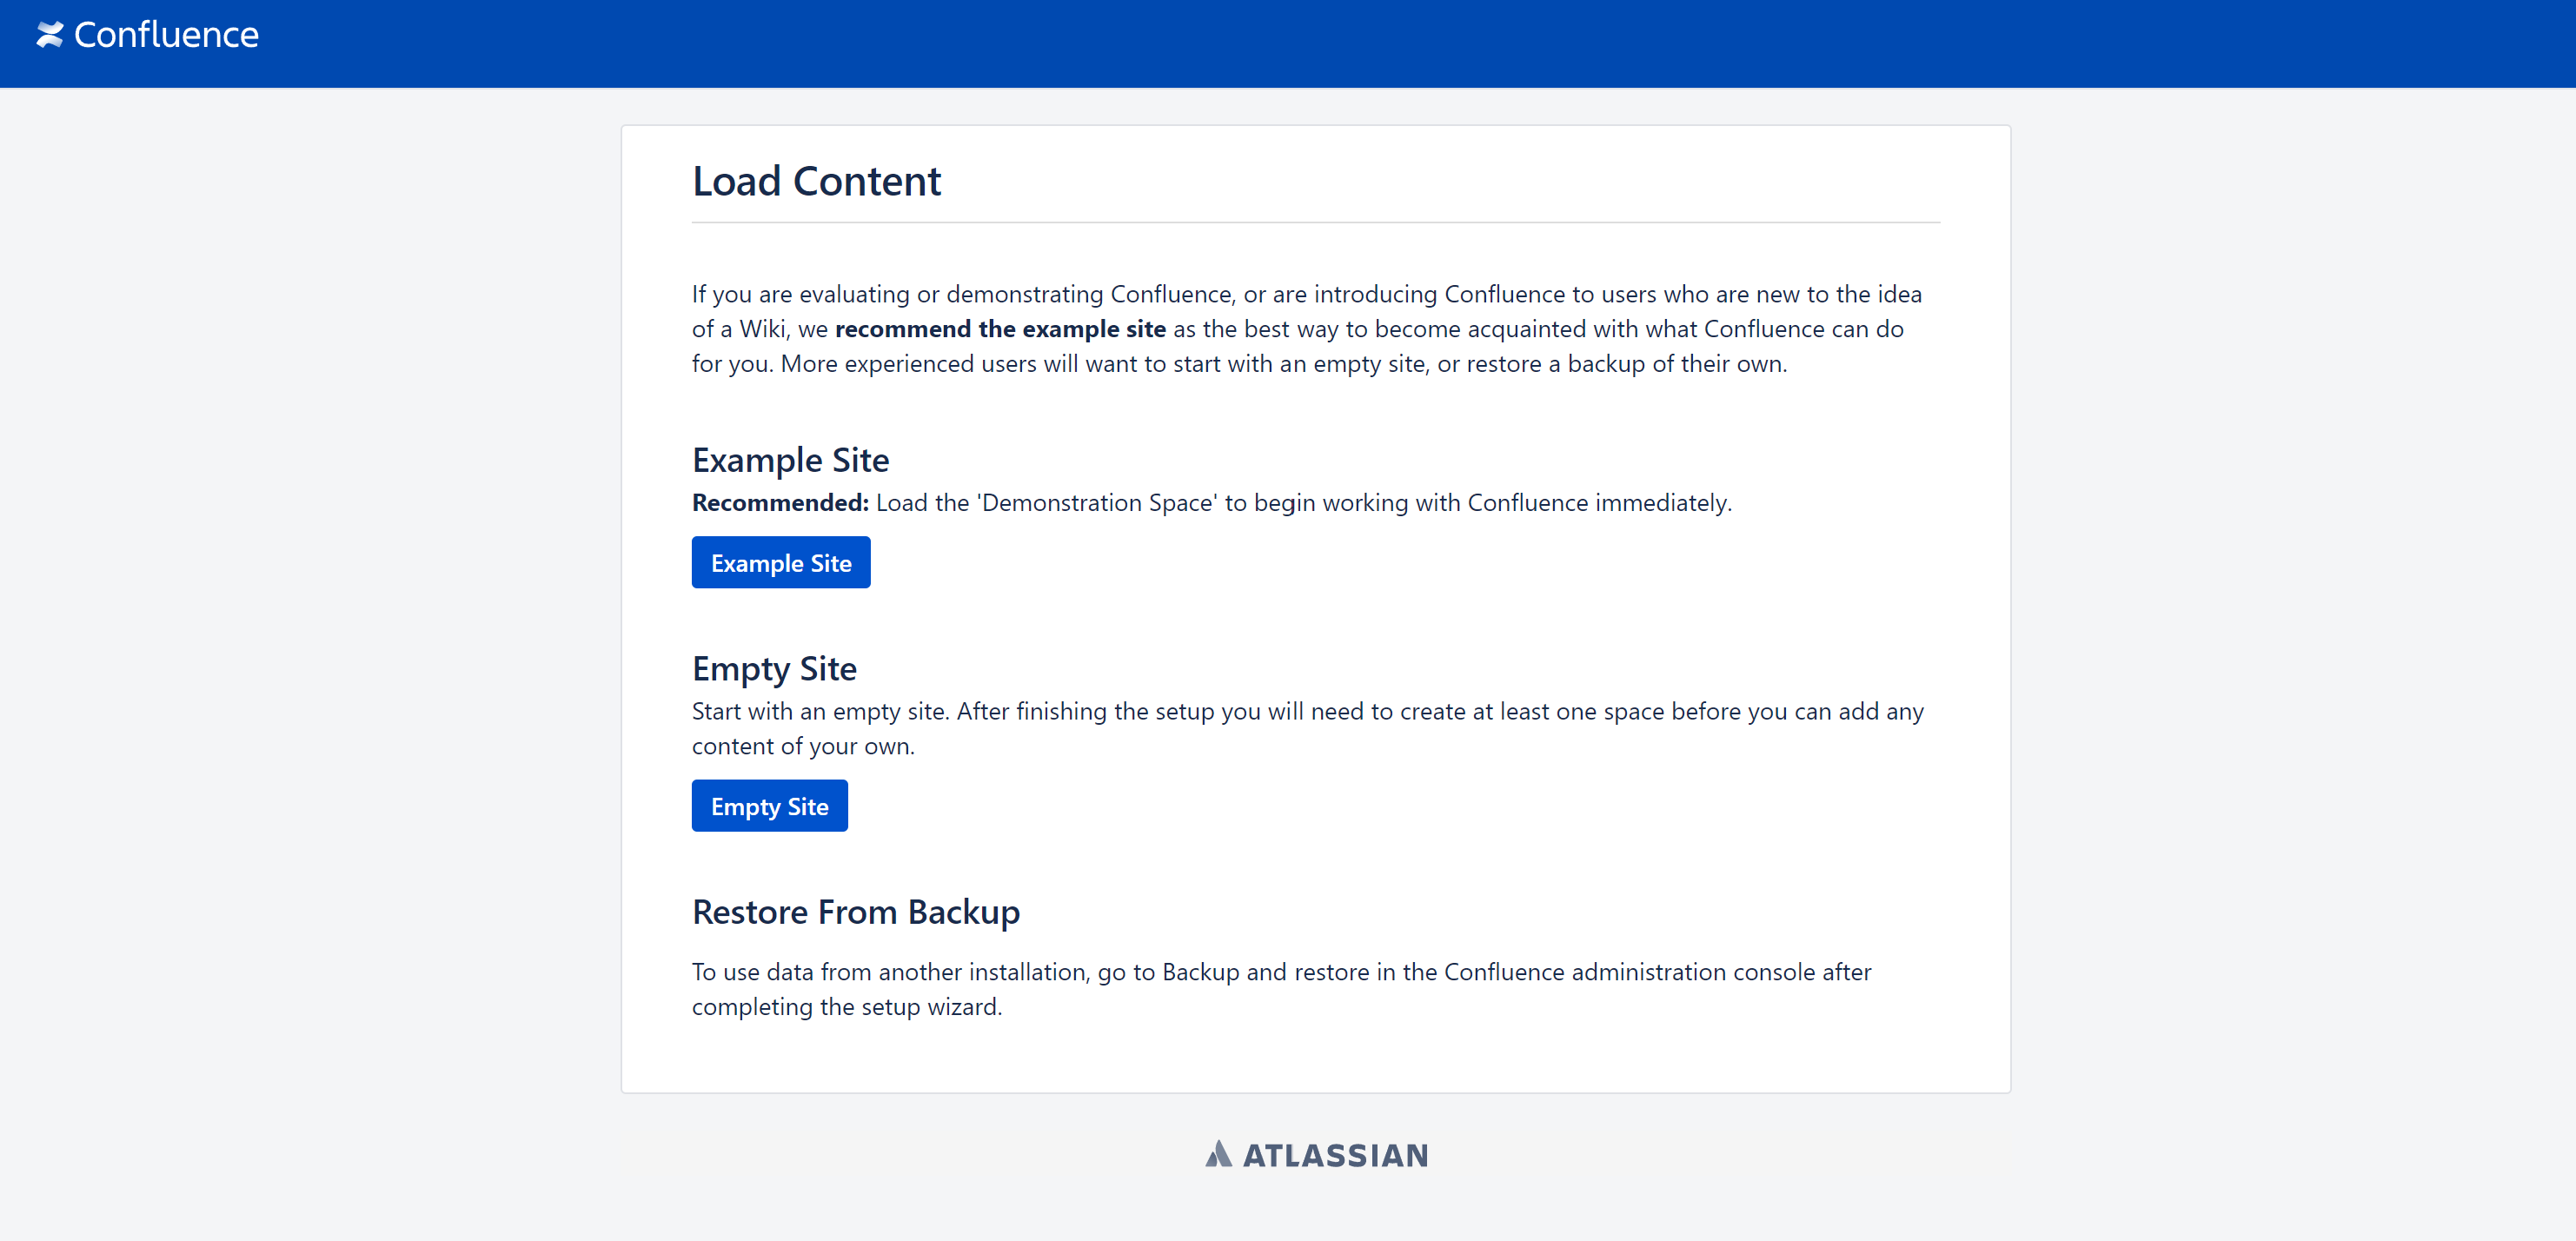
It is possible to use an example of an existing wiki, or build a blank page that can later be designed from scratch.
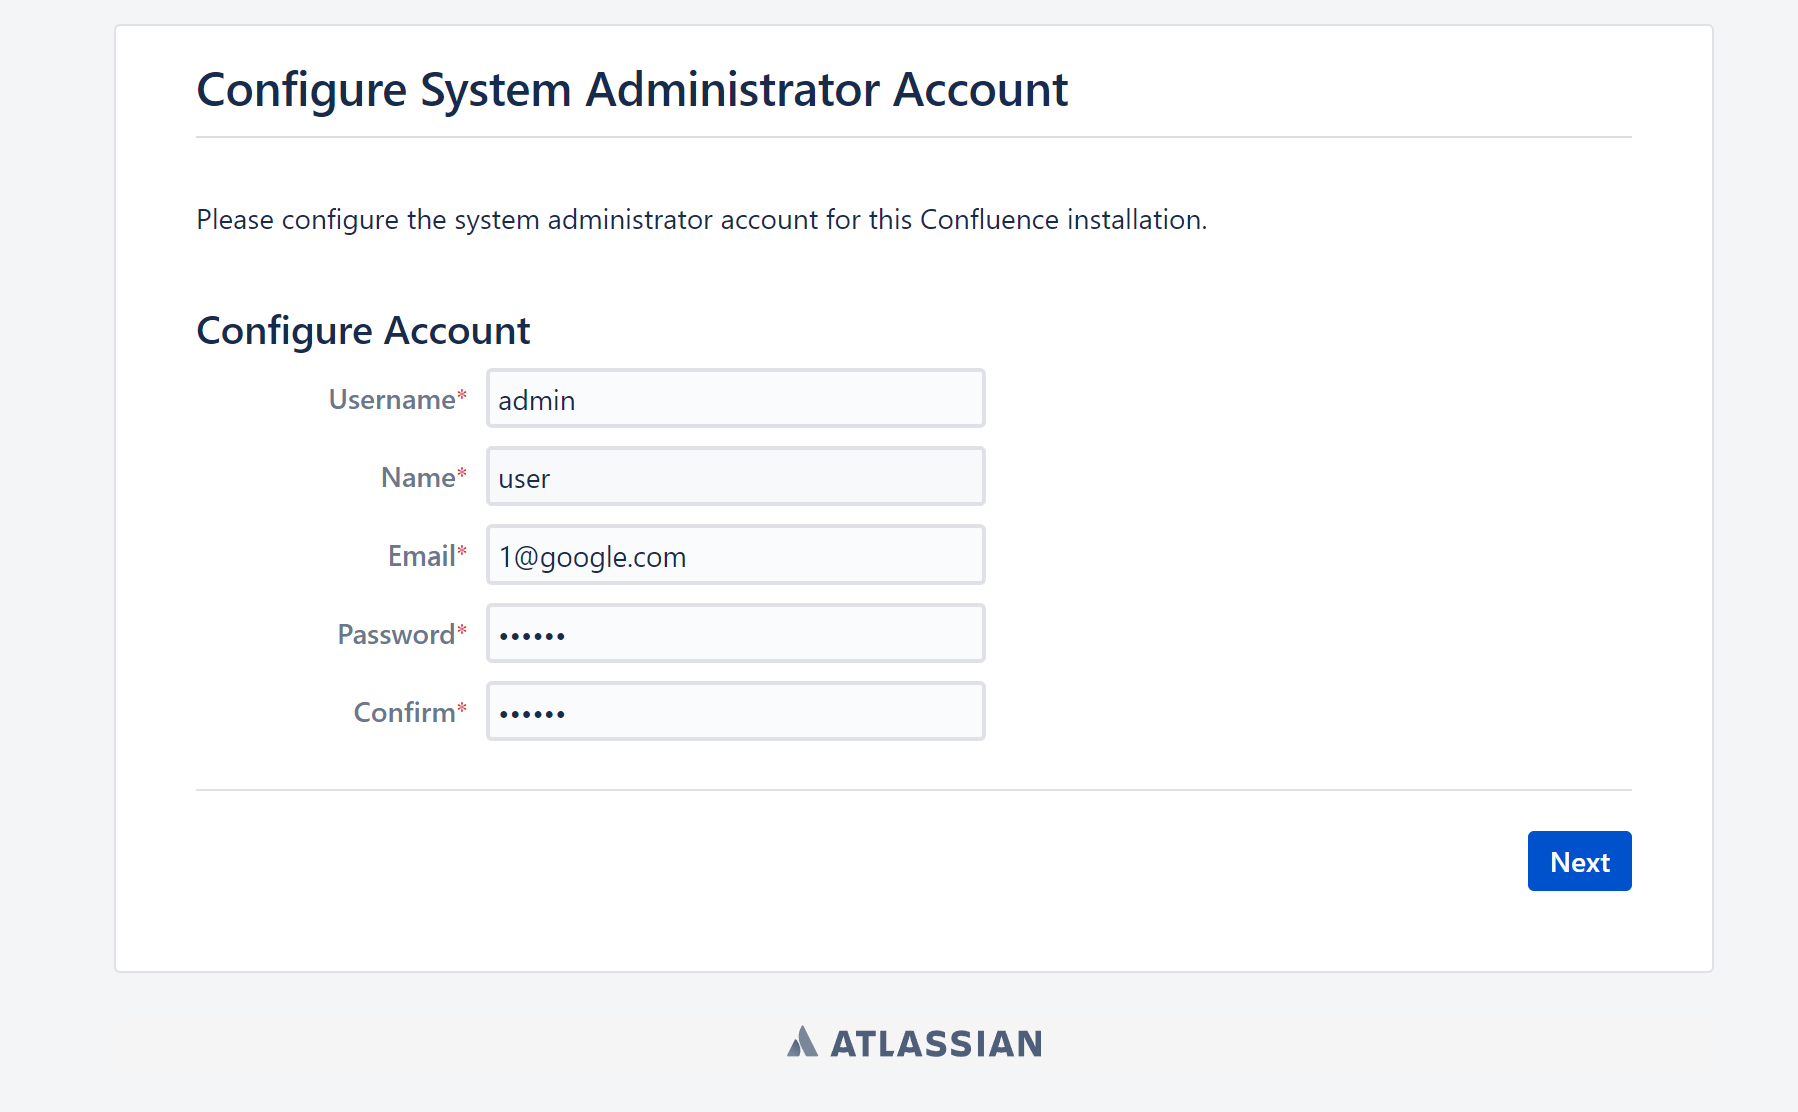
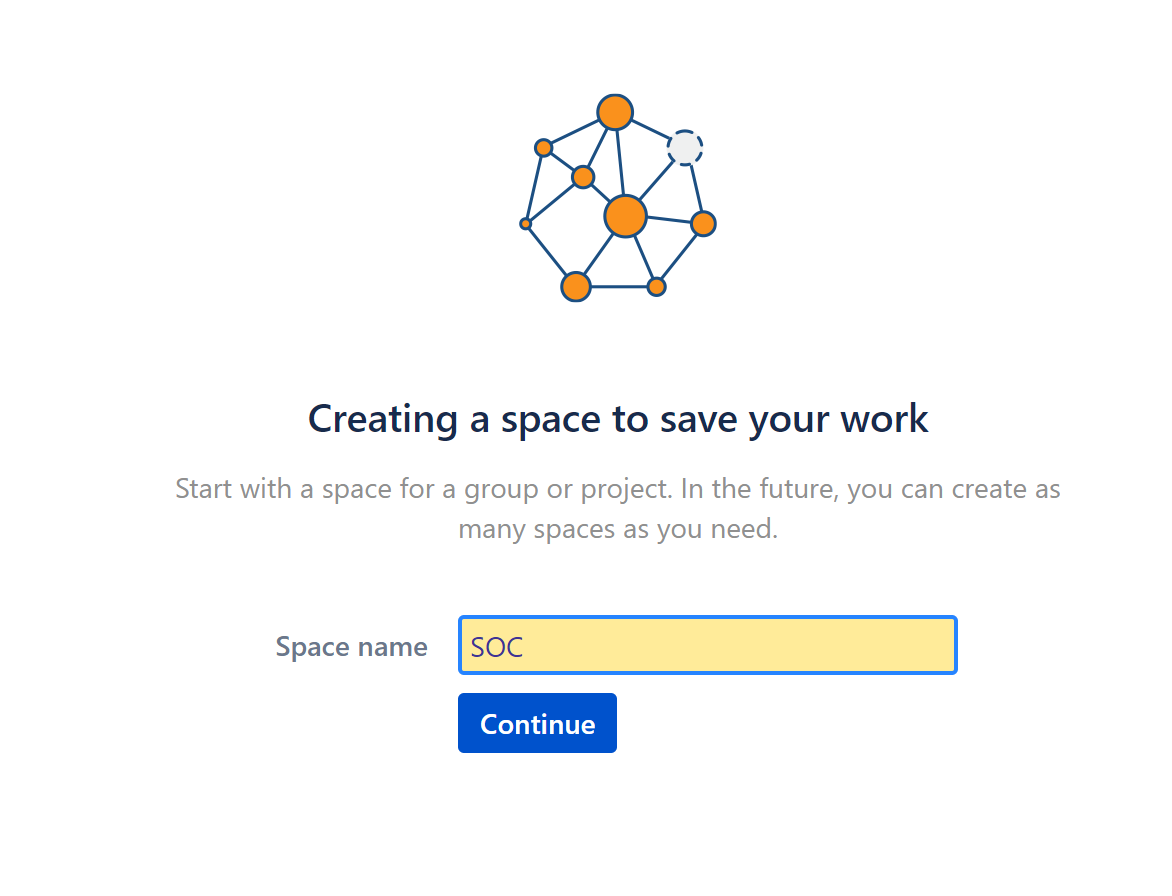
Specify the details for the Wiki administrator account and save by clicking Next. Then define the space, it can be a group for a team or for the whole organisation. It all depends on how you think about the structure of the knowledge base.
As a result of all manipulations, the working panel for Wiki opens, where the basic features of the service are described.
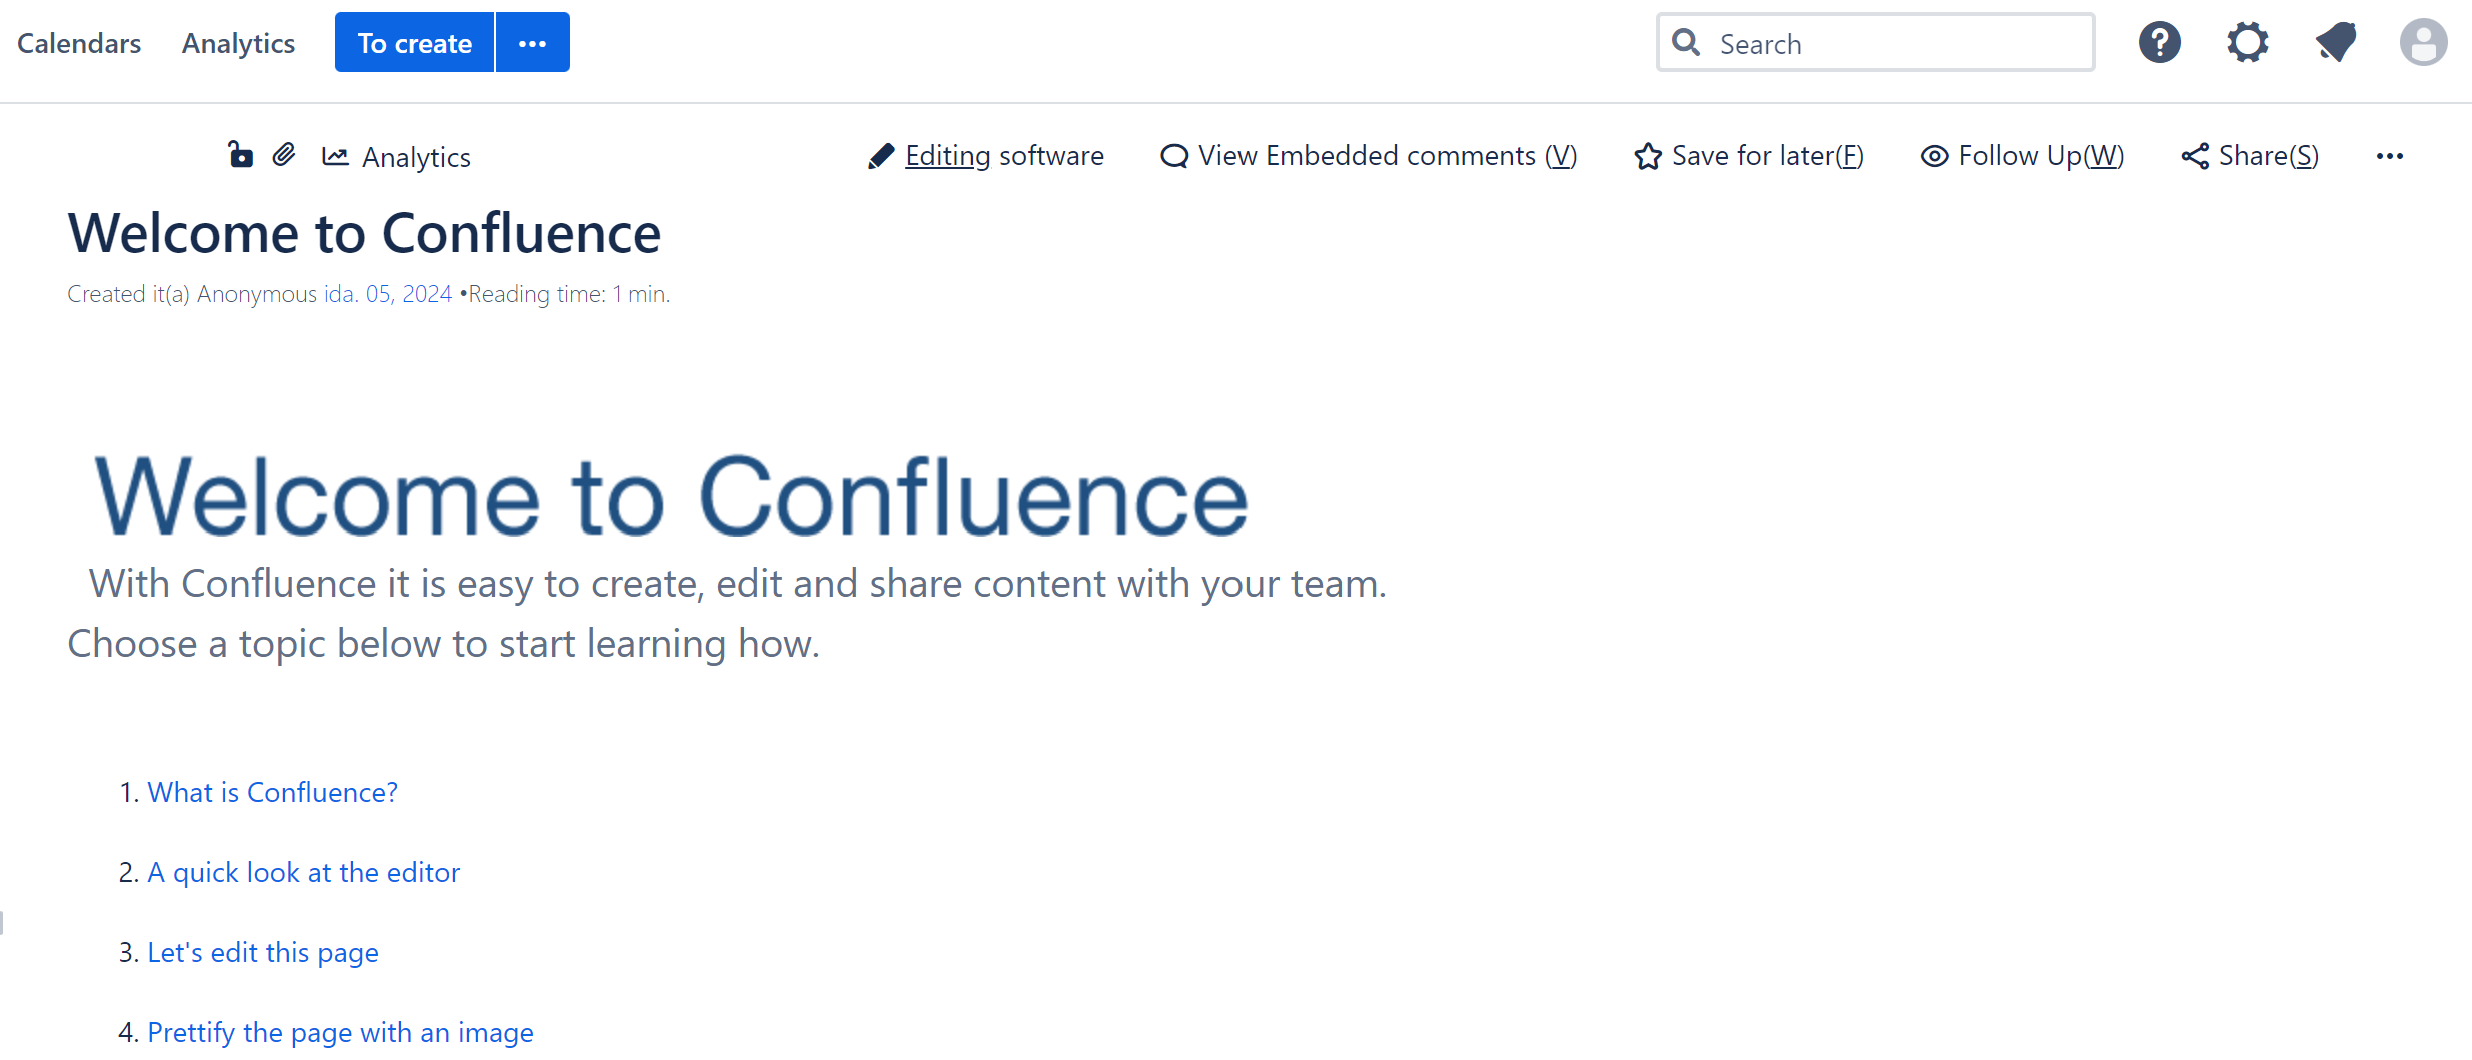
More in-depth customisation can be done by clicking the gear on the top left, to start building the knowledge base use the To create button at the top. By selecting a template, you can structure the base for most of the team's tasks via the multi-point.
Conclusion
Confluence is a powerful corporate wiki platform that helps teams organise knowledge, improve collaboration, and securely manage internal documentation. Installing Confluence via Docker significantly simplifies deployment, allowing you to quickly set up an isolated and scalable environment. With proper configuration, your company can create a central knowledge hub where employees access the information they need, collaborate effectively, and streamline project management.
FAQ
- 1. What is Confluence used for in a company?
Confluence is a corporate wiki that allows teams to document processes, manage projects, share knowledge, and collaborate in a secure environment. - 2. What are the system requirements for Confluence?
Minimum: 2 CPU cores, 4 GB RAM, and 10 GB storage. Recommended: 4+ CPU cores, 8 GB+ RAM, and 50 GB+ storage for large teams. - 3. How do I install Confluence quickly?
The easiest way is via Docker. Download the official Confluence image, create a Docker volume, and run the container with the required ports and configurations. - 4. Can Confluence be integrated with other tools?
Yes, Confluence integrates with Jira, Slack, Trello, and other project management and collaboration platforms. - 5. Is Confluence secure for corporate data?
Yes, Confluence supports authentication systems, access restrictions, and encrypted communication, making it suitable for storing internal company knowledge.


